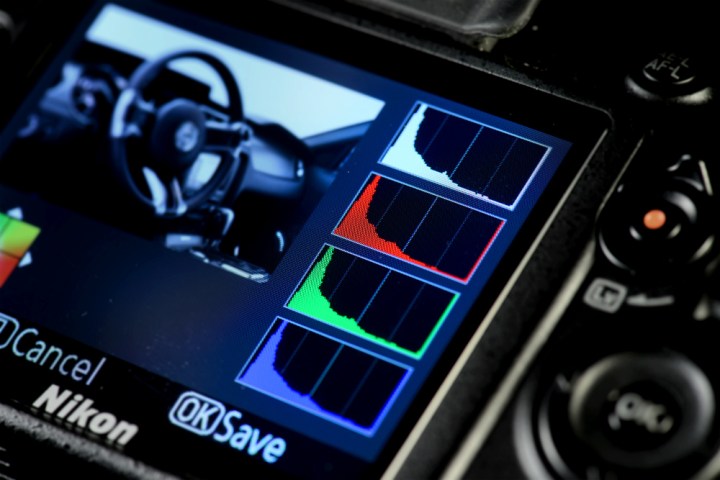
When stepping up from a point-and-shoot or a smartphone to a more advanced camera, such as a mirrorless compact system camera or a DSLR, you might at first be overwhelmed by all the bells and whistles. In time, however, you’ll learn to appreciate and make use of the extra functionality, as it helps you exert more control over your shooting parameters and capture the image you want – not what the camera thinks you want.
One feature that most advanced camera models offer is the so-called histogram. Usually shaped like a hill, with a peak in the center and slopes to the left and right, the histogram displays how brightness is distributed across the frame – be it during preview in the viewfinder or on the LCD, or in playback mode.
While it may take a little time to learn how the histogram works, for many photographers it is an indispensable tool, as it shows you, at a single glance, whether your exposure settings will yield the result you’re looking for. We’ve written about it before, but if you’re still unsure of how to use it to your advantage, this Creative Live video explains what the histogram is, how it works, and what it can be used for.
If you’d like to learn more about the basic settings of your camera, we recently shared this video from Creative Live that explains how the aperture of the lens, the shutter speed, and the camera’s ISO setting (the exposure triangle) all interact with each other. After watching these two videos, you should be all set to take your first steps with manual exposure.
(Via SLR Lounge)
Editors' Recommendations
- How to remove location data from your iPhone photos
- How to use the Google Pixel 6’s clever Action Pan and Long Exposure camera modes
- Keep your digital photo and video collection safe with Ibi, now just $100
- See how Fujifilm’s popular X100 camera has changed over the years
- Zoom, prime, wide, or telephoto? Here’s how to pick your next camera lens


