 You can hook up monitors to your MacBook laptops for more screen space to tool around or just to make your screen much larger. We’ll show you how to hook up a second monitor to your laptop and we’ll also discuss mirroring which lets you use the same mouse and keyboard on both screens.
You can use both monitors together or you can just make the larger new monitor your main screen.
Hooking up the monitor:
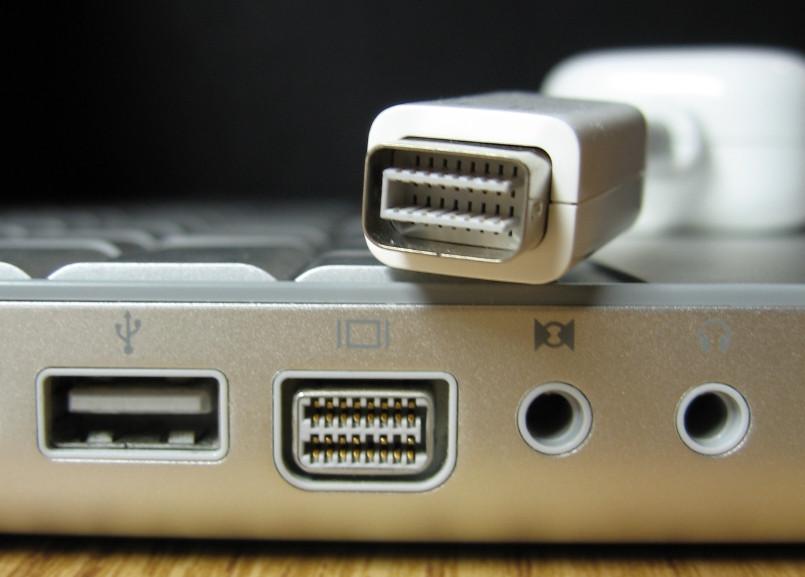
1. You’ll need a couple of things for this process: A DVI or VGA equipped monitor, a mini-DVI adapter or a mini-DVI-VGA adapter, and a DVI or VGA cable
2. Connect the cables and adapters to your new monitor and laptop. To find the plug in for the laptop look on the left side of the laptop where you plug the power cable in. One of the symbols should look like IOI (except the O is more square). That is your mini-DVI port.
3. You’re all hooked up. Go into “System Preferences” – which can be found by clicking the Apple icon in the upper left corner of the screen. Under Preferences find “Monitors” or “Displays” to adjust the resolution.
Mirroring
1. To turn mirroring on press F7 or “Command” + F7.
2. This is for if you want to make the new monitor your only screen. Put your MacBook in Sleep mode. One way to do this is to hit “Alt” + “Command” and “Eject” – Eject looks like an arrow with a line underneath it. It’s located on the upper right corner of the keyboard.
3. Keep the laptop monitor up so that you can still use the keyboard and mouse.
Other than using the newly connected monitor as the single screen you should be able to use both monitors together.
A couple of tips when using documents, programs, etc. on both monitors:
– To move documents and such between the laptop and monitor pull the mouse or document to the end of the screen. It should appear on the other monitor. You can also do it through the corners.
– You can drag and save a file on the monitor screen. Do it the same way that you move between the two monitors with just the mouse.
Editors' Recommendations
- Best Mac Mini deals: Save over $100 on an Apple desktop
- How to transfer photos from an iPhone to a computer
- MacBook Pro OLED: Here’s everything we know so far
- How to allow pop-ups on a Mac
- How to change the login picture on a Mac