
Installing an SSD is one of the most straightforward upgrades you can do to your PC — the only one with fewer steps is installing new memory. That makes it a great way to try out upgrading your PC by yourself, and we're here to help. Just follow the steps below, and you'll have a great new SSD in your PC in no time.
Here's how to do it.
Buying the right SSD
Before you can install an SSD, you need to buy the right one for your PC. If you've already done that, skip ahead to the install instructions below, but if you haven't, be sure to give our guide on how to buy an SSD a read. It will walk you through buying an SSD that will physically fit in your PC and is compatible with it. It will also give you advice on speed and capacity to help you get the best SSD for you.
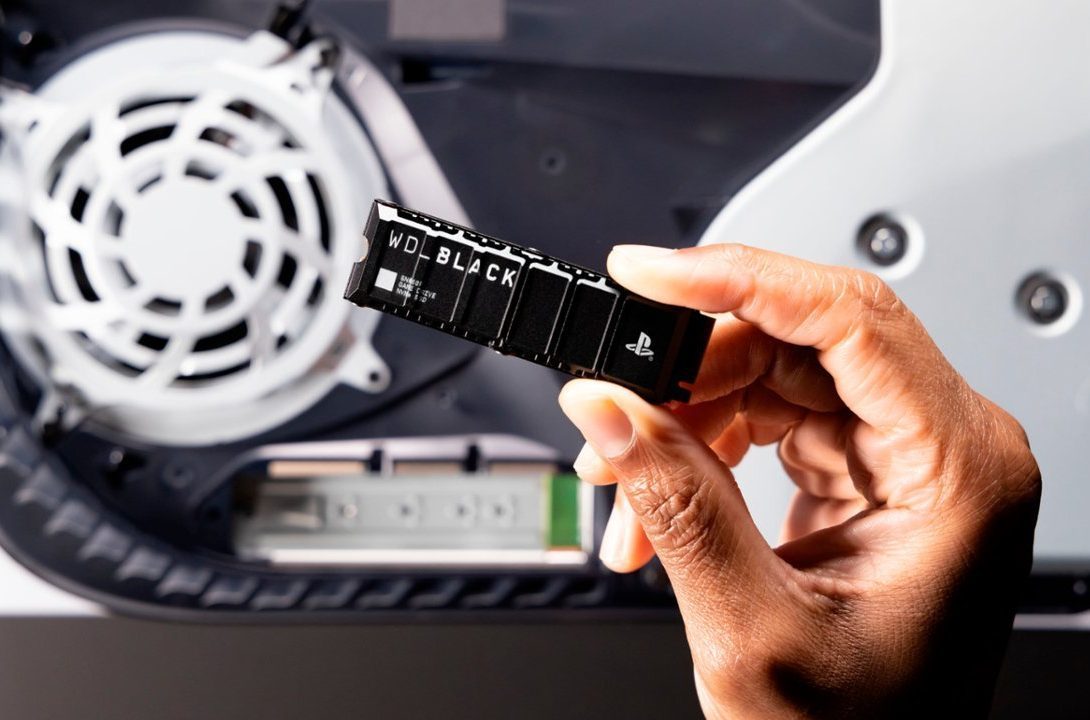
How to install an NVMe SSD in your PC
Most modern SSDs are NVMe drives using the M.2 form factor, and most PCs come with dedicated slots for those. If you have an older 2.5-inch SATA SSD you want to install, check out the section below.
Step 1: To install an NVMe SSD in your PC, shut your computer down and unplug all the cables, then place it on a desk or other easily-accessible surface with adequate lighting.
Step 2: Remove the PC case side panel using the rear screws.
Step 3: Before touching any internal components, ground yourself by attaching an anti-static wristband, or by touching some conductive portion of the case or power supply chassis. Do this periodically while working in your PC, and ideally, wear rubber-soled shoes while doing so — especially if you're standing on carpet.

Step 4: Locate a spare NVMe M.2 SSD slot on your motherboard. These are often found in the middle of the board, but can also be farther down, nestled among the PCIExpress slots. It may be underneath your graphics card in some cases — you may have to remove the GPU to get access.
Some motherboards have the M.2 slot on the back of the motherboard. To save you removing the it completely or rest of the case's covering, look at the motherboard for clues (such as "M.2" and an arrow) or review the motherboard's manual.
Step 5: Remove the retaining screw(s) and lift off any pre-installed heatsinks.

Step 6: Angle the SSD into the slot at around 45 degrees, and gently push it in until you feel a gentle click. Then press the other end of the SSD down, until it rests against the retaining screw hole. Then use the retaining screw to secure the drive in place. If necessary, re-attach any heatsinks that were in place before the install.

Step 7: Before closing up your PC, plug in the cables again and boot it up. Check the BIOS, and in Windows to see if the new SSD is detected. If not, you may need to initialize it within the Windows Disk Management utility.
We have some steps you can follow if your SSD doesn't show up in Windows.

How to install a SATA SSD
NVMe and SATA SSDs differ in physical size and, speed, and price.
SATA SSDs can be a great way to add capacity and speed to a PC, especially if you're on a tight budget. They take a little more effort to install, but it's still straightforward. Here's how to do it.
Step 1: Turn off your PC, unplug all the cables, and remove the side panel. Then place it on a desk or easily-accessible surface with adequate lighting.
Step 2: Locate a spare 2.5-inch drive bay. If you don't have one, either remove an existing drive, or be prepared to use some tape or other method for securing your SSD still in the base of your case, or against a side panel. While SSDs are tougher than hard drives, and are less susceptible to physical damage, you still don't want it rattling around if you need to move your PC.
Step 3: Locate a spare SATA power connector. It will have an L shape. Plug that into the appropriate power port on your SSD. Then grab a spare SATA cable — you should have gotten one with the SSD or your motherboard — and plug it into the SSD. Then secure the other end into a free SATA slot on your motherboard. It should be located somewhere along the front edge of the board.

Step 4: Before closing up your PC, plug in the cables again and boot it up. Check the BIOS as well as Windows to see if the new SSD is detected. If not, you may need to initialize it within the Windows Disk Management utility.
If it still doesn't show up, follow the steps linked to in the NVMe section above and you should be able to fix it.
Got a laptop that needs a storage upgrade? Here's how to install an SSD in your laptop.


