
If you own a Chromebook, there’s a lot that you likely already know you can do with it. Enjoying Android apps or features like Google’s new Phone Hub in Chome OS might just be two things you’re already doing.
However, there’s a lot more to your Chromebook than you might know. Here’s a look at seven things you can do with your Chromebook that you may not have known about.
Unlock your Chromebook with your phone
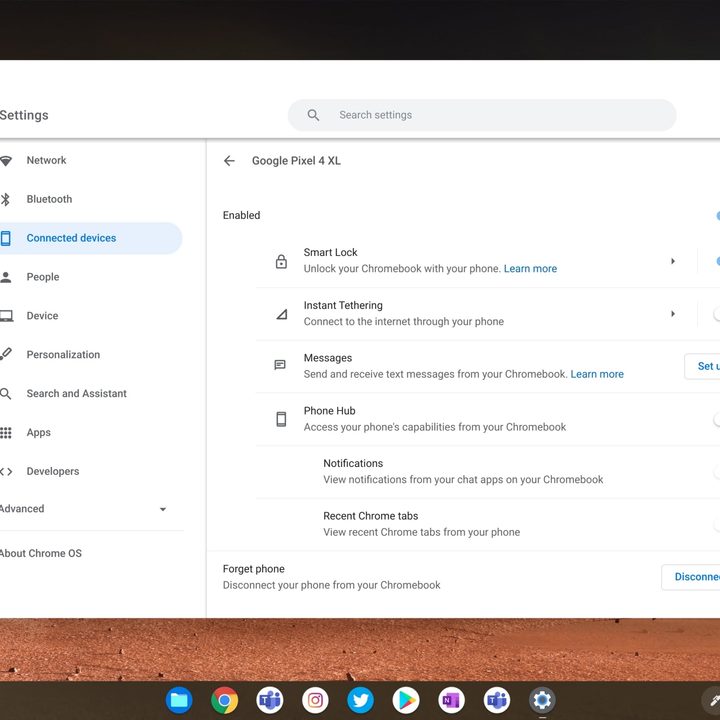
Android and Chromebooks now go hand in hand, and one of the ways in which this occurs has to do with logins. If you’re tired of entering in your password or entering in a pin each time you unlock your Chromebook, you can actually unlock your Chromebook using just your phone. The feature is known as Smart Lock.
Smart Lock on a Chromebook works in the reverse way of Windows 10’s Dynamic Lock feature. When your Android phone is near your Chromebook, it will automatically unlock it without the need for passwords.
To get started with Smart Lock, you’ll have to make sure that you’re signed in with the same Google Account on your phone as you are on your Chromebook. You’ll also have to ensure that Bluetooth is enabled on both devices. Finally, you’ll have to ensure that Screen Lock is set up on your Android phone with a password, PIN, or pattern.
Once those criteria are met, you can easily log in to your Chromebook with your phone. Simply visit the Chromebook’s system settings by selecting the time. Then choose Settings. Under Connected Devices, choose your Android phone, then select Smart Lock > Unlock device, and sign in to your Google Account. You may have to enter your password.
Your device will now unlock and you’ll be signed in when your Android phone is nearby and unlocked. No more typing of passwords required!
Use the Chromebook launcher as a calculator
Need to do some quick math? Usually, you’d open your Chromebook’s calculator app, but did you know that you could run some quick calculations using just the launcher on your Chromebook? Simply tap the everything button on your keyboard (it’s the one that’s a circle where Caps Lock would be) to summon the launcher, and then start typing your math problem followed by the enter key. You should see an answer pop up in the Chrome browser. It’s a great way to get answers on the fly through Google without having to download or use an app.
Run Windows with the Chrome Remote Desktop App
Need to run Windows 10 on your Chromebook? Perhaps you want to use a program that isn’t on your Chromebook as an Android app or a website? There’s a neat solution to getting Windows on your Chromebook through the internet called the Chrome Remote Desktop App. With no subscription or paid software required, it’s free and great!
But we do have a note. The Chrome Remote Desktop app works over the internet to stream a Windows 10 PC to a Chromebook. Note that you’re NOT running Windows 10 natively this way. You’re just streaming an existing Windows 10 to a Chromebook through the internet. You’ll need a solid internet connection, (preferably a 5 GHz connection for low latency) for this to work properly, with less lag.
To set up Chrome Remote Desktop, visit the Remote Desktop app first in Chrome on your Windows 10 PC. You’ll want to click Remote Access > Set up remote access link on the screen. Chrome will download an app, and you’ll have to click Accept and Install. Make sure you select Yes on the Open download prompt, and then wait while Windows installs the files for the experience (you might need to click Yes in the Windows 10 User Account Control prompt).
You can then name your PC and follow the steps on the screen. Be sure to choose a PIN you can remember, and hit the Start button. This will make your Windows 10 PC available for access online.
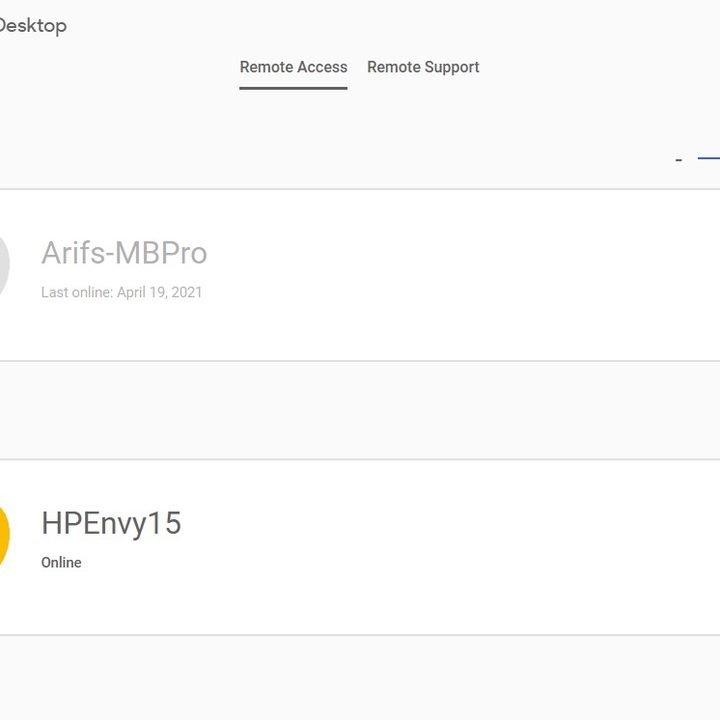
Now, head back to your Chromebook. On your Chromebook, visit the Chrome Remote Desktop site again, then click Access My Computer and select the device from the list, as seen above. Enter in the PIN, and then allow your Chromebook to connect. You’ll now have full-screen access to your Windows 10 PC, right on your Chromebook.
Have guests use your Chromebook as theirs with Guest Mode
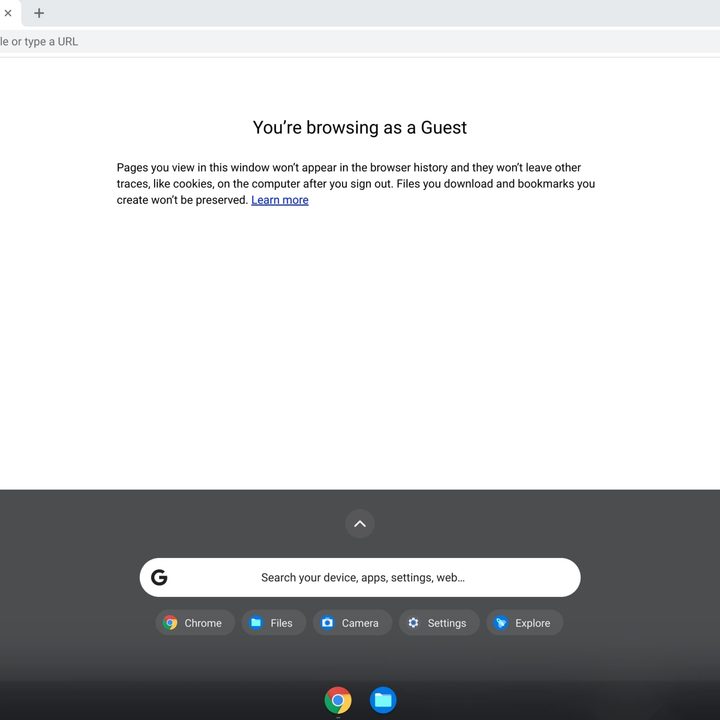
Sharing your Chromebook with your family member? Or perhaps a friend might want access to your Chromebook? You can give them access to your device, without having to share your password or personal information. Simply sign out of your own account, and then choose the Browse as a Guest option on the lock screen. This will create a guest space for anyone to use. They won’t have access to your files or apps, any traces they leave will be deleted, and any files downloaded won’t be saved. You can quit out of Guest mode at any time by clicking the time, and then choosing Exit guest.
Get back your Caps Lock key
Missing the Caps Lock key on your Chromebook? It’s one of the major differences between a Chromebook and a Windows laptop, as the Caps Lock key is removed in favor of the “everything button” (the key with a circle on it), which summons the Chromebook Launcher. Anyway, if you have a newer Chromebook with an Assistant Key built-in, you can remap this key to Caps Lock through the system settings. Just be aware, you’ll lose the Assistant functionality if you do this.
Visit the settings, and then click Device. From there, choose Keyboard. Under the Assistant, choose Caps Lock, and then chose Settings. You should now have a Caps Lock key back!
If this doesn’t work for you, or if you don’t have the Assistant button on your Chromebook, just tap the Alt key and then the everything key to toggle the Caps Lock on and off, manually.
Turn websites into Progressive Web Apps
If you’re frequenting a certain website on your Chromebook, or using a service that doesn’t have a dedicated Android app, you can turn the website into what’s known as a Progressive Web App (PWA.) Progressive Web Apps look a lot like a dedicated system app, rather than a website with traditional window and menu controls up top.
To turn any website into a Progressive Web App, visit the website of choice, then click the three downward-facing arrows at the top of your screen next to your profile icon. Then look for the Install [Website name] button. This should launch the website in its own window as an app, free of regular Chrome controls.
If these controls aren’t there for your website of choice, visit the Chrome Settings menu, and then click More Tools > Create Shortcut. Name it, and then make sure the Open as Window button is checked before clicking Create. You can then find the website in your Chromebook’s launcher or on your Home Screen, free of all the clutter from a regular Chrome Window.
Watch your system resources with chrome://sys-internals/
Chromebook feeling slow? Maybe you want to check some system information? Normally, you might download a third-party Chrome App like Cog System Information, but you can check all system information manually directly from within Chrome itself, too. To do this, visit the following URL in Chrome on a Chromebook. chrome://sys-internals/. This will show you the memory in use, a graph with your system internals, and the number of cores and the utilization of your Chromebook’s CPU.
It’s a lot like Task Manager in Windows 10, so give it a try. It’s also great when paired up with the built-in task manager in Chrome. Simply click the three downward-facing dots next to your profile icon, and choose More tools and then Task Manager to see all the activities on your Chromebook, and how the system is handling them.


