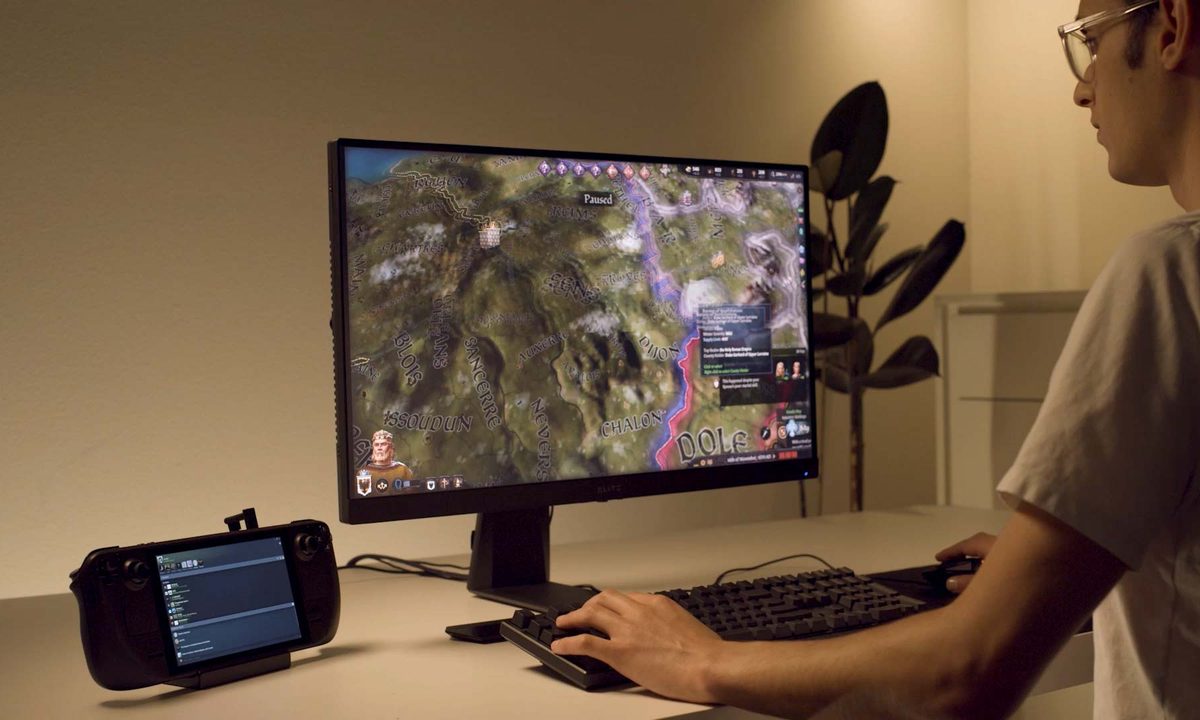
The Steam Deck has a lot of power for its size, and when you want to game on something bigger, you can by connecting it to a larger display. That can be very useful if you’re playing a game where a bigger screen is important for seeing text or detail, or if you’re on the go and want to share some gaming experiences with a friend group. It also makes certain things, like working in the Linux terminal, much easier when tinkering.
Ready to get started? Here’s how to connect your Steam Deck to a TV or monitor for a true big-screen experience.
How to connect the Steam Deck to a larger display
We’ll start by going over the hardware you’ll need and then take a look at the connection process and how to do it safely. With the right equipment, switching to a TV or monitor is a breeze!
Step 1: Find a compatible TV or computer monitor. Remember, different games will see different results when moving to a large screen. You can expect a drop in frame rates for many AAA games (although they should still be playable), which means that refresh rate isn’t a large concern. For best performance results, you’ll also want to keep the resolution around 1080p, so 4K support isn’t a big deal either.
What does that leave? Your display really needs an HDMI port – that’s about it. Most of today’s monitors (some are DisplayPort only, but this is rare) and TVs will have HDMI ports, so you just need to make sure there’s a free HDMI port for you to use.
Step 2: Next, you need a USB-C to HDMI adapter. The ideal solution here is a Steam Deck Docking Station, a hub that’s designed to support just these kinds of setups. Unfortunately, the Docking Station hasn’t been released yet, and Valve has announced that it has been delayed with no firm end date in sight, so it’s not really an option at this time. Other docks could work, but we prefer to recommend the official dock straight from the source.
The alternative is getting a USB-C to HDMI adapter. Again, because of the limits of the Deck, nearly any adapter will do the job here. This at $18 that should do the trick. You’ll want to connect the Steam Deck’s USB-C port to one end of the adapter and your display’s HDMI cable to the other end.

Step 3: You’ll also want to make sure that your HDMI cable is long enough so you don't have to sit right next to the display. HDMI cables that are only a few feet long may not be the right pick unless you can keep your Steam Deck close to the display.
Step 4: Connect the HDMI cable to your display and then to your adapter. Connect the adapter’s USB-C cable to your Steam Deck.
Step 5: If you haven’t done so already, turn your Steam Deck and display on. Wait at least several seconds for the Deck to switch to the external display. If it doesn’t look like it’s working, double-check the HDMI port’s input number and make sure your display is on the right input. Sometimes unplugging your HDMI cable and plugging it back in will fix recognition issues, too.
Step 6: Keep your Steam Deck updated. Valve has said they are working to improve the docking experience with all external displays. You’ll want to take advantage of any software bug fixes or connection updates.
If you want to learn more tips and tricks for the Steam Deck, check out our guide on some of the best things you can do with your Steam Deck.