The Callisto Protocol is ridiculously difficult at times, especially if you run out of ammo. Your Stun Baton works okay at first, but unless you upgrade it, this melee weapon still takes several strikes to eliminate foes. To aid you on your journey, we recommend getting your hands on the Skunk Gun, a small hybrid between a pistol and a shotgun. This optional weapon comes in handy, especially before you acquire more powerful weapons later on.
Unfortunately, it’s easy to miss this weapon, but thankfully, the game gives you two opportunities to get your hands on it. Here’s where to find the Skunk Gun in The Callisto Protocol.
Where to find the Skunk Gun in Chapter 3: Aftermath
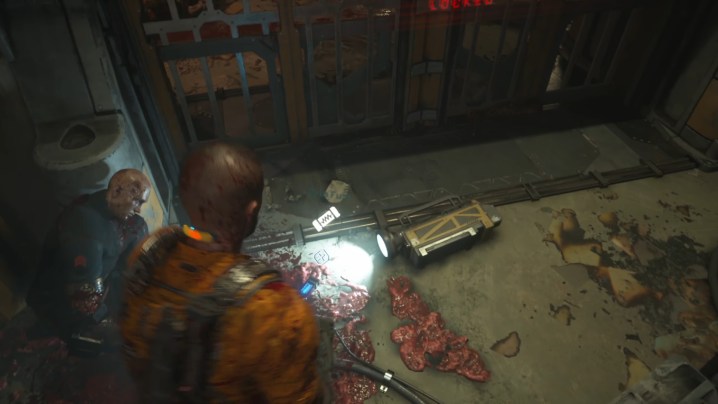
The earliest you can obtain the Skunk Gun Schematic is in the third chapter, Aftermath. Play until you’re required to access the Shu, and you’ll eventually find a fuse in front of a gate that leads to Workshop 0302. Instead of placing the fuse in the door that leads to the Shu, go back the way you came, then climb up onto the upper level, then back down, past the spiky walls.
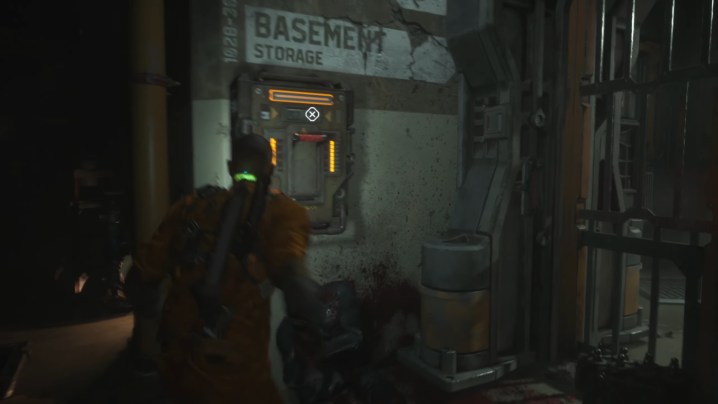
Wrap around and you’ll pass the D4 Basement Storage sign on the wall, climb up onto the platform, then drop down on the other side, past the D4 Storage Sign. Straight ahead is a control switch that requires a fuse. Place the fuse into the panel, then activate it to open the gate. Head inside, through the vent in the wall, and you’ll find the Skunk Gun Schematic on a table to the right.
Where to find the Skunk Gun in Chapter 4: Habitat

A second Skunk Gun Schematic is found in the fourth chapter, titled Habitat. Play until you reach the objective that requires you to reach the biodome, which triggers after you go down an elevator. You’ll know you’re in the right place if you can see Jupiter in the background. Make your way into the Oxygen Processing area after destroying the patrolling robot.
Once inside the Oxygen Processing area, you’ll see an upgrade station on your right, a locked door ahead, and Botanical H624 to the left. Head left into the Botanical H624 area, and make your way past the rotating containers with plants in them. Continue all the way to the very end, and take a right into the Utility Hall H626 area.

Here, you’ll see a chest on your left and a narrow path you can squeeze through on your right. Head right, squeeze through the path, and you’ll be attacked by a small alien. The Skunk Gun Schematic will be on the right on top of a crate. Take it back to the upgrade station and purchase the weapon for 800 credits.
Editors' Recommendations
- The best weapons in Fallout 4 and where to find them
- Where to find the Black Marketeer in Palworld
- Where to find all inventory upgrades in Alan Wake 2
- Where to find The Den in Starfield
- The best powers in Starfield and where to find them