In a market flooded by feature-rich 4K TVs, the Sony X900E still manages to stand out. If you recently picked one up, we think you’ll find this handy set-up guide helpful. Our Sony X900E unboxing and setup video, and the outline below, will give you step-by-step instructions on installation and key picture settings.
What’s in the box?
In addition to the TV itself, you’ll find the following in the box:
- Quick setup guide.
- User manual.
- Stand and pedestal.
- 8 screws.
- IR blaster.
- Remote with included batteries.
- Power brick and cable.
- Protective cardboard — Do not throw this away!.
Several items are not included with the TV. You will need to buy HDMI cables to connect your TV to other devices. The easiest way to ensure you have HDMI cables is to buy the AmazonBasics High-Speed HDMI cables at the same time you buy your TV. If you do not buy the AmazonBasics HDMI cable, make sure that the HDMI cables are rated as “high speed” cables so they can accommodate the large amount of data 4K HDR content requires.
Additionally, the TV does not come with any wall mounting hardware. For information about wall mounting check out our wall mounting guide video.
Hardware setup
Be sure to open the top of the box first. You’ll find a quick setup guide there that will tell you where all the accessories are located in the box.
Begin by assembling the stand. The legs of the stand are labeled “1” and “2,” corresponding to the “1” and “2” on the large main stand piece itself. The legs slip onto the stand over the screws. Push the legs up so the screws sit in the small notches, and the empty screw holes are exposed. From there, simply use the included screws to fasten the legs in place.
Next, lay the TV face-down on the protective cardboard. Slide the assembled stand into the slots on the bottom of the TV, then use the four remaining screws to attach it.
Next, we’ll get power to the TV. Plug the supplied AC cable into the power brick, then plug the lead from the power brick into the port located at the lower left side on the back of the TV.
Almost all of the X900E’s inputs reside on the right-hand side bay. These include three HDMI ports (including one with ARC), three USB ports, analog video and audio ports, Ethernet port, and antenna connection. A second, smaller recessed bay includes another HDMI port and legacy inputs.
The legs of the TV stand are hollow, with slots for stringing your cables through so they aren’t visible when connected, resulting in a clean look.
Features and design
Since Sony broke out the power supply into an external power brick, the profile of the Sony X900E is thin. There’s still a little bump out in the back — much like you’ll find on many TVs — but expect a clean look when wall mounting.
The black matte bezel is thin, at about a half inch, and the stand is only 20 inches wide, which should make the X900E easy to set up in any entertainment center. Factor in the stand’s built-in cable management, and you have yourself a great looking TV.
Keep the viewing angle in mind when placing the X900E. The picture is great, but if viewed too far off angle from the “sweet spot” of dead center, the picture will wash out. Make sure your TV and seating arrangement are angled for the best possible picture.
Software setup
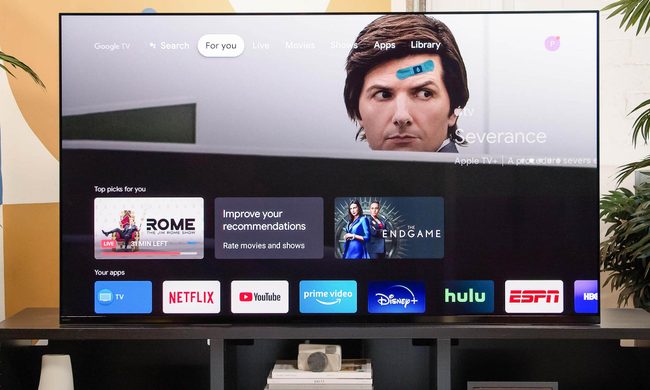
The X900E runs Android TV smart TV OS, which provides a quick setup wizard when you turn it on for the first time. Software setup starts with configuring your Wi-Fi connection if you’re not already connected to the internet via Ethernet cable. After you’ve connected to the internet, the TV will offer to scan for TV channels if you have an antenna connected, or it will program itself to control your cable box. Since this is an Android device, be sure to log in with your Google account if you have one. This will open up features like personalized recommendations or access to content you have already purchased through the Google Play Store.
If you’re planning to use the X900E remote’s voice controls, this needs to be enabled in the settings menu first. You’ll then be able to control the TV with OK Google. Users with an Amazon Alexa device can also control the TV through an Echo speaker. Finally, content can be cast to the TV via Google Cast-compatible apps.
For picture, we prefer the Cinema Home picture preset. It provides the best contrast, with solid brightness and great color. Two other settings are also worth mentioning: Cinema Pro, which darkens the picture a bit, making it great for dark rooms, and the Standard setting, which we recommend for those watching in brightly lit environments, such as a sun-filled room.
We hope this Sony X900E unboxing and setup guide has been helpful. Enjoy your new TV!