
You have a nice family vacation picture you want to send to a friend, but there's a problem: You either don't have their phone number, or they changed their number and the one you have is no longer in service. However, if by chance they're sitting in the same room as you, you can send them that picture without needing to ask for their number -- and it's all thanks to AirDrop.
Apple introduced AirDrop as part of the iOS 7 update in 2011 to facilitate peer-to-peer file sharing without the need for people to ask for contact information as long as you're standing in close proximity to each other and your Bluetooth is enabled. It's proven to be a quick method of sharing files with people when you don't want to use text or email.
An example of the usefulness of AirDrop is when you take a selfie of a whole group. A few people within the group may ask you to AirDrop the picture to them in lieu of sending it in a text message. This can happen whether you already have their phone number to begin with, or have just met them for the first time and may not see them again. If you're asked to AirDrop pictures to their phone for the latter reason, it's because they're cautious of giving their number to people they don't know very well. The same logic may apply if you ask people who took pictures of you on their phone.
You can also send and receive AirDrops on your iPad. You can either send AirDrops from iPad to iPad, or from iPad to iPhone and vice versa.
How to send an AirDrop
The first thing you'll need to know is how to send an AirDrop. Here's how.
Step 1: Open Photos and select a picture.

Step 2: Once your picture is selected, select the Share button on the bottom left corner of the screen. Select the device you wish to AirDrop the picture to if it appears in the first row. If you don't see it, select AirDrop in the second row.

Step 3: After tapping AirDrop, you'll see the Send Copy with AirDrop window pop up. Here, you'll see recipients in two categories: My devices and People.
Under People, select the contact you want to AirDrop your photo to. You can also bring your iPhone close to the intended recipient's iPhone in case their name (or device name) doesn't appear.
Under My devices, select any of the devices tied to your Apple account (your iPad or MacBook, for example).

How to receive an AirDrop
Of course, there will undoubtedly come times when you'll need to receive an AirDrop from someone. Here's how you do that.
Step 1: When you get an AirDrop, you will receive a notification from the sender asking you to either decline or accept the photo(s).

Step 2: Select Accept and the photo(s) will be saved to your phone.

Step 3: Not sure if it arrived? Go to your Album to make sure the photos AirDropped to you are actually saved.

How to stop people sending you AirDrops
There may be times where you might receive random AirDrops from people you don't know, which can be surprising or, at worst, dangerous. Here's how you can stop people from sending you unsolicited AirDrops.
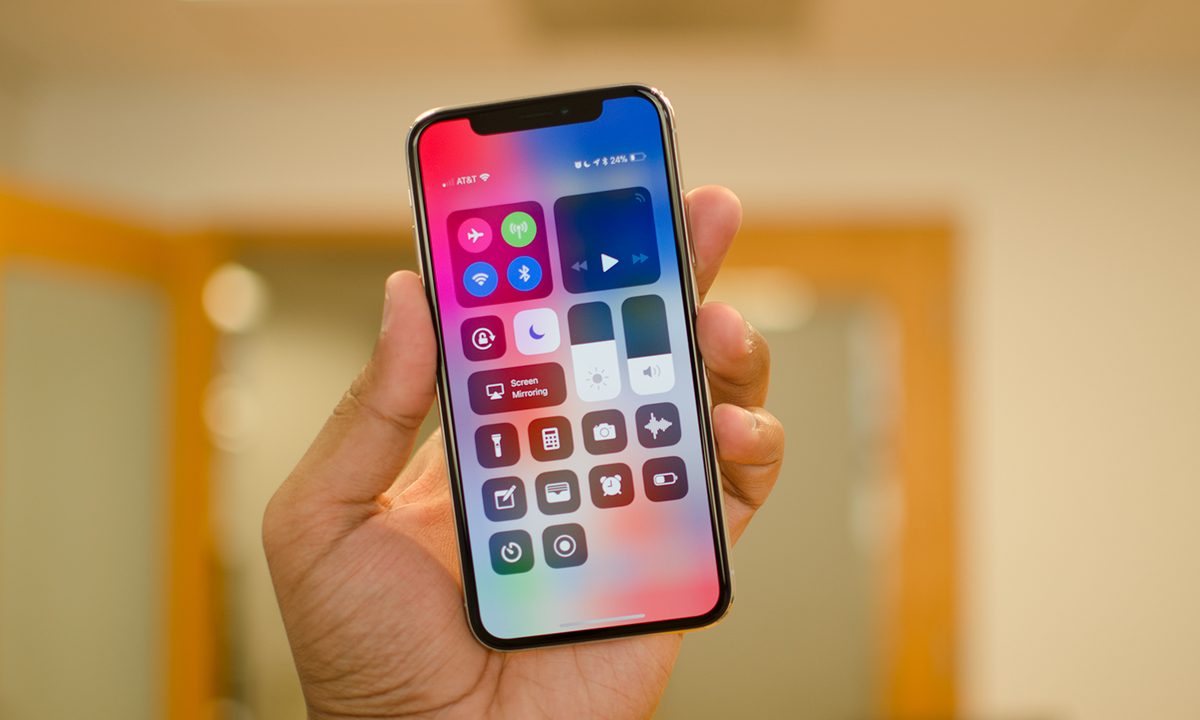
Step 1: Swipe down from the upper right corner of the screen and select the app folder to open it.

Step 2: Select AirDrop and you'll have the option to either turn it off, receive AirDrops from Contacts only or Everyone for 10 minutes. Select Receiving off.

How to use NameDrop
As the name suggests, NameDrop allows you to share your contact information with someone else without having to borrow their phone and type your number in manually or asking for their number and texting it to them. Here's how you can save time when giving your number to a new friend with NameDrop.
Step 1: Hold your iPhone near someone else's iPhone, and your contact poster will appear.

Step 2: Select your Info screen and choose if you want to share your phone number, email address, or both. Once you made your choice, select Share > Done.

AirDrop is the easiest way to share your pictures and other files with people directly in front of you. It helps save time for you and your friends, new and old, so you can use that time to bond and share memories and important information.
As far as NameDrop is concerned, it's the safest way to share your contact information and helps to ensure your number doesn't fall into the wrong hands. It also helps ensure that the number you shared is correct, saving you the headache of the other person not calling you because of a wrong digit or two.


