Wouldn’t it be great if you could stop moving the power brick for your phone charger from outlet to outlet? Fortunately, installing an electrical outlet with built-in USB ports is a fairly straightforward DIY venture that can make all the difference. Once complete, you can charge your mobile devices to your heart’s content while freeing space for available power outlets.
We’ve put together a guide on exactly what you’ll need to install a USB outlet yourself. Before we get started, however, an important warning: Regulations governing electrical work in the home vary based on the country and state. Before following the steps below, please check that you are authorized to perform electrical maintenance in your area and that you have the safety tools needed to do so.
Step 1: Select a USB-equipped power outlet
A couple of years ago, you’d be hard-pressed to find a power outlet with integrated USB ports, but now there are several options available. Top models from brands like Legrand and Leviton are some of our top recommendations, but you could also choose a cheap, unbranded outlet. You’ll find a range of configurations and colors available, and you can relax knowing that they’ve been built and tested for safety compliance.
Keep in mind, however, that USB-equipped outlets are much deeper than regular designs due to the additional electronics that have to be packed in. This being the case, you’ll need around 3 inches of depth in the wall to install your new outlet. Once you’ve scouted a location that’s ripe for an upgrade, be sure to check the size of the junction box behind the outlet before making your purchase.
For our guide, we selected the Legrand TM826USBWCCV Outlet, which supports two USB ports and two tamper-resistant power outlets. You should be able to pick up this model (and similar units) for around $25. You can check it out here.
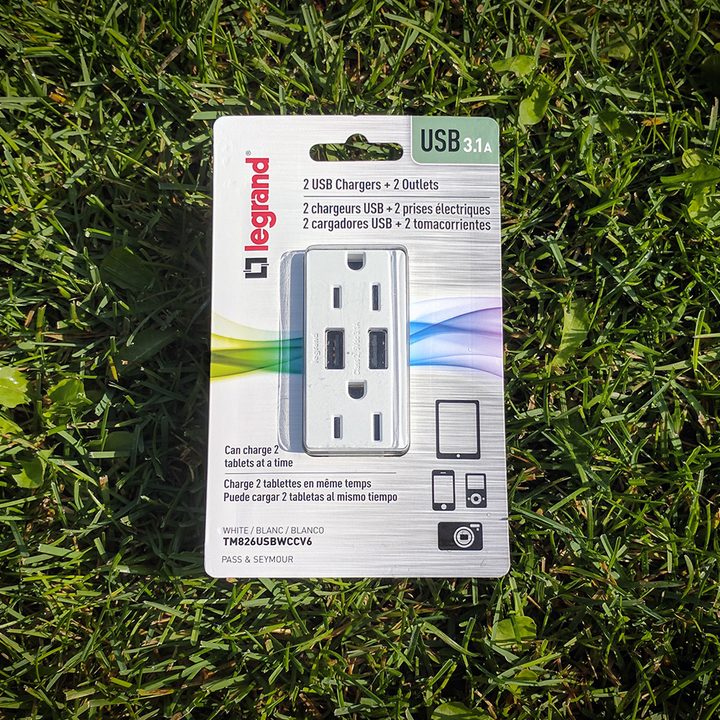
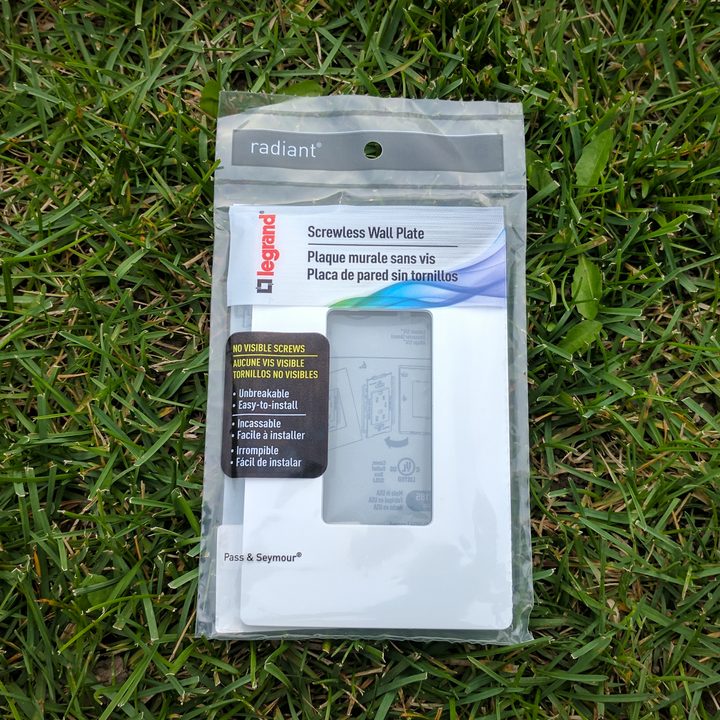
Depending on your existing outlet, you may also need to pick up a wall plate to surround the sockets. The wall plate on our outlet has a horizontal bar between the outlets, which is where the new USB ports are going to be positioned. So, to accompany the USB-equipped outlet, we selected the Legrand Screwless Wall Plate, which matches in color and finishes.
Step 2: Treat yourself to an outlet voltage tester
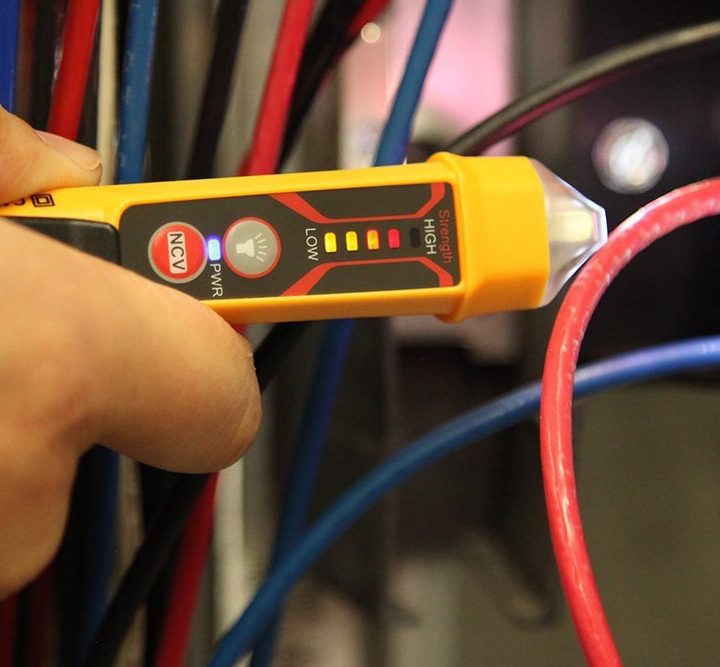
Alongside a screwdriver, the other tool we’d highly recommend for this job (or any involving electrical outlets) is a voltage tester. Obviously, we’ll need to switch off the power at the electrical panel before swapping the outlets, but to be absolutely certain that the outlet isn’t live, you should check it with a voltage tester.
Inexpensive devices like this Non-Contact Voltage Tester from Klein Tools provide visual and audible warnings when voltage is detected in an outlet. It’s available for around $20, and there’s an updated NCVT-3 model equipped with a flashlight that can be had for under $25.
Once you have the voltage tester in hand, test it on a socket you know is live so you can be sure it’s working.
Step 3: Switch off the electricity
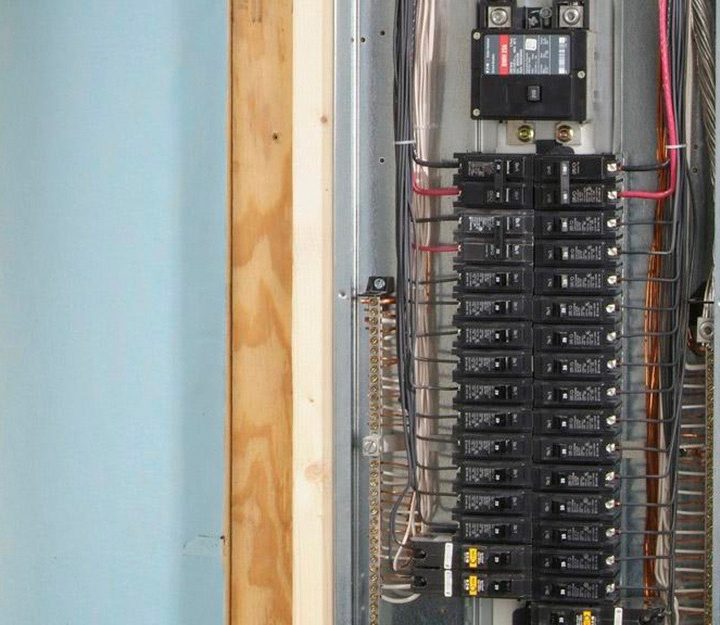
Once you’ve decided on the outlet you wish to replace, head to your home’s electrical panel. Switch off the power to the room/outlet you’re replacing or, to be sure no electricity is flowing, turn off the electricity completely.
Step 4: Remove the existing wall plate and outlet
Use your voltage tester to double-check that the power has been cut, then carefully unscrew and remove the wall plate and outlet from the junction box behind.
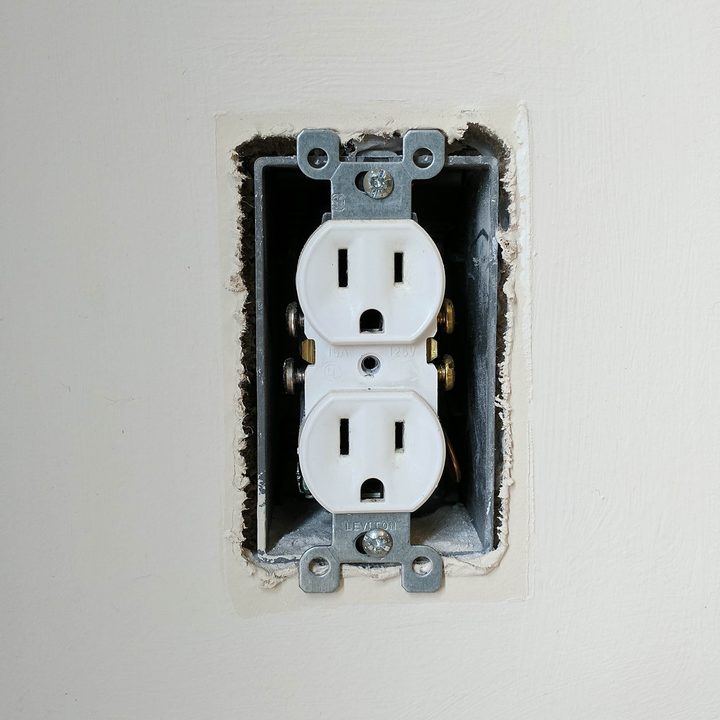
Step 5: Note the existing wiring
Take a photo of the existing wiring (or sketch a quick diagram) so you know how to rewire the new outlet when fitted. In North American homes, expect to see Neutral (white), Hot (black), and Ground (bare copper) wires. Other continents have different codes, so be sure to check the existing connections. Better still — label the wires before you remove them.
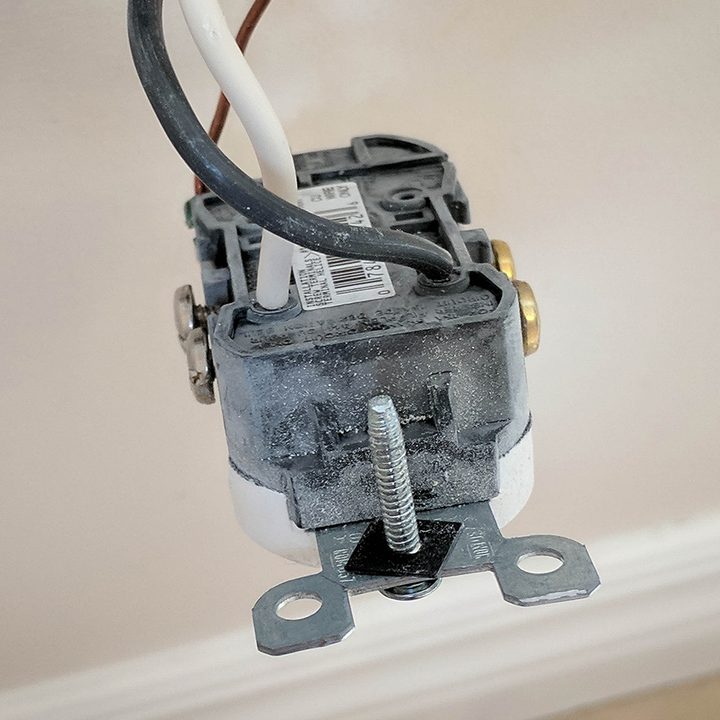
Step 6: Remove the wires from the old outlet
Take your screwdriver and loosen the retaining screws holding the electrical wires in place. Keep in mind that they may be held in place with quick-release clamps rather than screws. If so, find a small screwdriver or similar implement — a SIM tool will even do the job — and press the recessed release button to free the wires.
Step 7: Connect the USB-equipped socket
Reverse the steps to wire in your new electrical outlet. Then, ensure the Neutral, Hot/Live, and Ground wires are securely connected to the correct terminals.
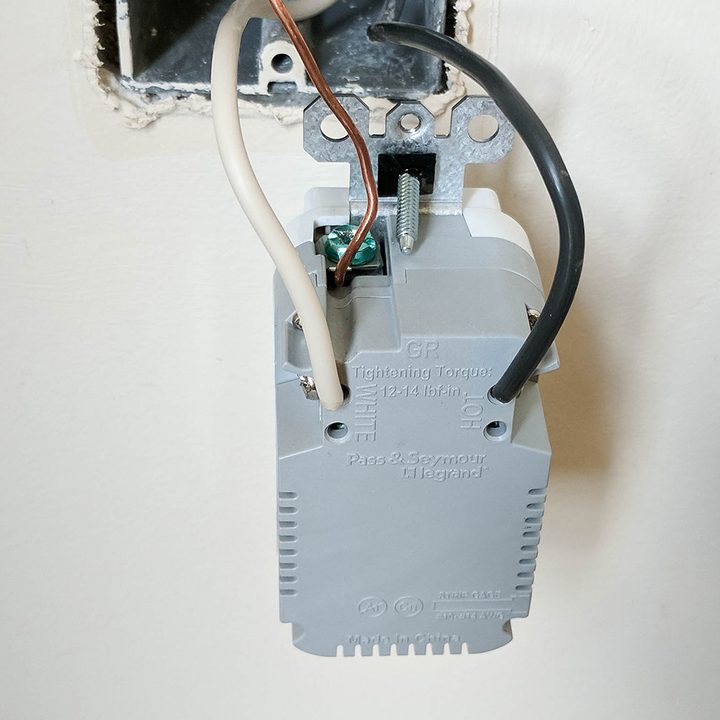
Step 8: Secure the outlet and wall plate
The hard work is over! Secure the new outlet to the junction box. The screw holes are in the same location; this means you can use the same ones from the previous outlet without having to drill more holes into your wall.
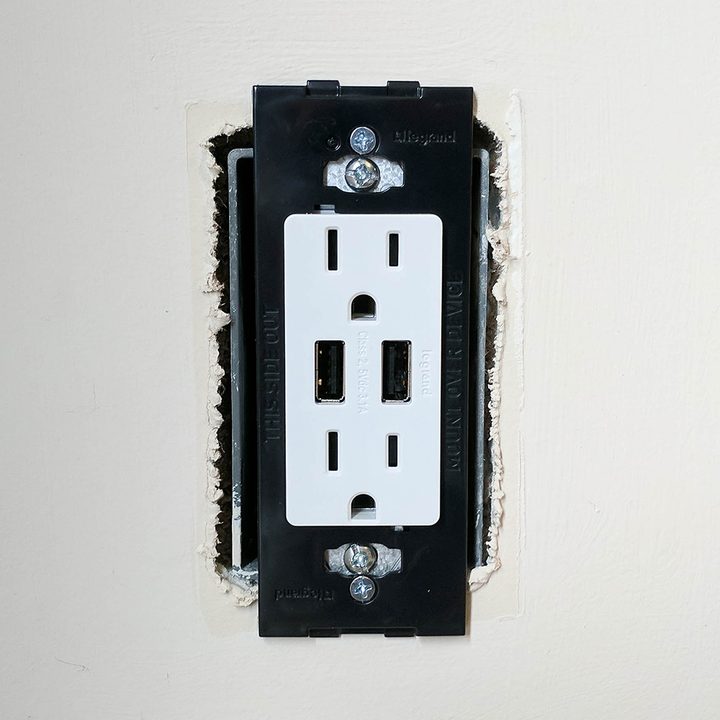
Now fix the wall plate over the outlet before standing back and admiring your handiwork.
Step 9: Power on and test
Head back to your circuit breaker and flip on the power to the outlet in question. Use the voltage tester to ensure that the outlet is working and that the right amount of electricity is flowing before you plug in a USB device to test it.
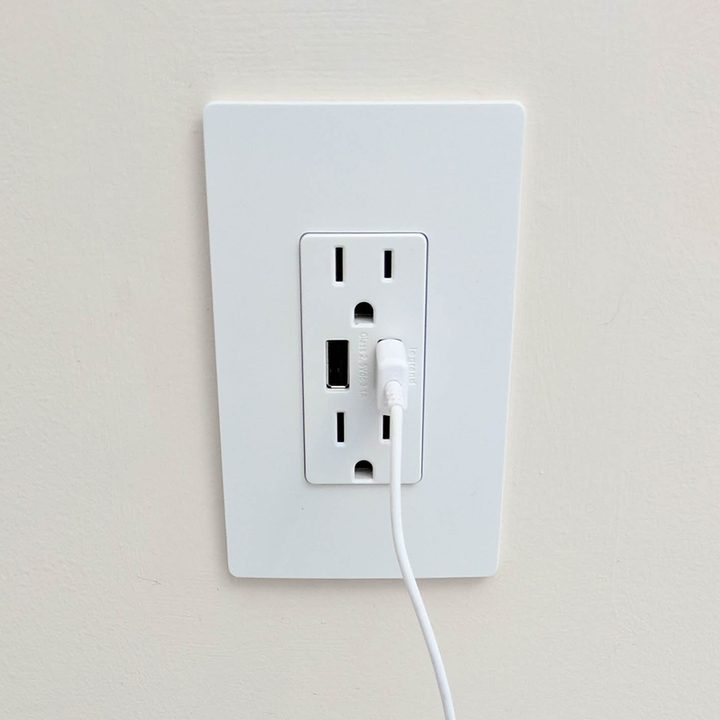
Since these outlets are relatively easy to install, they’re an affordable option (costing just $30) to upgrade your home in a way that many people wouldn’t think of, but everyone looking for a fresh and brand new charging point can benefit from. Now, if only there was a better way to bake wireless charging into your home.