With allergens, disease, odors, and dust building up over the winter months, there are many reasons to consider an air purifier for your home. While there are impressive air purifiers you can buy with plenty of smart tech, they can be expensive, and you may not want to drop several hundred dollars on a new appliance.
Fortunately, there’s a homemade, do-it-yourself (DIY) alternative to consider — one that’s both affordable and effective. All you need is a box fan and some traditional, replaceable HVAC filters. Let’s dive in to show exactly how it’s done.
Supplies
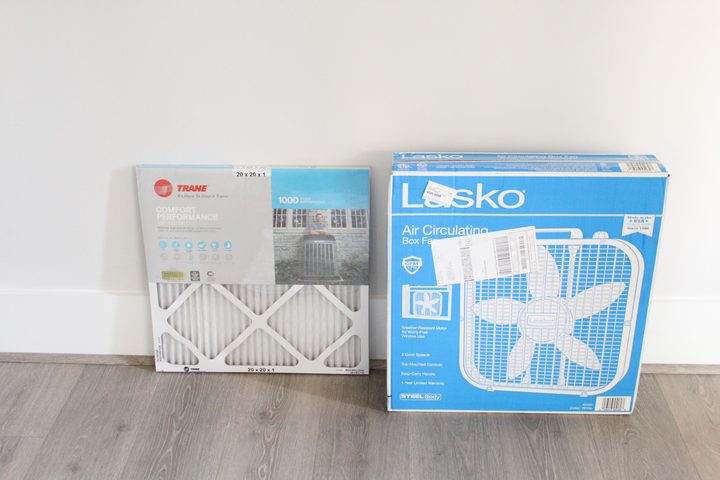
A reliable box fan: If you don’t already have a box fan, you can find affordable options for around $20 to $40, like this Comfort Zone model. Make sure it’s around 20 inches high, a common standard for box fans. A model with a timer is nice, but not required (or you could just plug it into a smart plug).
A pack of home HVAC filters, also 20 inches: You can find these at any big box store or order them online. We suggest you get at least a four-pack for this project. Remember to choose the right size. Extra features like activated carbon are nice, but not necessary. Examine the filter’s Minimum Efficiency Reporting Value (MERV) rating, which is a number up to 20 that indicates the size of particles the filter is rated to capture. A filter with at least a MERV 13 rating is ideal, as it is rated to capture some smaller particles (like some bacteria and viruses).
Four-pack of MERV 13 filters:
A cardboard box and scissors/box cutters: The box should also have sides that are at least 20 inches high and wide, but otherwise, any spare box should do. If you order a fan or filters online, the box they come in should work just fine!
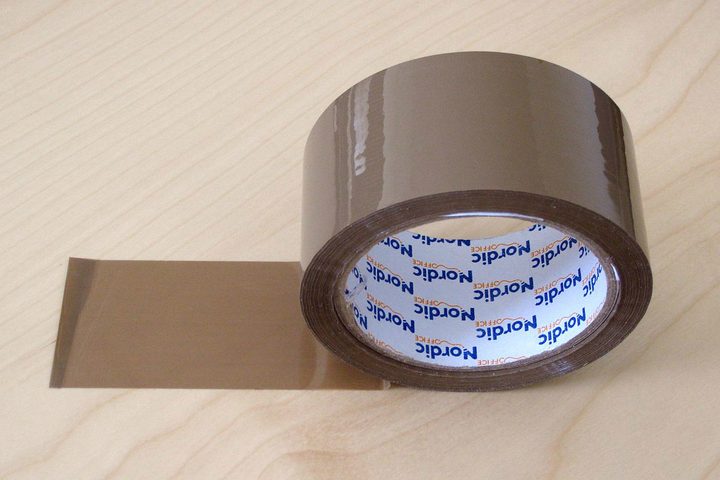
Duct tape: It’s pretty easy to find duct tape online or in the store.
Step 1: Tape the filters
You can skip this step if you want to make a simple one-filter air purifier. All you need to do is attach the filter to the back of the fan with the arrows pointing toward the back of the fan.
However, the most effective DIY home air purifier uses two filters at once for better airflow, and it’s not that complicated to set up. If you would prefer to use this larger setup, then start by taking two of the filters you bought and unpackaging them.
Air filters like these will have arrows on the sides that show which way air is supposed to flow through the filter. Place your two filters together, with the arrows pointing at each other. Now, use your duct tape to tape a 20-inch side of the two filters together to form an angle.
Step 2: Attach filters to the fan
Let’s talk more about your air purifier design.
Design 1: Use one filter for a simple DIY box fan purifier:
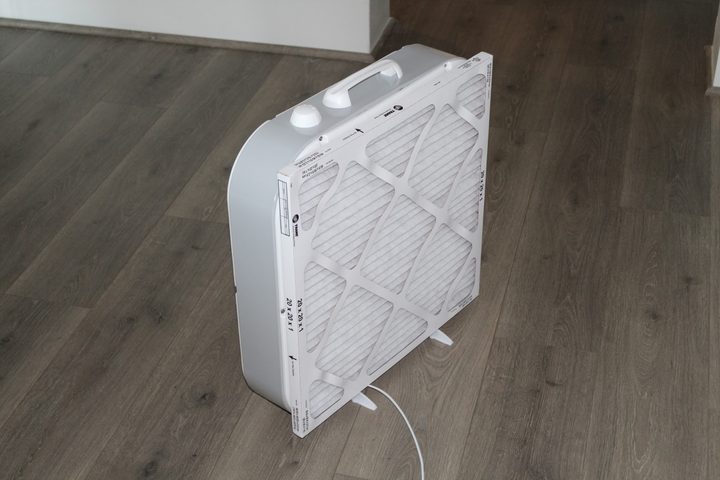
As we mentioned above, some people just tape the filter right to the back of the box fan and call it a day. That’s fine — air will enter through the filter on the back of the fan and then exit through the front of the fan. If you want to do it this way, just make sure the filter arrows are facing toward the back of the fan.
Design 2: Use two filters for a triangular DIY air purifier:
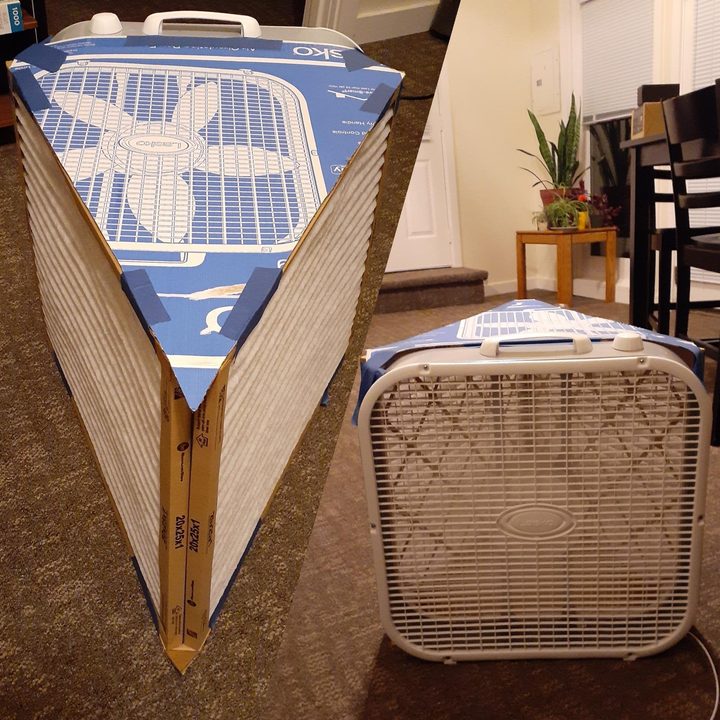
Having a filter lie directly against the fan like that can impede airflow, which doesn’t make the best use of the filtration. That’s why, if you don’t mind a couple of extra steps, we advise the two-filter setup. The Tom Builds Stuff blog has a great example that shows just how this works.
As you can see, you place the other 20-inch sides of the two filters to either the side or the back of the fan and tape them in place. It doesn’t take that much more work, and with greater airflow through two filters, the DIY purifier is much more effective. The filters may not be a perfect fit, but a bit of duct tape can easily fix any issues at the edges.
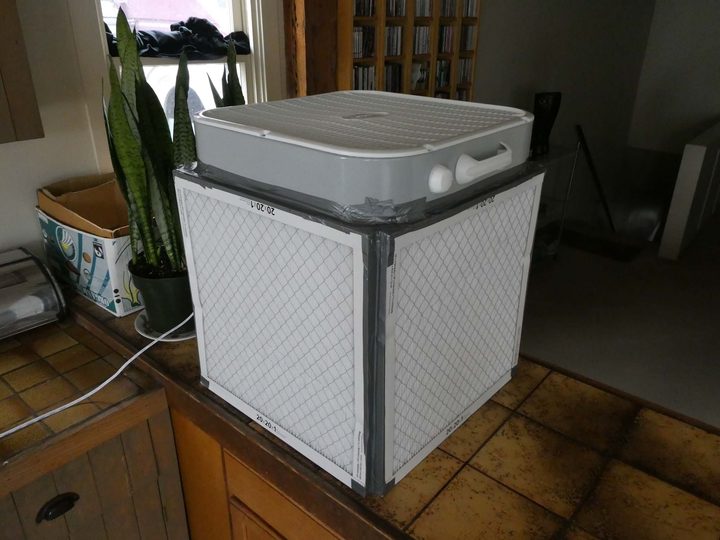
Design 3: Use four filters for a box DIY air purifier:
Some people even go the extra mile and create a four-filter setup, placing the fan on top of the filters and connecting the filters to each other and to the fan with duct tape.
Step 3: Trace and cut out cardboard
This step is unnecessary if you’re going with the one-filter design, as you can simply attach one 20-by-20-inch filter to the back of a 20-inch box fan.
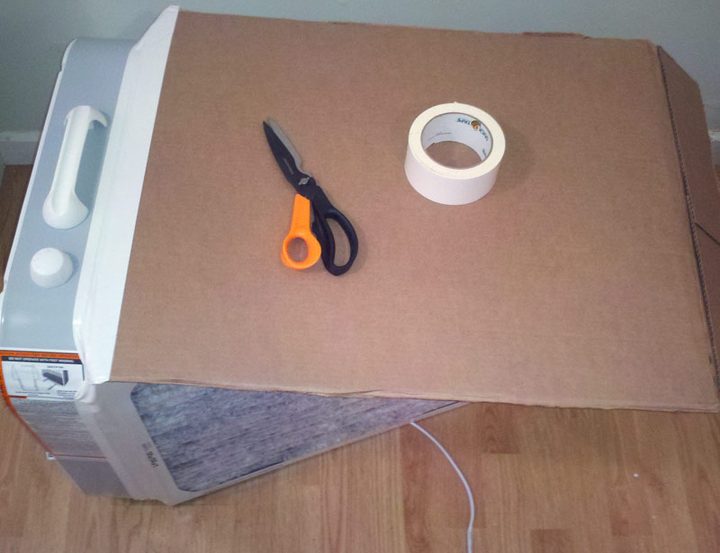
However, with the triangle purifier setup, you have to cover up those additional gaps, so the fan is actually sucking air through the filters themselves. This is where your cardboard comes in.
Set your purifier on the side of the cardboard, and cut or trace around it to create a cardboard triangle that can comfortably fit the air purifier’s gap. Use this triangle to create a mirrored cardboard piece for the other side as well.
Step 4: Tape the cardboard to create a seal
Now, bring out your duct tape again, and seal the edges while attaching the cardboard to the top and bottom of your DIY purifier. Now the fan will have to draw air through the filters as it runs. A single strip of duct tape around the edges should be fine, but you don’t want any gaps or cracks to impact efficiency.
Now, you are ready to set up your air purifier in a central location in your home.
Step 5: Replace filters as needed
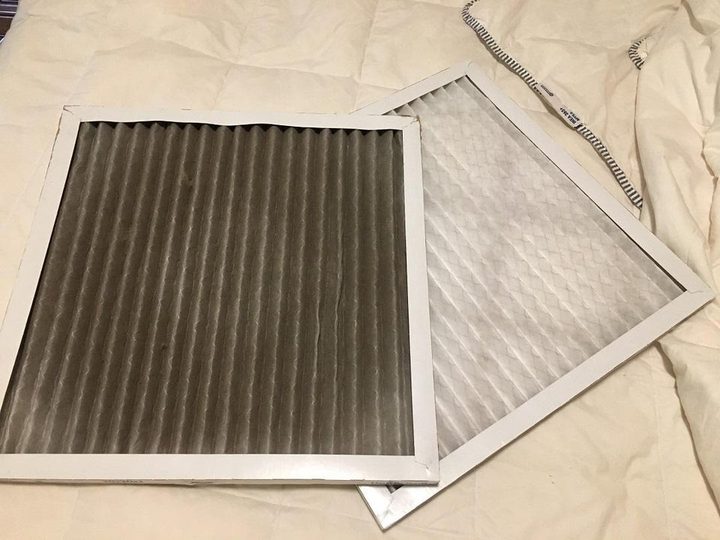
A typical HVAC filter is designed to be replaced every several months or so. Over time, these filters will get quite dirty and clogged with dust. With a two-filter or four-filter setup, the filters may last a bit longer, but you should still keep an eye on them. If they start looking dirty, it’s probably time to quickly disassemble and replace them with new versions to keep the purifier working optimally.