Expanding your repertoire as a photographer is as easy as lining up those white and red dots, and tossing a different lens on your camera. That part is simple… it’s the affording that new lens part that can be challenging.
But there is a solution: Do it yourself. We scoured the great wide web for the most effective (and realistic) ways to make your own lenses and other camera equipment. In this guide, we’ll take you through a collection of some of these simple and far more affordable ways to add a little variety to your portfolio.
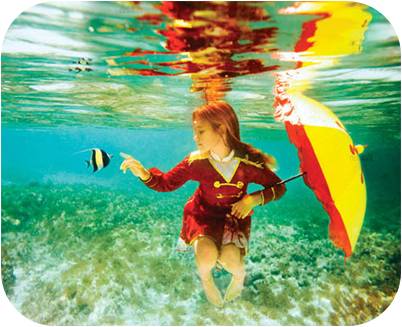
Underwater housing case
 You’ll need:
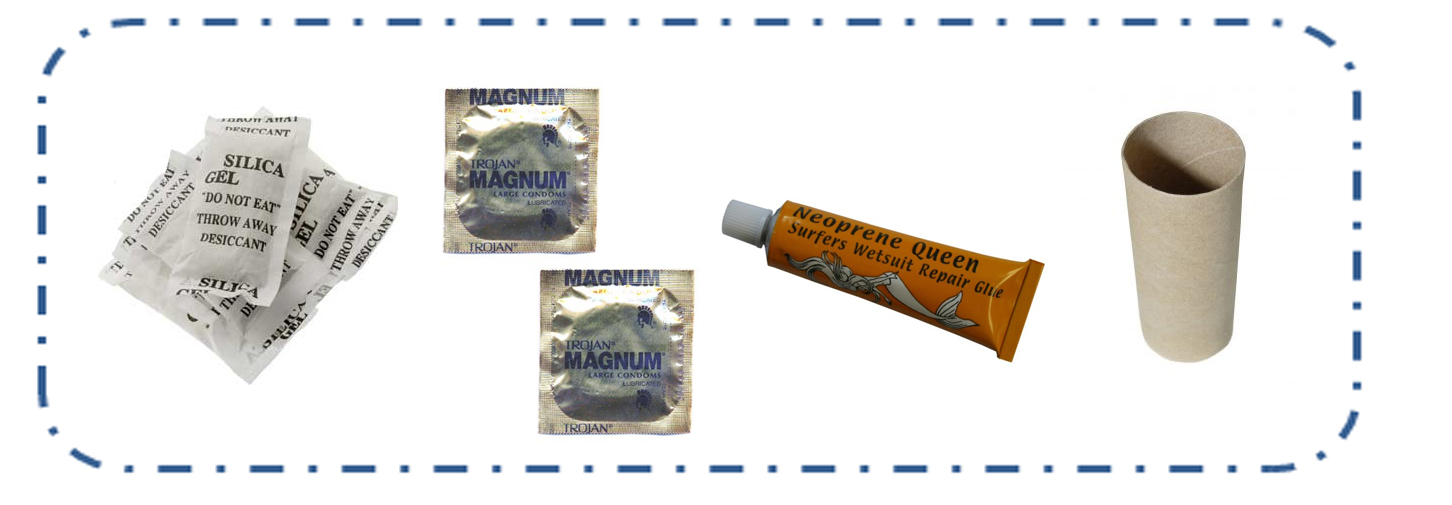
- Silica Gel Desiccant bag ($2.50, Amazon)
- Two size L-XL condom – no lubricant, no powders (price varies on quantity you have to buy)
- Wetsuit glue ($4.98, Amazon)
- Large cardboard roll (toilet paper or paper towel roll will work)
 This might be a little embarrassing, but be sure when collecting your supplies, you get a pure latex condom – no lubricant, no odors, no colors, nothing. If you can’t find any that don’t have some sort of powder in the packaging, that will suffice and you can simply wash it before you begin the construction process.
The rest is relatively simple. (1) Take the cardboard roll (which must be large enough to fit easily around your lens and also extend past it) and place it around the lens. Set the silica gel desiccant bag next to it. (2) Then, wrap the condom around your camera, the cardboard, and the gel bag. Tie a knot so that the condom fits snugly. Secure the knot with the wetsuit glue. (3) Repeat step 2 with the second condom.
Underwater housing case price: $130
DIY version: approximately $10-17
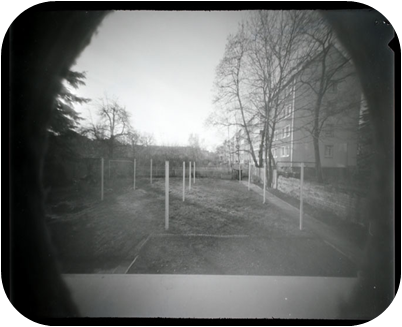
Pinhole Lens
 You’ll need:
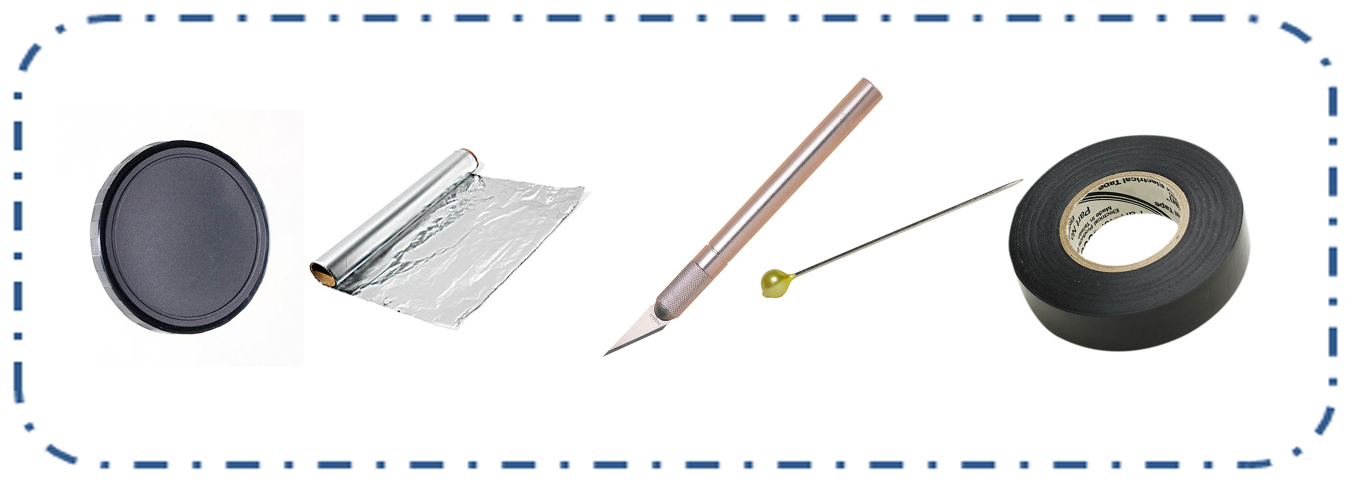
- Old lens cap (six cents to $1, eBay)
- Foil (approximately $8, grocery stores)
- Pin (19 cents, Amazon)
- X-acto knife ($6.06, Amazon)
- Electrical tape ($3.79, True Value)
 The most difficult part of this process will be (1) finding the exact center of the lens cap. Once you do (or get as close as is humanly possible), (2) use the X-Acto knife to cut as small a hole as you possibly can. This is probably going to be too big, so then (3) take the foil and wrap it around the lens, securing it with the electrical tape. (4) Next, take the pin and make a tiny hole in the center, precisely where you cut the first hole.
Pinhole lens price: $155
DIY version: approximately $19.04
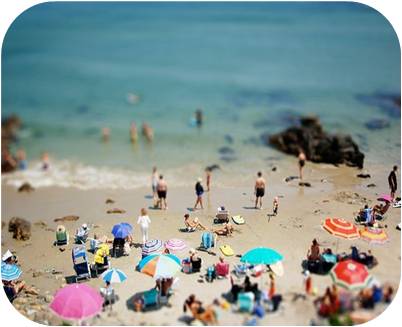
Tilt Shift Lens
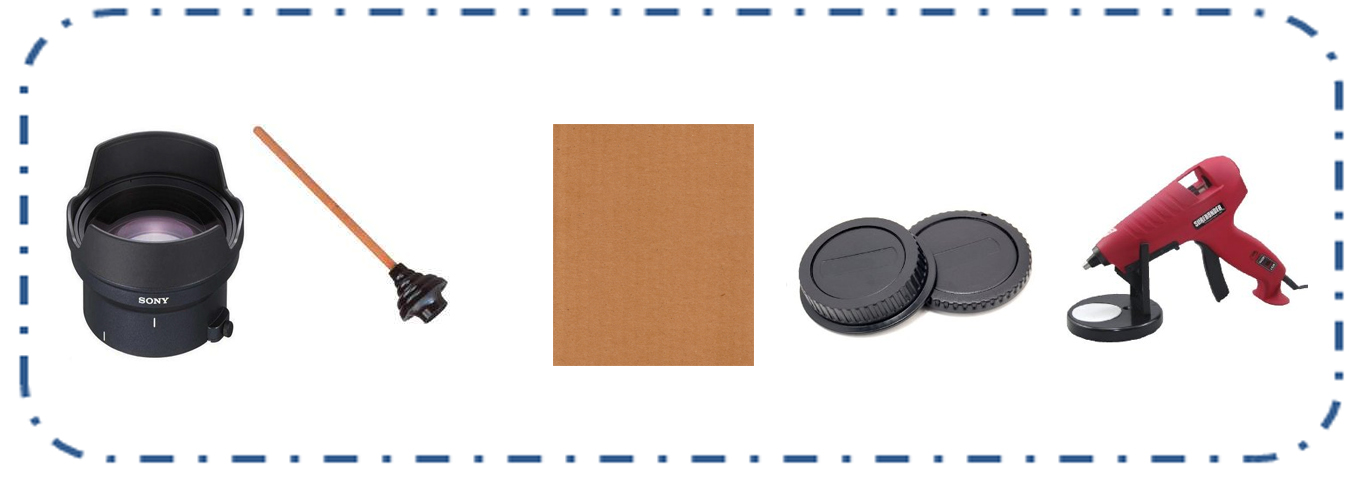 You’ll need:
- Oversized lens, too big for your own DSLR (if you don’t have an extra to donate to the cause, you can find them on Ebay for $30-$70)
- Rubber plunger (the kind that’s black rubber and stretchable) ($7.99, True Value)
- Stiff, non-corrugated cardboard
- Plastic body cap to fit camera body (approximately $1, Amazon)
- Hot glue gun, or other strong adhesive (approximately $16, Amazon)
 You probably gathered from the materials that this one is slightly more complicated than the others. Trust us, it’s worth it – it produces some of the coolest images, and it’s really not that difficult to create. Auto focus is out though, so experienced manual users may find this easier. (1) Hollow out the center of your camera’s body cap (don’t worry, they are cheap to replace) and try to smooth out any of the rough edges. (2) Then cut the stick off the plunger, and try to fashion the rubber part so it will just fit around your lens. Work at this until it fits. (3) Next, cut a ring out of the cardboard, and cut a whole inside that piece, so that it resembles a donut. The inner circle should be the same size as the body cap you originally cut, and the outer ring should be the same size as the open end of the plunger piece. Then it’s time to hot glue everything together: (4) body cap to ring, ring onto plunger. Then you should be able to attach the lens onto the body of your camera.
Tilt Shift lens: $1,800
DIY version: approximately $54.99 – $84.99
Soft Focus Filter
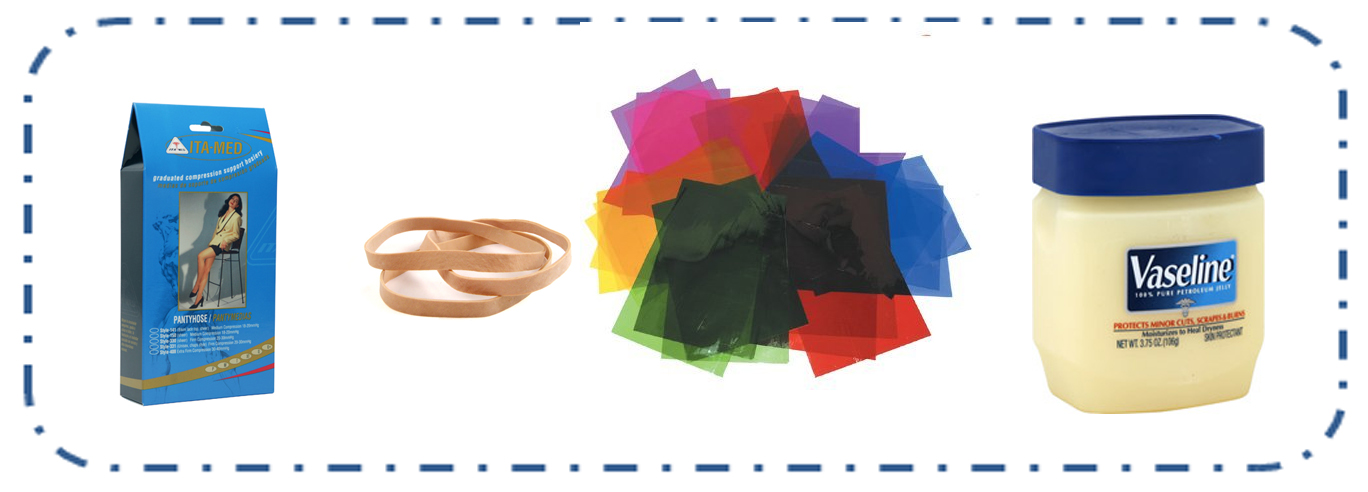 You’ll need:
- Off-white (or whatever color you prefer) pantyhose ($8.95, Target)
- Rubber bands ($1.89, Office Depot)
or
- Cellophane (colored or clear, your preference) wrap ($2.99, JoAnn Fabrics)
- Rubber bands ($1.89, Office Depot)
- Vaseline ($3.99, Walgreen’s)
 Let’s get this out of the way quickly: We’re unsure why a photographer would want to use a soft-focus filter unless you work in a one-hour glamour shots studio in the mall. But for anyone that does, or at least wants to try, here’s the incredibly simple solution. Option one: Take the pantyhose and secure part of it tightly over your lens with the rubber band. Done. If you want to experiment with different colors, be our guest, but for the traditional soft focus stick to nude or off-white shades.
Option two typically sees better results, or at least yields the photographer a little more control. (1) Tightly wrap the cellophane over the lens – again, if you want to try different colors that’s up to you. Secure it with rubber bands and be sure to eliminate any wrinkles. (2) Then smear a thin layer of Vaseline over the cellophane. Add more for blurrier, underwater-type effects, or use less to keep it “natural.”
Soft Focus lens: range between $3-$30, but that’s per color and degree
DIY version: approximately $8.87 -$10.84, and you can alter the color and degree
Fish Eye Lens

You’ll need:(for point and shoot):
- Wide-angle peephole (approximately $10, Home Depot)
That’s it – just hold the peephole up to the camera’s lens and shoot. You’ll have the edit out around the image (you’ll get the inside of part of the peephole) but various free photo editors offer a quick fix.
(For DSLR)
- Peephole (approximately $10, Home Depot)
- Electrical tape ($3.79, True Value)
- Scissors ($4.49, Amazon)
- Toilet paper tube (the sturdier the better – consider using two)
 This works fairly well for being such a quick fix. (1) You can keep your cardboard tube at any length you like, but keep in mind how it will affect your photo – we recommend cutting it to 3-5 inches. Next (2) insert the peephole into the tube about 1-2 inches and be sure the large end of the peephole sticks outside the tube. (3) Then secure the large end of the peephole to the cardboard tube with tape, wrapping it around so the peephole won’t fall out. Last, all you have to do is hold the makeshift lens over your own camera while you shoot.
Fisheye lens: $500-$800
DIY version: $10-$18.28, depending on whether or not you have a point and shoot or DSLR