macOS is an intuitive and innovative operating system. Over the years, Apple has revamped and evolved its tried and true platform numerous times, but there are a number of core features that have been around since the beginning. One of these is the ability to select multiple files at once.
There’s a few different ways you’ll be able to execute this action, and we’re going to give you detailed instructions for each and every method.

Select one at a time
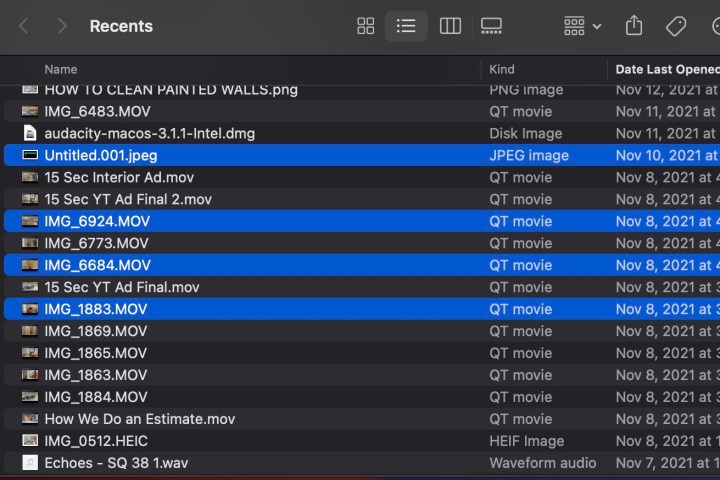
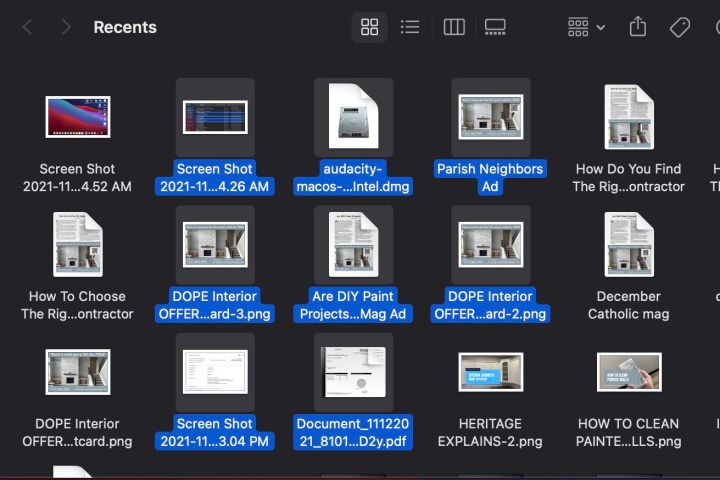
This is the best option if you’re looking to select a variety of files in a folder but you don’t necessarily want all of them. To select various files, the easiest way is to hold Cmd and click on the files you want. As long as you have the Command button held down, you can select as many files as you want. They’ll be highlighted in blue, so you can easily see which ones you’ve selected.

Click and drag
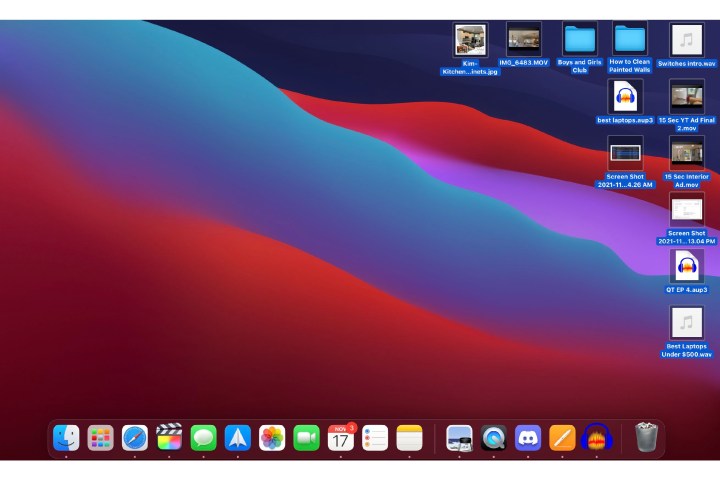
If you’re looking to grab a big group of files rather quickly, you can always click on an empty space and drag. This will create a box that you can resize as you drag. Just pull it over the files you want, and they will automatically be selected.
From here, you can click on the group and then drag and drop it into a different folder or mass-delete them. Whatever you want to do.

Select all on Mac
If you’re looking to quickly grab all the files on your desktop or in finder, the best way is just to hit Cmd + A. This will select everything in that section, whether it’s two files or two hundred. This is great for quickly moving things around or deleting items en masse.

First and last
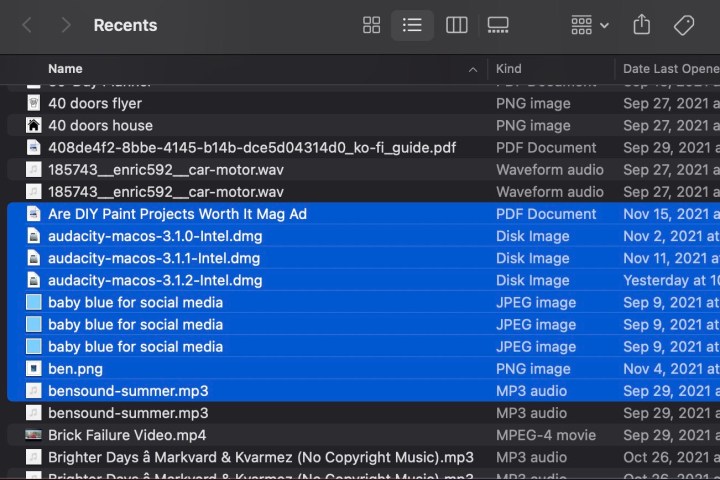
If you are looking to select multiple files arranged top to bottom, you can easily grab the ones you want by clicking the first, then holding Shift and clicking the last one. This will select those files and everything in between them.
For more tips on the Mac, check out our tips and tricks guide. You can also read our review for the latest MacBook Pro and our comparison between the M2 MacBook Pro and the M3 model.
Editors' Recommendations
- Best refurbished MacBook deals: Get a MacBook Air for $140 and more
- Best MacBook deals: Get an Air for $605 and save on M3 MacBook Pro
- Apple has backed itself into a corner
- MacBook Pro OLED: Here’s everything we know so far
- How to create a Smart Folder on a Mac


