

On Wednesday, Tapbots released an public apha version of its Tweetbot Twitter client for Mac OS X. The release is good news for fans of the iPhone and iPad versions of Tweetbot – or for anyone looking for a quality alternative to TweetDeck. Of course, Tweetbot for Mac is not yet a complete product – but almost. In fact, we’d say its more complete than TweetDeck, which is owned and updated by Twitter itself, in a lot of ways. Here is a quick, hands-on rundown of Tweetbot for Mac.
Getting started
First, if you don’t have OS X Lion (10.7 or higher), then you will either have to update your operating system, or wait until Tapbots updates the software to work on earlier versions of OS X. (If that happens – we’ve reached out to Tapbots, and will update as soon as we receive a response.) We were still on OS X Snow Leopard (10.6.8) when we began this process, so we had to wait an hour or so to download and install OS X Lion before we could get started. Don’t make the same mistake.
Next, you can download Tweetbot for Mac for free directly from this link, or by snagging the link at the bottom of this blog post. Download should take less than 30 seconds.
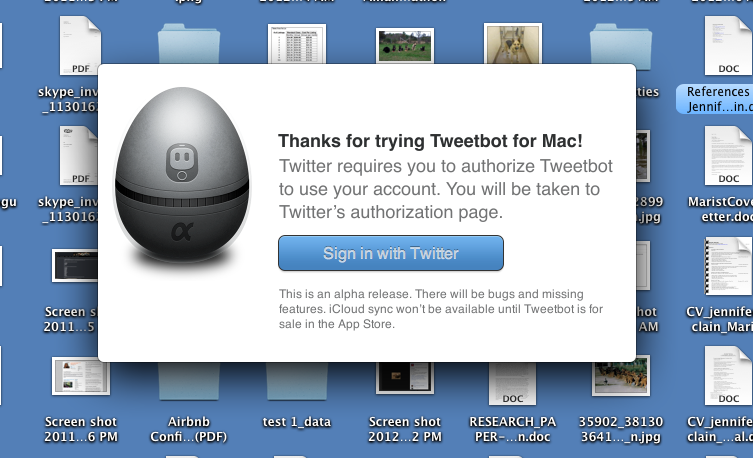
Once installed, you’ll be asked to login to Twitter. At the moment, this process will open Safari (or whatever your default browser is), where you’ll enter your login credentials, and authorize Tweetbot for Mac to access your Twitter account. It would be nice if this could be done directly through the app, but considering that this is how Tweetbot does it on the iOS versions, such an upgrade seems unlikely.
After you login, Tweetbot for Mac will automatically lauch with all your streams, followers, lists, and tweets waiting for your perusal. On our iMac (2.5GHz Intel Core i5), the load time was satisfying and rather impressive.
User Interface
If you already use Twitter – and especially if you already use Tweetbot on your iPhone or iPad – then none of the following will come as a surprise. All of the standard features are intact in Tweetbot for Mac.
The user interface for Tweetbot for Mac is very similar to the iPad version, with a few elements taken from the iPad version. The differences between the iPad and Mac versions of Tweetbot are minimal, and mostly account for the use of a mouse instead of your fingers.
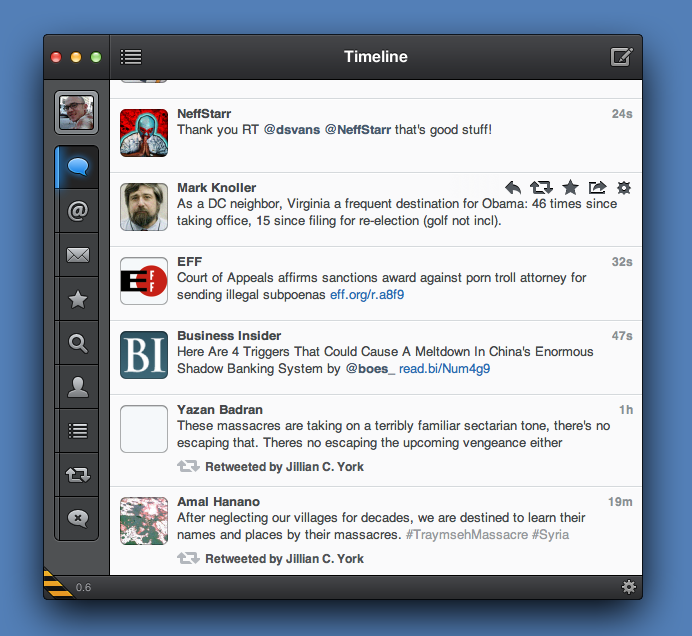
At the top of the Tweetbot window, you’ll find the close, minimize, and expand buttons; a pop-down menu where you can choose between your main Timeline or your lists; and a new tweet button, which pops open a new tweet window similar to what you’ll find on Twitter’s Web interface or TweetDeck (the non-Adobe Air “blue version”).
Along the left side of the UI are buttons for your Timeline (or list), Mentions, Messages, Favorites, search (which shows you saved searches, as well as trends, people, and “top tweets”), profile (yours), lists, retweets by others, and filters. As mentioned, all of these buttons and their functionalities will be familiar to anyone who’s spent more than 30 minutes on Twitter.com or used a Twitter client. One nice feature, which you’ll also find on the iOS versions, is that the Timeline, Mentions, and Messages buttons will have a blue strip next to them anytime you have any new content under those options.
In the bottom left corner, you’ll find a settings icon (it looks like a little gear – you’ve seen it before elsewhere). But for now, that does nothing. I attribute this to the fact that Tweetbot is in alpha at the moment, and expect this to change – though we can’t yet say what settings they will enable.
Reading, tweeting & retweeting
Reading: Like TweetDeck and the iOS versions, Tweetbot for Mac updates tweets in Timeline and lists constantly. And as with the iOS versions, the Mac version does not constantly stream the new tweets (as TweetDeck does), which can make it impossible to read every incoming tweet, especially if you follow many accounts. Instead, it displays how many new tweets have been published since you scrolled down from the top. This number will count down as soon as you hit the new tweets that you haven’t yet seen. Once at the top, the counter will disappear until a new tweet is published.
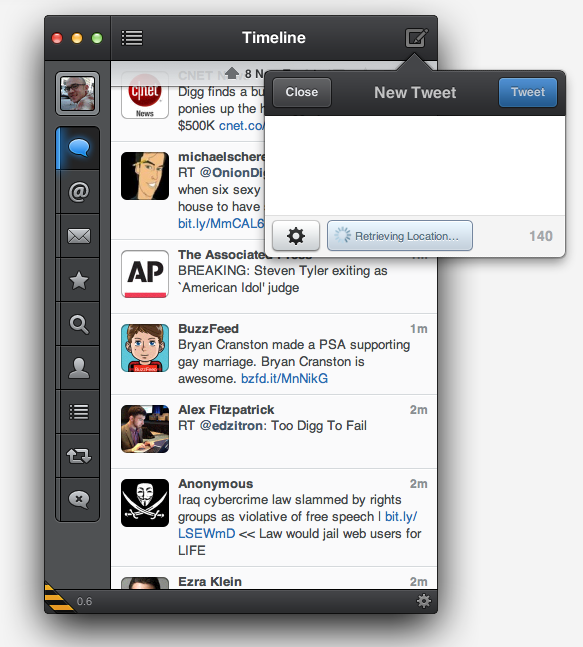
Tweeting: The only way to post an all-new tweet with Tweetbot for Mac is to hit the “new tweet” button on the top-right corner. From there, you can choose to add your location (if you don’t already have your location tracking enabled – I don’t, and never will, because I’m paranoid like that). Or you can add a picture from your computer. Both options are accessible from the gear icon in the bottom-left corner of the new tweet window.
Retweeting: To reply, retweet, or favorite a tweet, you have two options. You can either scroll over a specific tweet in your Timeline, which will cause the appropriate icon options to appear. Or you can click on the white part of the tweet, which will open the detailed view, where you can access reply, retweet, and favorite buttons.
You can also click the share button to copy the link to a specific tweet, or copy the tweet itself. The “copy tweet” option didn’t work for me, so that’s another thing that will have to be fixed in later versions. Finally, click the gear icon in the Timeline view to open more options, including view details, view conversation, view retweets, or view in Favstar, which is an obnoxious-looking website (Favstar.fm) that I never want to use ever.
Odds & ends
Clicking on your profile picture, which appears before the function buttons on the left side of the UI gives you access to any other accounts you have integrated with Tweetbot.
And to access a specific user’s profile, just click their picture (or you can search for them, and access it that way).
The good
Even in alpha, Tweetbot for Mac has a bundle going for it. The UI is snappy and clean. Navigation is simple. And even though the app updates tweets constantly, the numbered notification bar makes it easy to know which tweets are new. Overall, I was pleased with the experience.
The bad
There really aren’t too many negatives to point out, but here’s a quick list:
- It only works with OS X 10.7 or higher
- Logging in requires launching a browser
- The settings button is non-functional
- And really, that’s about it.
Conclusion
Already, Tweetbot for Mac is my favorite desktop Twitter client. Unfortunately, it does not allow you to add accounts from Facebook or other social media sites, which is a handy feature available in the TweetDeck and Hootsuite clients. But the smoothness and simplicity of Tweetbot makes it a top contender. Also – and this is just me nitpicking TweetDeck here – Tweetbot allows you to minimize the window to a narrow, single column, which is excellent for anyone who has a number of applications open at the same time. (TweetDeck, WHY YOU NO HAVE THIS FEATURE ANYMORE?!) All in all, the infant Tweetbot for Mac is a superb client. Go download it now while it’s still free.


