After a few months of use, oils, dust, drink drips, and food crumbs can build up in even the keyboards of our best laptops. No one is immune to this, not even tech experts like us. But there are ways to get your laptop clean again.
We’ve laid out the best ways to clean your laptop keyboard, whether you’re simply trying to disinfect or you need a deep clean. But there are a few critical steps to take before you start scrubbing.
Prep work

Take a minute and go through the common-sense precautions:
- If you have vital data on your laptop, back it up. It’s always a good idea.
- Turn your laptop completely off. You may even want to remove the battery, if possible.
- Make sure your laptop is unplugged and that there are no accessories attached (including USB dongles).
- Make sure you have the space and time. Cleaning your keyboard isn’t something you should do on the go — remember, a desktop keyboard is easy to replace, but if your laptop keyboard gets damaged, that’s a bigger problem.
For long-term dust
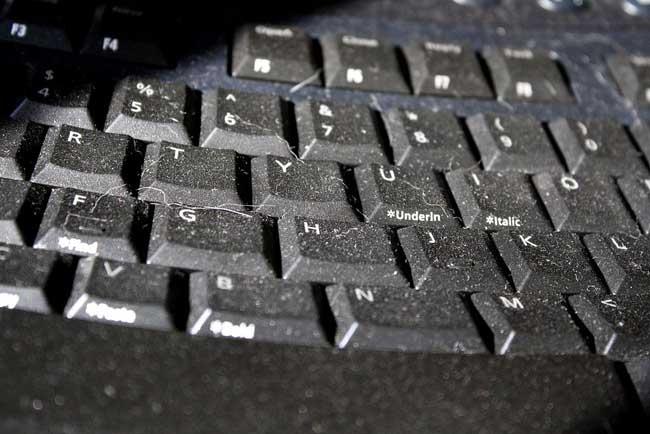
Everyone knows what this looks like. It may not be as bad as sticky stains, but over time, dust naturally builds up between and on the sides of your keys. If you want to get rid of it, grab a vacuum cleaner.
Wait! We mean grab the right kind of vacuum cleaner. The standard solution is a hand vacuum that comes with small brush attachments that you can slowly maneuver around your keyboard while sucking up the dust. A larger vacuum can work if it also has a dust attachment and isn’t too powerful. After all, you don’t want your vacuum to eat any keys.

In a perfect world, the ideal solution is a micro vacuum attachment, which typically isn’t found outside of labs and specialized workstations. That said, you can always buy your own if you’re very serious about keyboard care.
Compressed air is another possibility, but we don’t recommend it. This double-edged sword will blast much of the dust and crumbs away, but it might also blow much of it further into your laptop, potentially causing more problems. A vacuum cleaner is usually a more efficient solution, so start there.
For grime that won’t go away
We’re talking about the crud that builds up as a result of oils, skin cells, grease, food dust, and everything else that might contribute to the gross stains and plaque on your keyboard. You can approach this cleaning mission by using disinfecting wipes, but we prefer using a melamine cleaning sponge, which excels at cleaning up grime such as this.
Once you have the melamine sponge, soak it in water, ring it out, and let it dry enough so that you aren’t leaving streaks of water across your keyboard. Gently rub a corner of the sponge on the soiled parts of the keys until the grime is removed. Melamine can be a very abrasive material if used carelessly, so go slow and try to avoid rubbing off any key characters. The material is also very easy to cut out into the right shape, so feel free to snip off a portion for more customized work.
You can use another type of sponge in the same way, but it may not be as effective, especially when it comes to the more stubborn stains.
For germs
It’s normal to worry about germs on your keyboard, especially if you’ve been working in an office or a classroom full of sick people. If your keys are a little too dirty and you’re wondering if they may have become a biohazard, then it’s time to get out the disinfectant.
Specifically, get some isopropyl alcohol and a bundle of cotton swabs. Isopropyl is essential, because stronger versions thereof may accidentally burn off some of your keyboard letters. Cotton swabs or Q-Tips, on the other hand, are crucial because you don’t want any liquids near your keyboard, even when cleaning. Dip and dab a swab so that it’s damp but in no danger of dripping, and then start wiping your keys one by one. This somewhat tedious method is very effective but easier to do if, well, you’re a little bored and have some time to waste.
For spills
Spilling something potentially sticky across the top of your laptop keyboard is often cause for alarm. To reduce the odds of permanent damage, prioritize protecting your laptop’s internal components. Shut everything down, take out your battery, and unplug the computer if necessary. Don’t turn it back on again until you are confident that any liquid inside has evaporated. Depending on the type of spill (and how severe it is), it may take a day or two to dry out. If it looks like your operating system or data sustained damage, take your laptop in for repairs ASAP.
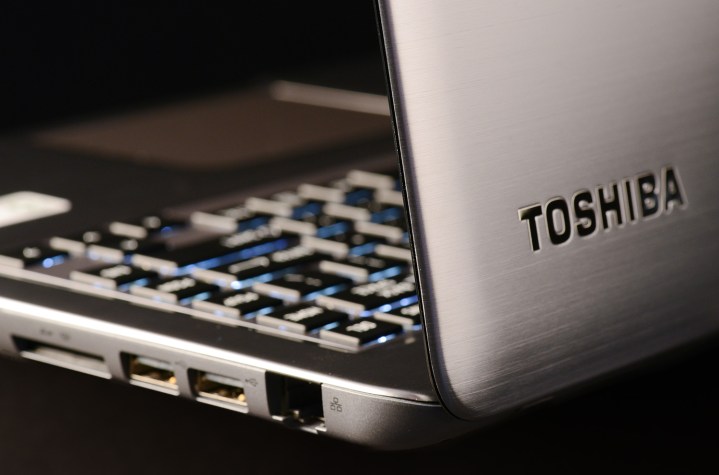
In the meantime, it’s time to clean your keys. For the surface of your laptop’s keyboard, you’ll want a simple sponge or cloth. Odds are you have to go a bit deeper to clean up more concerning residue that might be trapped beneath, which means you’ll have to remove your keyboard.
Laptop keyboards are all different depending on the manufacturer, the machine’s design, and the age of the computer itself. You can carefully pry off some as a whole unit, others you can ease open key by key. In some cases, you won’t be able to remove the keyboard at all — because the company didn’t manufacture it that way.
You can try to detach each key from the keyboard for optimal cleaning. It’s possible to remove each key with your hands if you’re gentle enough. You can carefully use tools, but make sure they’re not sharp enough to damage the inner workings of your laptop.
You might have trouble removing the keys yourself or be too scared of breaking them in the process or damaging the computer itself. In that case, take it to a professional. Paying a professional will ensure they will clean it without damage.
If you know how to take your keyboard apart for cleaning, you might even be able to save it from a spill if you clean it right after the accident happened. In some cases — especially with exposure to moisture — your computer may be a lost cause. When in doubt, consult a professional for help. Or at least seek confirmation that it’s time to start shopping for a new laptop.
Editors' Recommendations
- The best laptop brands for 2024
- 9 best 2-in-1 laptops in 2024: tested and reviewed
- The 7 best laptop stands in 2024
- The best MacBook to buy in 2024
- Laptop buying guide: what to look for in 2024


