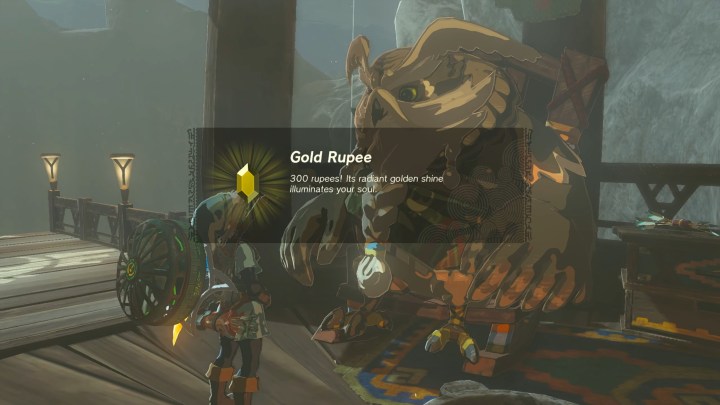
Rupees have never been more valuable than they are in The Legend of Zelda: Tears of the Kingdom. Worse, they're also arguably more challenging to come by than ever. Gone are the days when Link could simply slash at some grass or shrubs to fill up his wallet. Considering the price of some items for sale in the various towns, you will rarely feel like you've got enough of these gems. To help you get back on your feet and live in the lap of luxury, here are some of the most effective Rupee farming methods in Tears of the Kingdom to help you get rich quick.
If you need more help, check out our other Zelda: Tears of the Kingdom guides.

Sell some meals
You probably only cook for yourself when you need some health or a buff, but people will pay top dollar (or top upee) for those homecooked meals.
Step 1: Find a cooking pot.
Step 2: Cook up your most valuable meals and recipes, such as the Hasty Elixer, Prime Meat, and Meat Skewers using Gourmet Meat.

Step 3: Sell these for 48, 135, and 315 Rupees respectively.

Step 4: The best place to get both Raw Prime Meat and Gourmet Meat is near the Snowfield Stables. Hunt down the moose, bear, and wolves here to get one or two pieces of meat per animal. Just make sure to collect their drops fast so the meat doesn't freeze. Once you have at least five of one kind, combine them all into a cooking pot to make their respective recipes.
These animals respawn without a Blood Moon, unlike a normal enemy, so you can keep running through the area, grinding them out, until you have a full stock of meat to cook.
Farm cave items
A common theme in most of the best Rupee farming methods will be selling things. You won't get much trying to sell random junk you happen to pick up, so knowing where to get the good stuff is key to lining your pockets.
Step 1: Head into a cave such as the Mining Cave, Pondside Cave, or Bottomless Cave.
Step 2: Find the sparkles and begin collecting the rare gems.
Step 3: You should be able to collect plenty of Amber, Opal, Ruby, Rock Salt, and others.
Step 4: Once you've mined the cave dry, find a traveling salesman and trade with them. Opals sell for 30, Amber for 10, and each Ruby nets a massive 110 Rupees!
Help Addison
Addison can be found trying to set up President Hudson Signs, but always needs help. Simply set the signs up for him, and he'll give you a quick influx of cash.

Hit Blupees
These skittish little creatures are basically Rupee piñatas. You'll see them most often near cave entrances as glowing little creatures that run away as soon as they notice you. Every time you hit one, however, they drop some cash. To get the most hits possible, use a bow and slow down time to get as many shots in as possible before they vanish.
Complete quests
As usual, many quests will reward Link with some cash for his help. Sidequests are particularly good for this, such as the Camera Work in the Depths quest that pays out for every well you report to Fera. Do as many sidequests as you can find to get a little payout, but also some nice items that might be worth selling, too!
Other tips
A couple of other smaller ways to make a quick buck include selling any Star Fragments you collect when they fall from the Sky Islands.
If you spot a Dragon, shoot off some of their valuable pieces (assuming you don't need them as upgrade materials to spend at Great Fairy fountains).
Use your Amiibo! You can get free materials just by scanning in your Amiibo figures, which won't typically be super valuable, but easy and free cash nonetheless!
Finally, for the brave adventurers, go hunt down some boss monsters. These tough customers, like Hinox and Lynels, drop very valuable parts to sell. Just make sure you're up to the task of beating them, of course.


