
For those going all in with the Apple ecosystem, HomeKit is what ties your smart home together. It provides a common interface for connected lights, thermostats, and everything in between. Smart plugs, in particular, are a welcome addition to a home since they give access to a range of features to appliances that weren't initially designed to be connected. Features include voice control via Siri, scheduling, and trigger-based automations. Let's dig into how to get smart plugs to work with the rest of your HomeKit ecosystem.
Further Reading
- The best HomeKit-compatible devices
- 5 things you didn't know Apple HomeKit could do
- 5 Best iOS 14 HomeKit features
How to connect a smart plug to HomeKit?
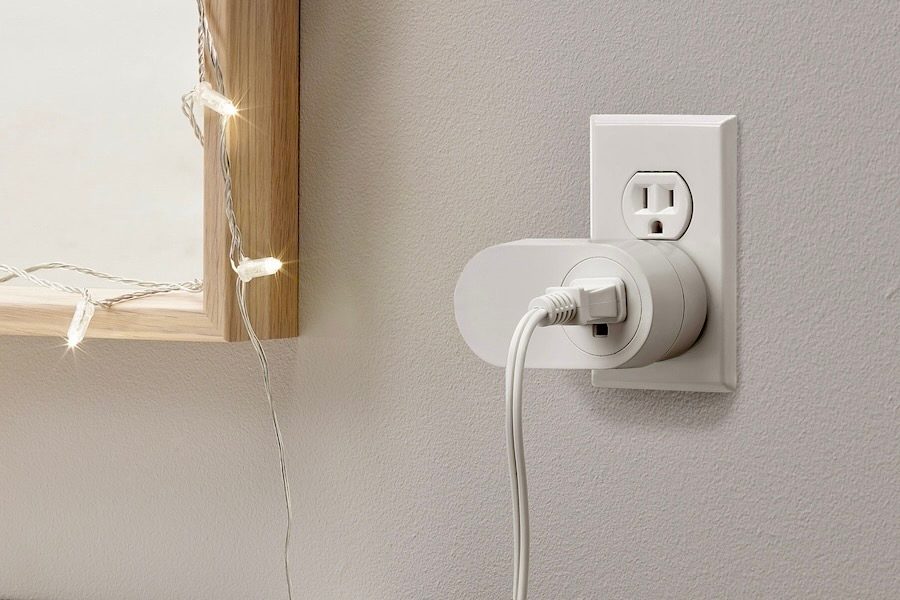
Connecting smart plugs to HomeKit is a painless process. You'll want to double-check the plug is compatible with Apple HomeKit. There should be a label on the box or within the feature list that should confirm compatibility. After that, you'll need to use an iPhone or iPad to take a picture of a code to pair with the plug. If that doesn't work, you can try tapping your iPhone against the accessory, or manually inputting the pairing code.
If you bump into problems, you'll want to make sure you have the latest version of iOS installed on your device. You'll also want to verify all of your devices are signed onto the same Apple ID account, so the smart plug can be accessed on all of them equally.
How to add a HomeKit accessory to the iOS Home app
Adding a HomeKit-compatible accessory to your Apple Home app is easy. In a few quick taps, you'll be able to remotely turn your smart plug on or off, set schedules, and otherwise manage it alongside your other home accessories.
Step 1: Open the Home app.
Step 2: Tap Add Accessory.
Step 3: Scan the eight-digit code on your HomeKit device using your iPhone or iPad's camera. Alternatively, you can tap the accessory if it has a wireless label on it.
Step 4: Tap the accessory once your iPhone or iPad recognizes it.
Step 5: Tap Allow when asked to add accessory to network.
Step 6: Give the accessory a name, and assign it to a room.
Step 7: Tap Next.
Step 8: Tap Done.
Do smart plugs work with HomeKit?
Many smart plugs work with HomeKit, but not all. Some of our favorites include the and the .
Where is the eight-digit HomeKit setup code?
The location of the eight-digit HomeKit setup code will vary from device to device. It's typically printed directly on the smart plug somewhere, but you might be able to find other copies of it included with the documentation.
How to organize rooms in HomeKit
If your new smart plug is fitting into a room with a bunch of other devices, odds are you'll want to manage them simultaneously. For example, if you want to turn everything in a room off at once, you'll want your smart plug included.
Additionally, you can group rooms into zones for even more broad control. So, you can put all of the devices on a single floor together in the same zone, for example.
Step 1: Open the Home app.
Step 2: Tap Add.
Step 3: Tap Add Room.
Step 4: Name the room.
Step 5: Tap Save.
Step 6: Tap and hold the smart plug on the device list.
Step 7: Scroll down and tap Room.
Step 8: Tap the room to add the smart plug.
Step 9: Tap Close to save.
Step 10: Tap Home from the Rooms tab.
Step 11: Tap Room Settings.
Step 12: Tap Zone, and tap one of the preset zone names, or create a new one.
Step 13: Tap Done. Repeat these steps for every other room to add to a zone.
How to automate smart plugs with HomeKit
HomeKit has a system called Scenes where you can trigger a bunch of smart home automations all at once. Smart plugs can figure into this, so that you can turn on the coffee machine in the morning with all of your other devices when you tell Siri "good morning." Note that you'll need a home hub like an iPad, or HomePod for full automation.
Step 1: Tap the Home app.
Step 2: Tap Add.
Step 3: Tap Add Scene.
Step 4: Enter a scene name, or use one of the preset suggestions.
Step 5: Tap Add Accessories.
Step 6: Select the smart plug and other accessories you want to add to this scene.
Step 7: Press and hold the smart plug to determine its behavior for the scene. Repeat for the other devices in the scene. Tap Test This Scene to make sure it's working right.
Step 8: Tap Done.
Step 9: Go to the Automation tab in the Home app.
Step 10: Tap Add.
Step 11: Select whether to start the automation When an Accessory Is Controlled or When a Sensor Detects Something.
Step 12: Select the triggering accessory and tap Next.
Step 13: Select which actions trigger that accessory, then tap Next.
Step 14: Select the smart plug or the Scenes it is in that react to the trigger. Tap and hold the elements to edit them. Tap Next.
Step 15: Tap Done.
That's all you need in order to get started with smart plugs and HomeKit! Now all of your Apple devices can see and manage your newly upgraded appliances.


