
Apple’s HomePod mini is a smart speaker that’s designed as more of a personal assistant and music device than a whole-house speaker hub. This little speaker is ready to work within your entire Apple ecosystem, but you have to set it up properly first.
Our guide will go through everything you should know and what to expect. From finding a place to put your HomePod mini to syncing it with your phone, here's how to set up your HomePod mini.

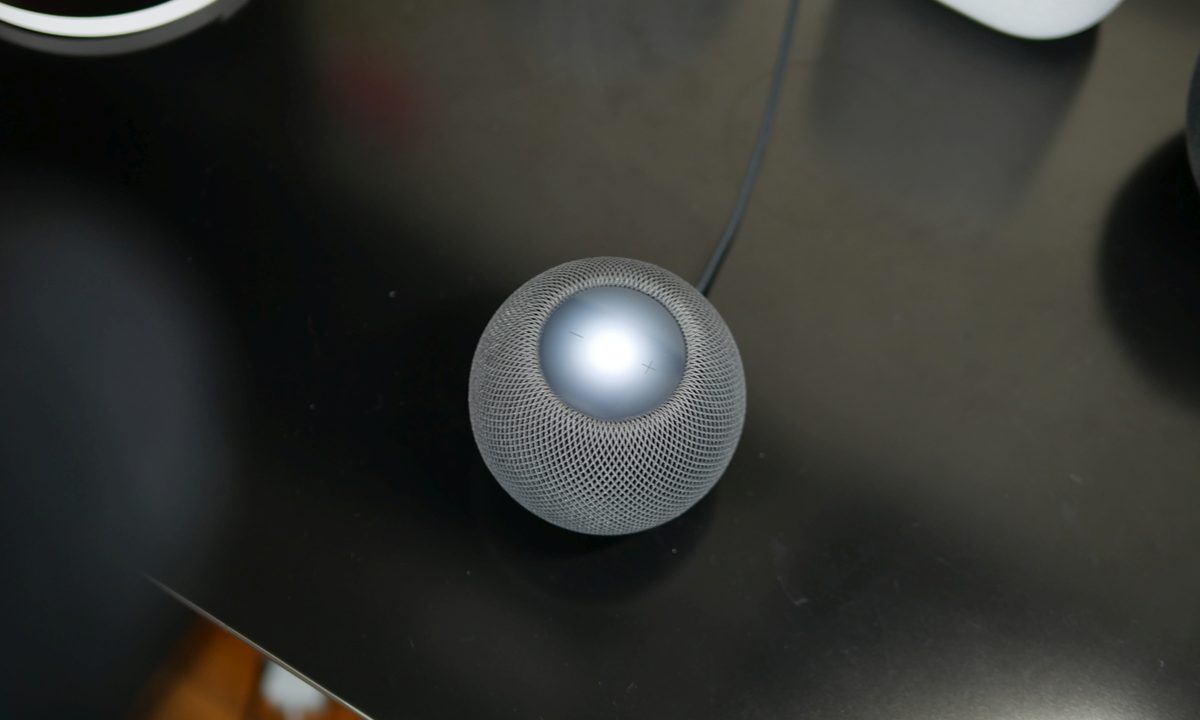
Open up and place your HomePod mini
Before you do anything else, you'll need to get your HomePod mini out of the box and placed somewhere appropriate in your home.
Step 1: Open up your HomePod mini and release it from the packaging.
Step 2: Take out the power adapter and cable, and find a spot where you want to set up your mini. It should have around 6 inches of space on all sides, which makes an office desk or a kitchen counter an excellent place to begin.
Step 3: Once you find your ideal placement, plug the HomePod mini into a nearby outlet.
Step 4: Your HomePod will start to come to life now. While this is happening, you can continue to the next step.
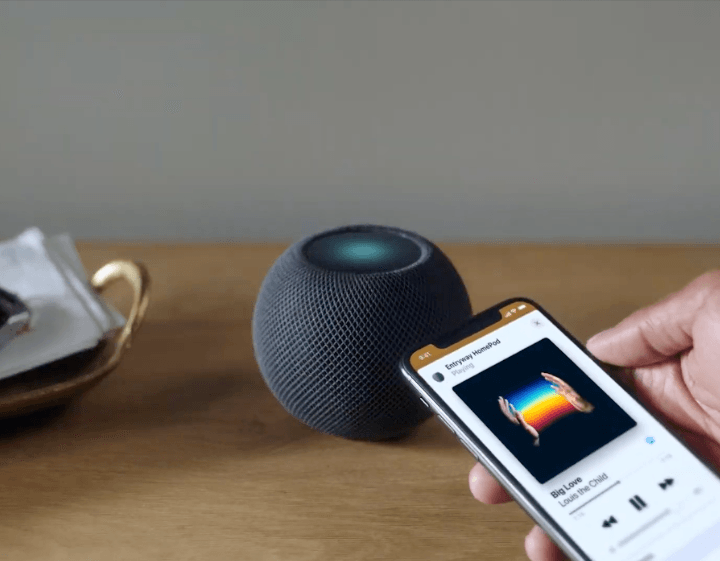
Start the setup process with your iOS device
Take out your compatible iPhone, iPod, or iPad, depending on which device you want to use to set up your mini speaker. The HomePod mini works with the iPhone SE, the iPhone 6s (or later), the iPod touch (7th generation with the latest iOS), the iPad Pro, the iPad (5th generation or later), the iPad Air (2 or later), and the iPad mini (4 or later with the latest iPadOS).
Step 1: Unlock it with your preferred method, and when on the home screen, bring your iOS device close to the HomePod mini and hover above it for a second.
Step 2: The mini includes a chip that can detect when a mobile iOS device is near, so the two can automatically sense each other and start interacting.
Step 3: You will see a picture of your HomePod mini appear on your screen, with an option that says Set Up. Select this to begin. You will need to have your iPhone hovering near the mini for this entire process, so get comfortable.
Answer questions about location, Siri, and accounts
Apple will now run you through a few quick setup questions. A lot of setup goes on behind the scenes, but there are a few things you need to do manually. Prepare to:
Step 1: Choose a location for the HomePod mini. You can pick common locations like a bedroom, backyard, entrance, and so on. This is very helpful when Siri needs to identify multiple HomePods, for example, so it’s worth doing.
Step 2: Set up Personal Requests. Siri can help you access messages, reminders, and more when the particular iOS device you are using is nearby. Basically, it can tap into your device whenever you are close and your voice is recognized. Apple explains all this and asks if you want to use these personal requests. If you are planning on using the HomePod mini at a desk, office, or similar location where you manage events, this can be a very handy feature. Otherwise, it’s not necessary, and you can set it up later if you wish.
Step 3: Optimize Siri voice recognition. Siri has the capability to recognize the unique voices in your home and match them to their own Apple accounts, devices, music, and reminders. It’s important to know that Siri may change what she does based on who is speaking to the speaker and what iPhone they are using.
Step 4: Transfer your settings. Now, Apple will give you an option to transfer all your current settings to this HomePod. That includes your iCloud account, Wi-Fi network information, and the iPhone settings you prefer. Unless you are using the mini in a very public place where it could be easily stolen, this is an important setup step that will get everything working, so don’t skip it. Otherwise, you can customize individual settings later.

Complete HomePod mini pairing
Apple will now bring up a last window with a little viewfinder on it and ask you to center the HomePod within that window. This is sort of the equivalent to a Face ID check on an iPhone — you are allowing this device to access the HomePod automatically. You can enter an alternate passcode if you feel more comfortable with that arrangement. When finished with identification, the HomePod will finish setting up and display Done. Select it, and Siri will announce that the HomePod is ready to go.
Say 'hey' to Siri
It’s a good idea to try a couple of Siri commands when you are finished to make sure everything is working correctly. Say something like, “Hey Siri, play The Weeknd,” or “Hey Siri, read my messages,” to test out the HomePod. Check that it is reporting information directly from the iOS device you are using and the right Apple account.

Connect multiple minis if necessary
Two HomePods can connect to provide stereo sound if you have bought two at once. Fortunately, setup is very easy because HomePod minis are very good at recognizing each other. Just put them in the same room, set them both up, and start playing music. The two devices should automatically divide sound, each picking a right or left channel. You can then position them more as needed until the audio sounds just right to you.


