Few emerging technologies have risen as quickly as unmanned aerial systems — that’s drones and quadcopters, of course. Because of this, more people today own one of these RC vehicles than ever before. Beyond a drone’s simple ability to act like a remote-controlled toy for adults, its budding worth lies with its potential to capture stunning photos and video. Many consumers have purchased models outfitted with on-board cameras or camera (or GoPro) mounts.
But just because your drone can capture photos and videos doesn’t mean you’ll be the next Ansel Adams or Quentin Tarantino. There’s technique behind framing a good shot, selecting the right angle, and panning across a scene as you whiz along overhead.
Understanding this, we took to the task of laying out the basics for drone enthusiasts who need to make the most of any aerial shoot. Beyond the basics — reading the instruction manual included with that new UAV, and learning how to properly fix content in post production — we’ll show you that there’s more to snapping a good photo or two than just messing with a couple of joysticks. What follows is our guide on how to properly use a drone or quadcopter to capture photographs and video. Read it. Learn it. After all, you need to keep yourself busy while charging that new battery anyway, right?
Be one with your drone
This may be a primer on the best way to use a drone for photography, but the starting point relevant to anyone who owns an unmanned aircraft. As you unpack your newly acquired, remote-controlled friend, thoroughly read the instruction manual to fully understand the ins and outs of what it is and what it does. For instance, does your drone have a preset selection of movements? Does it feature a “follow me” mode? Does its included camera (or camera mount) automatically stabilize each shot and adjust for high wind? Until you fully understand what it can or can’t do, any intended photography or video will not turn out the way you desire.
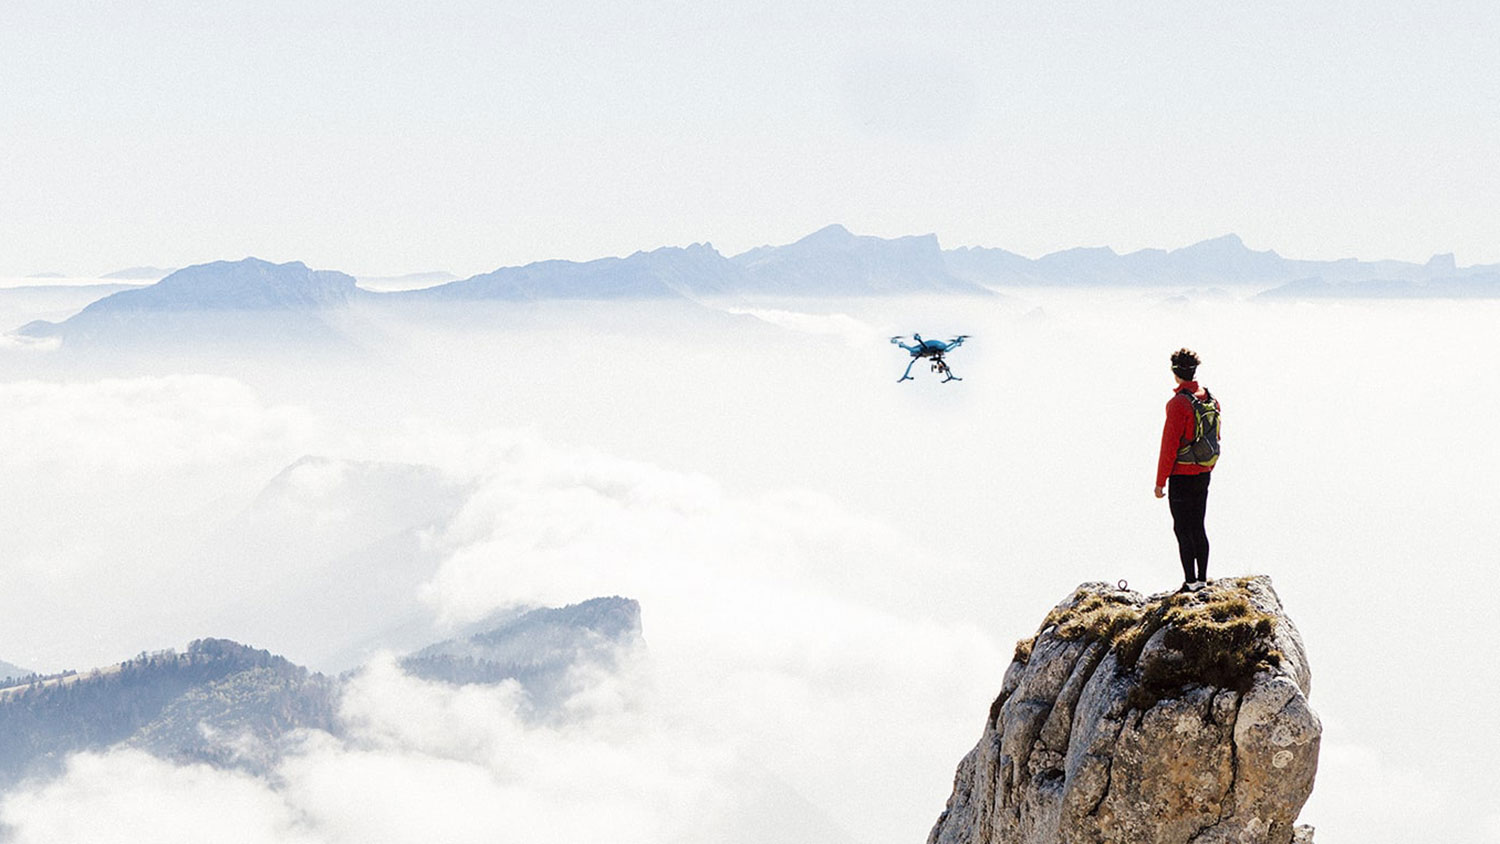
Additionally, it’s wise to log several hours simply piloting your drone — either where you plan to shoot or in an open area — to achieve a higher awareness of your aircraft. Run it through its entire list of movements, get an idea of how long the battery lasts, and practice manually adjusting the camera’s pitch if available. The better you get at flying the craft, the better you’ll be when it comes time to snap photos or capture video. Plain and simple.
Accessorize
If shooting photos and video is priority number one for your drone, you’ll obviously want to make sure it’s decked out with the necessary accessories for getting the job done. Right off the bat, this means finding a drone that either comes standard with an on-board camera or has an attached “gimbal” (a rotating mount) capable of carrying a GoPro, a small DSLR, or another offering. It’s also important to find an aircraft that boasts a real-time video feed on its controller or through a compatible smartphone. This allows you to see exactly what your drone sees, so you can set up shots with greater ease.
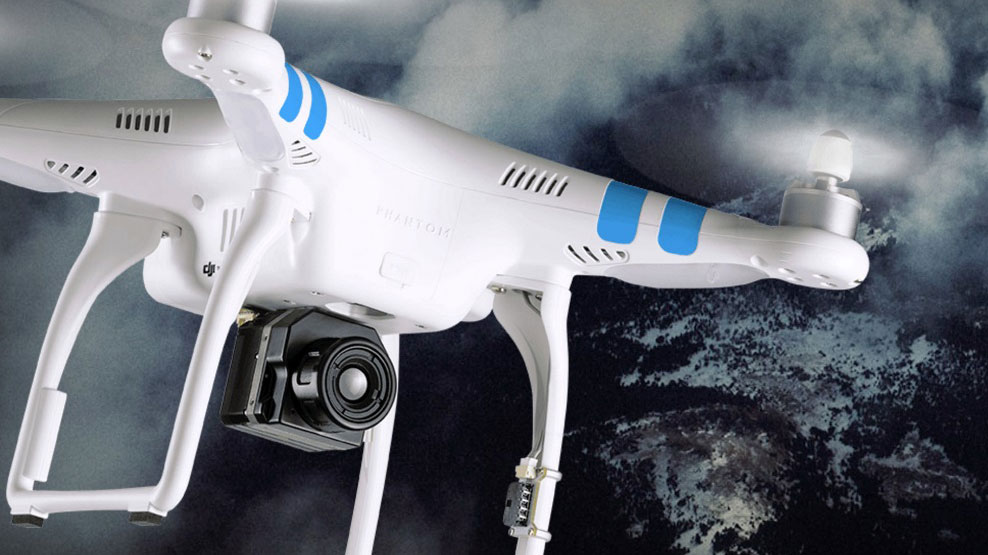
If you’re looking to buy an add-on module, spend some time looking at your options. There are more than you might think. Take FLIR Vue Pro for example. It’s a high-tech heat vision cam designed to hitch a ride on your drone and go airborne. And the newest drone from Japanese maker Secom can autonomously detect unwanted intruders, follow them, and photograph them as they try to escape. Is security an option you might want too?
You also may want to consider buying an extra battery or two for your aircraft, as most won’t operate for more than 20 to 25 minutes while filming. To avoid calling it a day or waiting for the standard battery to recharge, a simple switch to a charged backup will grant you twice the flight time. Extra batteries tend to cost somewhere between $100 and $150, however, increasing your initial expenditure beyond the price of the drone itself.
Understand your legal boundaries
Due in large part to the instantaneous boom in unmanned aircraft, the legality surrounding where, how, and who can pilot them warrants serious consideration for anyone. Understanding the significance of this craze, the Federal Aviation Administration announced in late 2015 it would soon require mandatory registration for any UAV weighing between 0.55 lbs. and 55 lbs. The FAA’s rule, which officially kicked in on Dec. 21, 2015, requires any new drone owner to register her aircraft prior to flying it for the first time. For a mere $5, pilots simply supply their name, address, and email address to the FAA in order to register an entire fleet of unmanned aircraft for three years.
Outside of registration, there also exists a bevy of airspace regulations a pilot must heed during any flight. For instance, it’s imperative that drones steer clear of other aircraft (manned or unmanned), airports, and airfields, as well as helicopters and the like. Moreover, it’s highly recommended to be a safe distance away from people, buildings, cars, etc., to avoid causing physical harm and property damage. As anyone would reasonably understand, multi-rotor drones can cause serious damage. This may seem like common sense, but it merits saying anyway: Stay within the boundary of the law.
Don’t forget your settings
The ability to adjust or tinker with various camera settings depends on which kind of drone a pilot chooses. Some owners may opt for a drone with a built-in camera mount, meaning any setting alterations must be done on the attached camera itself. Additionally, drones that feature on-board cameras should let users adjust settings ranging from white balance and frame rate to resolution and exposure.

Spend some time getting familiar with these basic terms and settings and you’ll find your drone landing with photos and videos that are drastically improved. Properly calibrated settings are possibly the single easiest way to go from novice photographer to seasoned vet.
Make use of smart mode
Though smart features aren’t comprehensively available on unmanned aircraft, the number of drones with them continues to grow. Whether it be fully autonomous drones such as the Hexo+ and AirDog, or a joystick-controlled craft with optional smart settings like Yuneec’s Typhoon, more companies have begun including these innovative features.
What makes a drone with smart settings particularly attractive for photography and video purposes lies entirely with the aircraft’s programmed brain. From having the ability to set a desired flight path to choosing from a variety of pre-determined movements, a drone’s smart features make snapping photos and capturing video an absolute breeze. Plus, most pack some form of camera stabilizing feature, meaning regardless of wind or other environmental variables, shots should come out smooth and clear.
Everything is fixable in post-production
Relying too heavily on it boils the blood of video and photography pros, but post production is an absolutely vital part of the process. Be it splicing frames of video or color correcting a batch of photos, what’s done after shooting is as important (if not more) than the actual process of capturing the content.

Thing is, editing photos or videos isn’t a walk in the park. It takes practice — and loads of it. Be it Final Cut Pro, Adobe Premiere, or Photoshop, each particular piece of software boasts its own learning curve. And each one has unique ways to help you churn out professional-grade content. Drone photographers or videographers should count on spending a few hours just toying with their chosen post-production app, or even taking an actual course with the software.

