Most people enjoy capturing photos, but few take any pleasure in the labor-intensive task of getting them into any kind of order on computers or other devices. However, just as spring cleaning your house or emptying the McDonald’s wrappers out of your footwell can be a rewarding and cathartic experience — as well as a necessary one — so too can be cleaning up the similarly messy pile of photos stuffed haphazardly on your PC.
Where to store your photos
How are your photos currently stored? Randomly crammed into your pictures folder? Wadded onto an external hard drive? Burned onto a billion DVDs? A drawer full of assorted SD cards mixed with paper clips, pencils, and other detritus? Or do you just have them in the phone or camera that was used to capture them?
Wherever your photos are, your first step should be figuring out where they should be. I recommend an external drive, whether a hard drive, solid-state drive, or a larger drive array. You could keep them on an internal hard drive or SSD, but there’s more that can go wrong with a laptop, desktop, or mobile device, and it’s not always easy to recover your photos if something goes wrong. An external storage solution is more secure and can be easily shared between different devices.
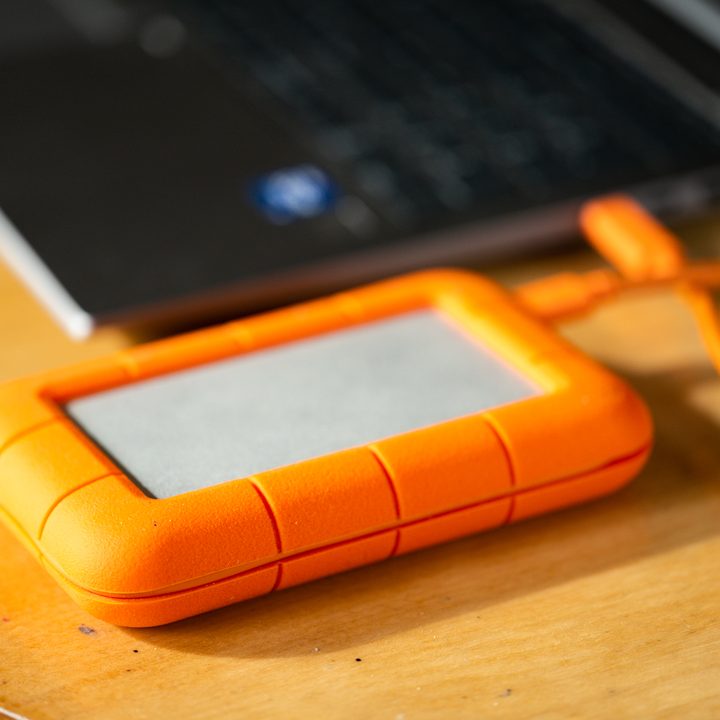
The best external hard drives are cheap, effective solutions for storing a lot of data, but they’re relatively slow. An external SSD is much more expensive for the same amount of storage capacity as a hard drive, but they are much, much faster. You could also invest in a hard drive array for truly vast amounts of external storage or a Network Attached Storage (NAS) device that allows you to access your data without a direct, wired connection.
If you’re investing in a new storage device, it’s important to make sure you have enough space for your existing library of photos plus extra for years to come. Look at how many photos you take per year on average and how much space they take up, and then plan accordingly. Keep in mind that if you upgrade to a new high-resolution camera, the rate at which the drive fills up will probably increase.
Sorting your images
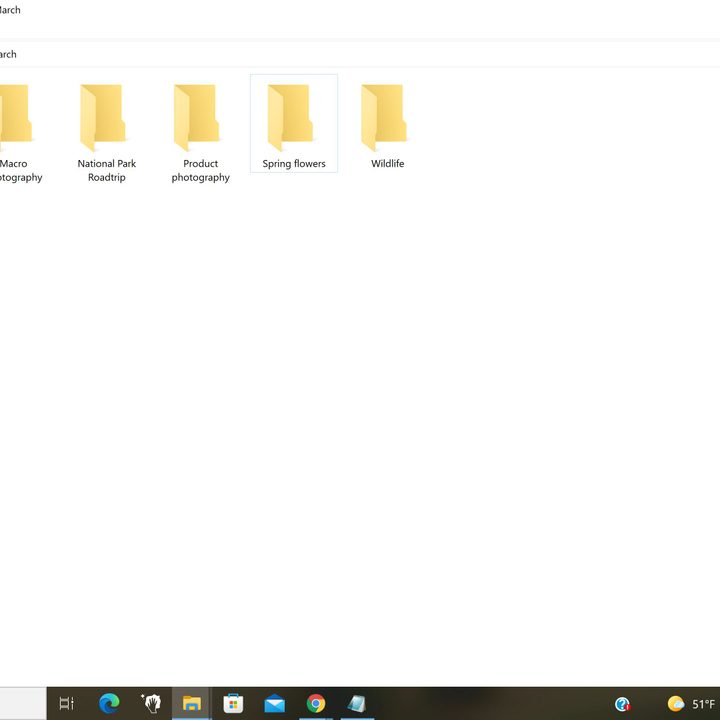
While you can automate the process of sorting your images or simply place them in folders marked with the date they were captured, I prefer a more hand-crafted approach. Chances are, you aren’t going to remember the exact date you snapped a particular image. Even if you did, often the date and time are recorded in the metadata of each photo, so it’s easy to search for them anyway. Labeling folders in mm/dd/yyyy format becomes redundant.

Instead, what I do is create a folder for a year, with a folder for each month inside that folder. For each month, I then create specific folders for photos based on a variety of factors. For example, I like to take photos of my cats, so most months I’ll have a folder labeled “cats” in which I’ll put all my photos of cats taken that month. I also create folders for specific events and trips such as birthday parties, hiking trips, and vacations. With this method, it’s then quick and easy to search for both photos from specific events and for images of certain subjects. It’s a good idea to use keywords in titling folders that will make them easy to search for.
The downside is that this method does take a large commitment of time if you have many thousands of unsorted photos. However, I’ve found that this is time well spent myself, and I wish I’d been doing it this way since I received my first digital camera.
Weed out the duds
You can do this when you’re sorting your photos or at a later date, but it’s a good idea to de-clutter your collection by creating a trash folder in which to dump inferior images. I don’t like deleting images once I’ve pulled them off my camera, which is why I recommend instead sticking them out of the way in their own little quarantine zone. Near-identical duplicates? Pick the best and stuff the rest in your digital junk drawer. Blurred? Poorly composed? Chuck it where you don’t have to look at it.
Doing this will make it so much easier to find an image you’re looking for from your small selection of your best shots. This also makes it easier to back up your photos since you’re now dealing with a very small volume of images that are actually worth saving.
Spruce up the keepers
Now that your photos are all neatly sorted and you’ve chucked the duplicates and the duds, it’s time to give the photos themselves a new shine. My software of choice for this task is Adobe Lightroom Classic, which offers a great interface, a wealth of editing tools, and non-destructive editing so that any changes you make can be easily reversed at a later date. Just import your images into Lightroom and you’re good to go.
When I’m applying basic edits to a large batch of photos, I like to keep it simple. I adjust highlights, shadows, whites, and blacks with an eye to ensure that no detail is lost in the brightest and darkest areas of the image. To do this, keep an eye on the histogram in the upper right-hand corner of the Lightroom editing screen, which will indicate if there’s a problem. I also often like to add a bit of clarity and dehaze, with a pinch of saturation and vibrance thrown in.
If there are any obvious dust spots, you can quickly zap those away with the cloning or healing tool, and if the image is grainy or too soft-looking, you may want to play around with the noise reduction and sharpening controls.
While this quick-and-dirty editing process may feel slow if you haven’t done it before, with practice you can get so that it takes less than a minute to achieve a drastic improvement in each photo. Alternatively, you can apply auto-settings and let the software decide, but you often get mixed results with that tactic.
Secure your memories
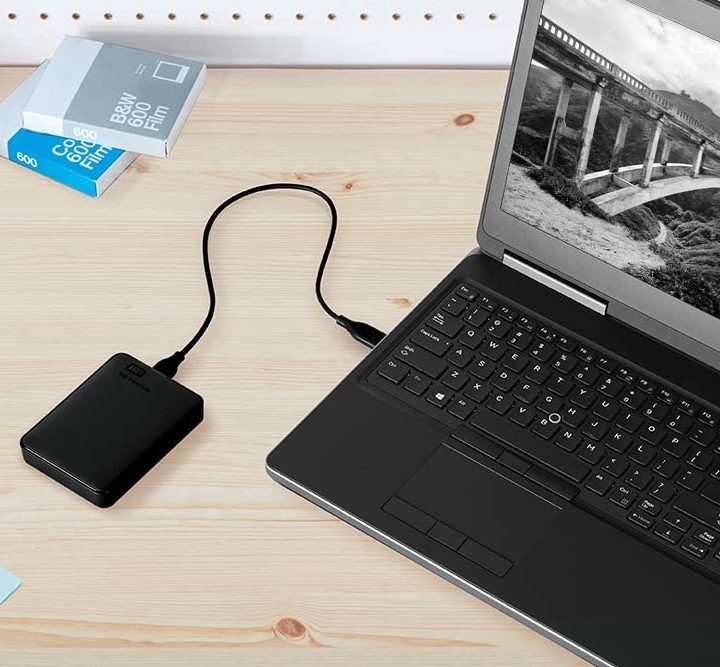
It’s absolutely vital that you create a backup of your images and keep it up to date. You can do this via the cloud, but that can get expensive if you want to store a ton of data there. My preference is to simply stick them on an external hard drive. While this can be automated, I prefer to backup my photos by manually copying the files from my main storage drive to the backup drive. If you do this on a monthly basis (which I recommend), with my filing system, it’s a simple matter of dragging and dropping the latest monthly folder from one drive to another and waiting for the transfer to complete.
For extra peace of mind, it’s smart to store this backup drive at a separate location or at least in a different area of your house. This increases the chances that it will survive some unforeseen disaster. Don’t leave it plugged into your PC, as that makes it vulnerable to ransomware and other malicious attacks.
Build good habits
Now that you hopefully have all your photos sitting neat, tidy, and accessible on your PC, it’s important that you carry this habit of good organization forward. Transfer your photos from your devices into your photo drive often, keep them consistent with your filing system, and be sure to back them up regularly.
Conclusion
It was only after nearly a decade of photography that I started to take photo organization seriously, and by then, I’d accumulated tens of thousands of images in complete disarray. I’m still dealing with the consequences of such sloppy behavior, as every now and then I discover a forgotten DVD, SD card, or hard drive with a treasure trove of precious memories. Don’t let those memories slip through the cracks — get your photos in order today.