
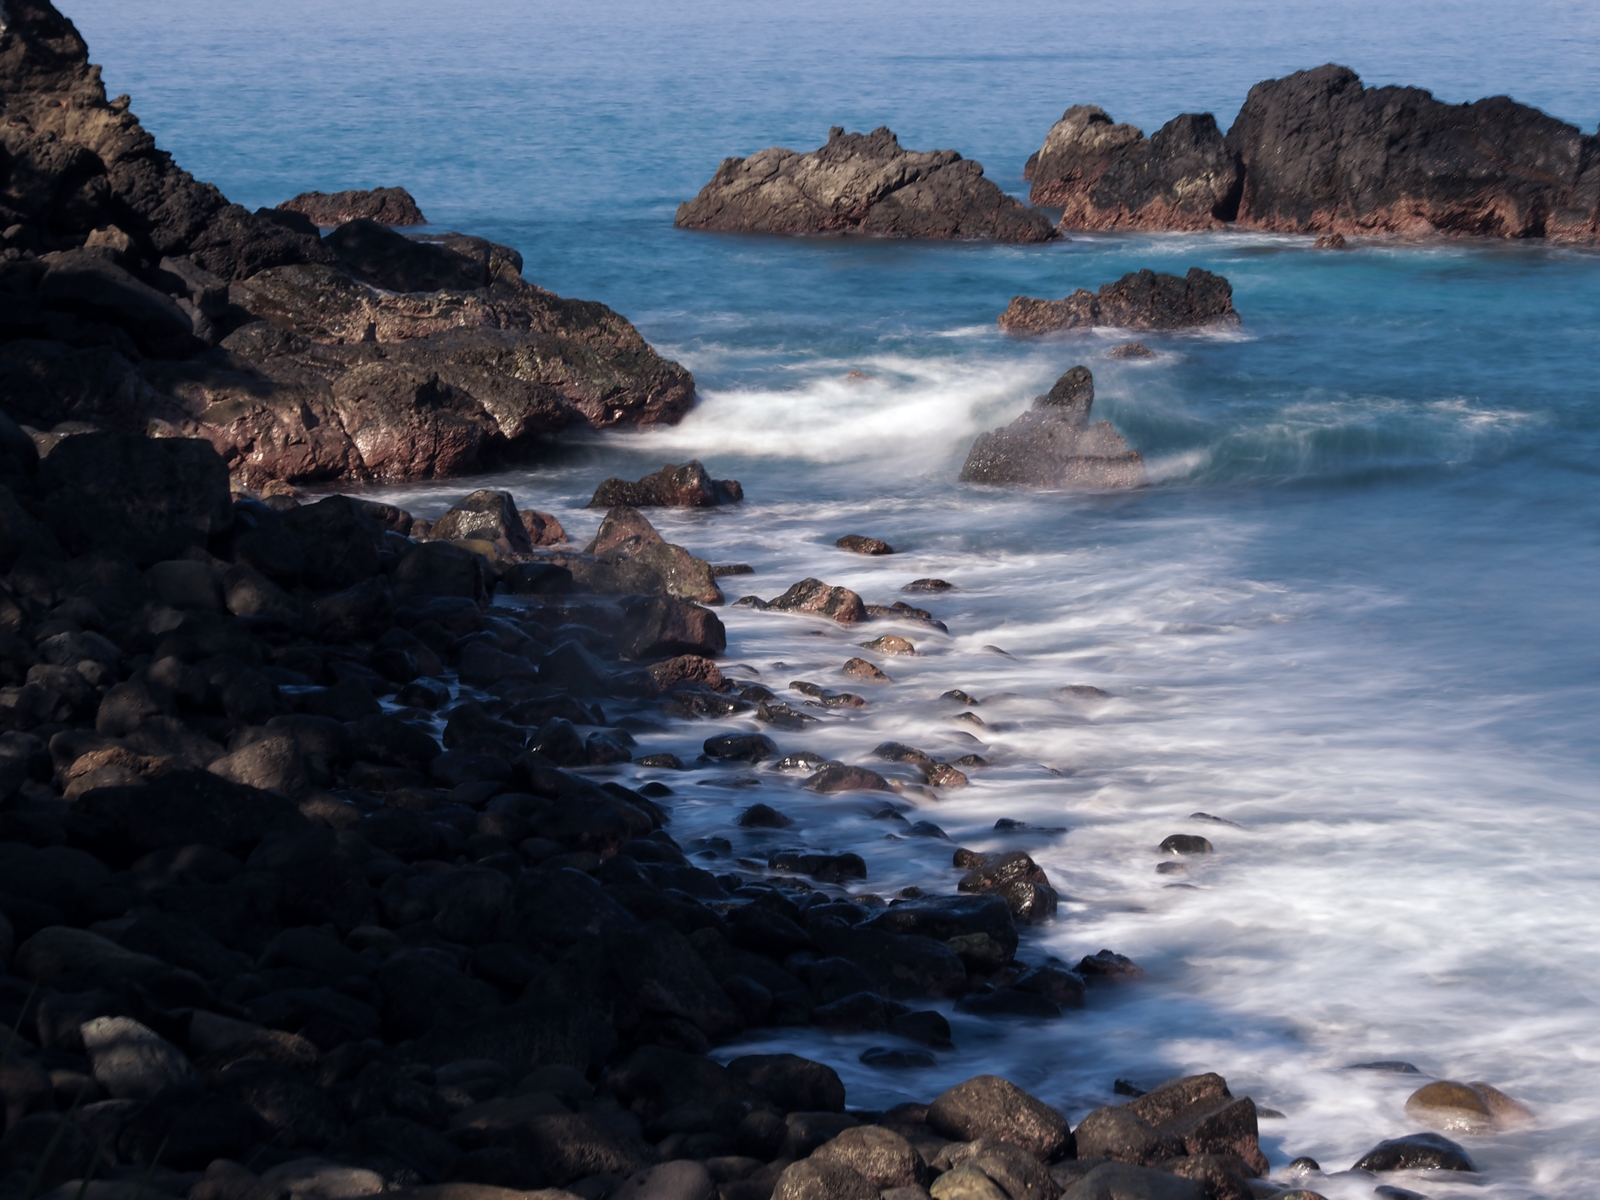
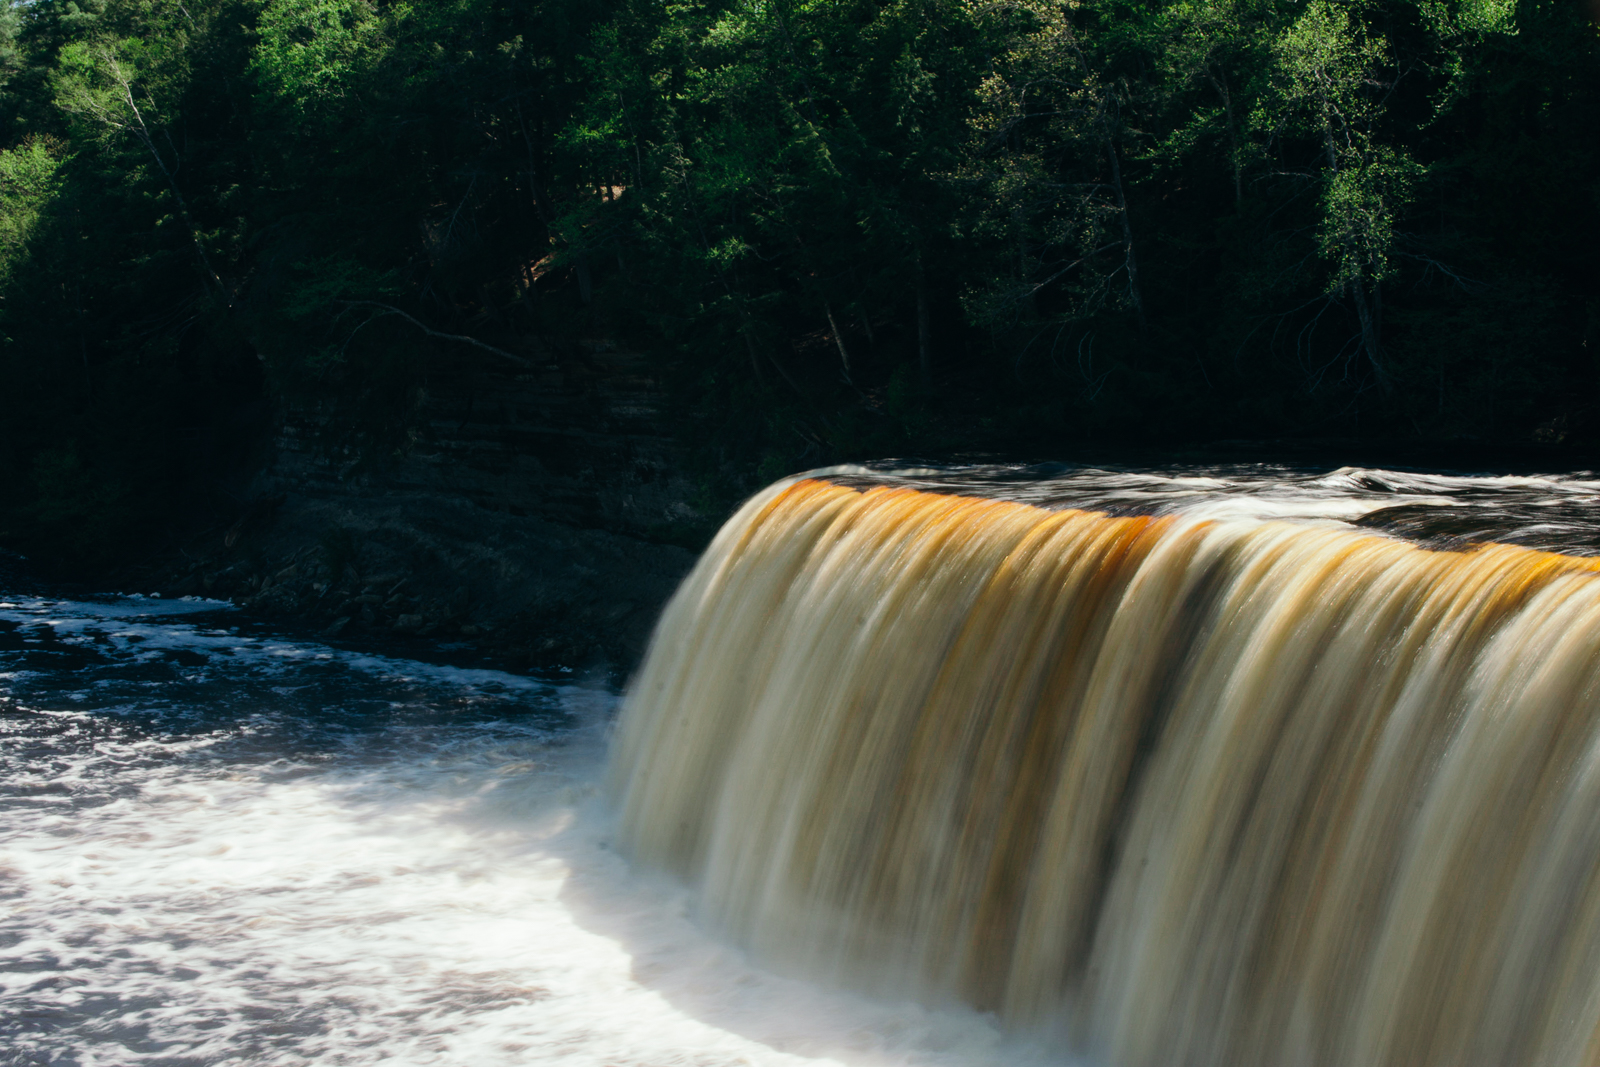
Blur can be either a frustrating flaw or an artful tool to illustrate motion within a still photograph. A long exposure turns blur into something positive, smoothing waves, creating light paintings, obliterating crowds, and making traffic actually look attractive.
Understanding long exposure opens up endless creative possibilities and, thankfully, isn’t terribly hard to learn. You’ll need a tripod, and, if you plan to take long-exposure photographs during the day, neutral density filters, along with your camera and lens.
1. Anticipate the motion and set up a tripod.
Every photograph starts by planning out the composition. When working with a long exposure, the most important part of planning out what that photo will look like is to anticipate the motion. Any motion in the image will appear in a ghost-like streak. Anticipate where the motion will happen, so you can incorporate the blur in a creative way.
With the composition in mind, set up a tripod. Any motion becomes a blur in a long-exposure photograph, so if the camera moves, the entire photograph will become a blur. Make sure your tripod is steady; wind, even on a tripod, can introduce blur.
2. Set your shutter speed.
A long exposure needs a long shutter speed — but exactly how long? That depends on what you are photographing and how fast the motion is. A shutter speed of several seconds will turn wavy water into reflective glass and create light paintings from city traffic, whereas a speed of several minutes is required for capturing star trails in the night sky.
Long exposures often require experimentation to get the shutter speed just right, so estimate, shoot, then adjust slower for more blur or faster for less blur.
To set your shutter speed, make sure your camera is either in shutter priority mode or manual. Some cameras may also have a long-exposure scene mode, although shutter priority and manual exposure will give you the most control.
Note that cameras have limits on how slow the shutter can go. This is most often 30 seconds, but some cameras can go down to 15 minutes. Whatever the limit, you can bypass it by using “bulb” mode, where the shutter will stay open as long as you depress the shutter button, or will open with one press and close with a second.
There are also both first- and third-party remote timers that you can use to get longer shutter speeds.
3. Balance the exposure.
If you are shooting during the day, using a slow shutter may push beyond your camera’s capabilities to compensate for a proper exposure. A sensor’s sensitivity (ISO) can only be lowered so far, and a lens’s aperture (f-stop) can only be decreased so much. (Read more about using manual exposure in our explainer.)
This is where you’ll need neutral density filters. Basically sunglasses for your camera, ND filters reduce the amount of light that enters through the lens, allowing for slower shutter speeds without exceeding the limits of aperture and ISO.
A few select cameras to offer build-in ND filters, but most cameras will need a screw-on glass filter. Fortunately, NDs are not particularly expensive.
4. Shoot.
With the tripod in place and the shutter speed set, the final step is to take the shot. But, even pushing the shutter release button can introduce camera shake and unintentional blur. For the sharpest results, use the auto timer and set it for a 2-second delay. Or, you can use the camera’s Bluetooth or Wi-Fi with a mobile app to remotely trigger the shot, if your camera has this feature (most cameras released in the past few years do).
Check your shot and make any necessary adjustments. Too bright? Shorten the shutter speed, lower the ISO, or add a neutral density filter. Too dark? Increase the ISO, use exposure compensation, or make the shutter speed even longer.

Can you take a long exposure on a smartphone?
Technically, no, but you can take a photo that looks just like a long exposure. A smartphone camera’s design limits the device to shorter shutter speeds. Blending several photos together, however, will create similar blur. Apps like Slow Shutter Cam, Camera+ 2, and the mobile Lightroom app have this feature.
Editors' Recommendations
- How to photograph April’s solar eclipse, according to NASA
- Photography 101: Exposure, aperture, shutter speed, and ISO
- Leaf peeping: How to photograph fall’s changing leaves
- How to shoot macro photography
- How to photograph a silhouette and master the dark side of photography


