Amazon’s Echo Show smart devices are popular smart displays for a reason: They offer affordable options to use Alexa commands around the home while watching a touchscreen display for visual information or more dedicated selections. It’s a great combo — but not everyone has an Echo Show, or access to their Show all the time.
That’s where Alexa’s new Show Mode comes in. This mode, available for Windows PCs, allows users to turn their screen into a version of the Echo Show screen, with all commands, visual info, and video options available. Sound interesting? Here’s how to enable it!
Step 1: Make sure you have the right model
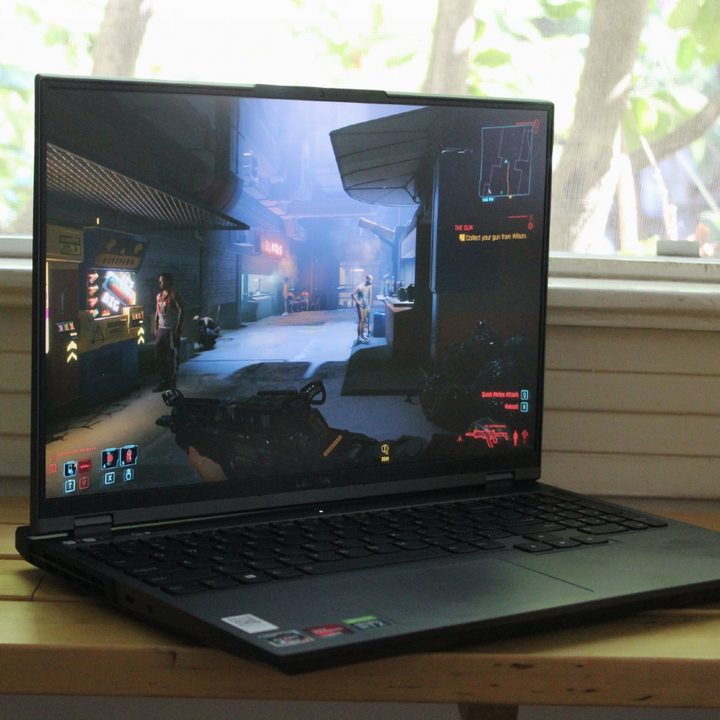
Currently, the Windows Show Mode option for Alexa has only appeared on some devices. It was first previewed on the Lenovo Yoga Slim 9i and confined to select models of the Lenovo Yoga, Lenovo IdeaPad, and Lenovo ThinkPad laptops. If you have a newer version of one of these laptops, there is a good chance it will be supported. The only major exception, for now, is Amazon’s own Fire Tablets, which also support Show Mode thanks to their native Alexa features.
If you don’t have a Lenovo PC, don’t worry: Amazon has reported that it will be rolling out show mode to all Windows 10 PCs throughout the year, although it hasn’t happened quite yet. We’ll be sure to let you know what models are compatible as the rollout continues.
Step 2: Download Alexa on your PC
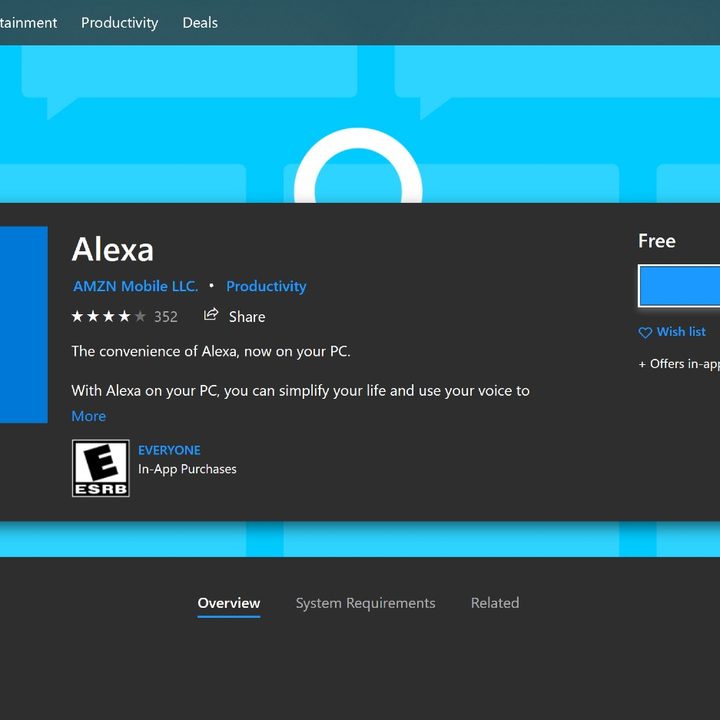
If you don’t already have Alexa downloaded, let’s start here. Open up the Windows Store (if you don’t know where this is, you can simply search for “Windows store” in the search bar), and use the Store search to look for “Alexa.” Select the app when you find it, and choose Get to begin.
If you have downloaded the Alexa app before, it’s important to open it up and make sure the app is fully updated.
Step 3: Launch Alexa and sign up
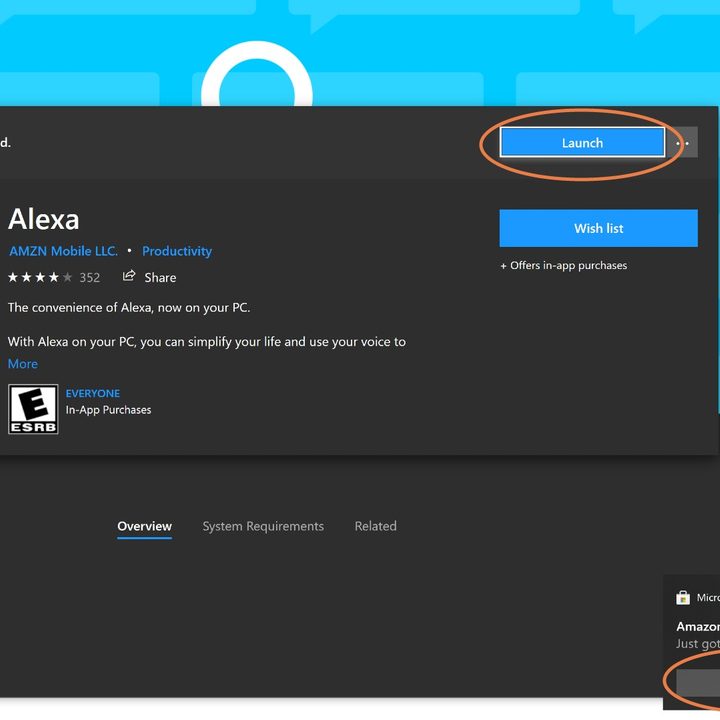
After Alexa has downloaded, a new option will appear to Launch. Choose Launch and the app will open.
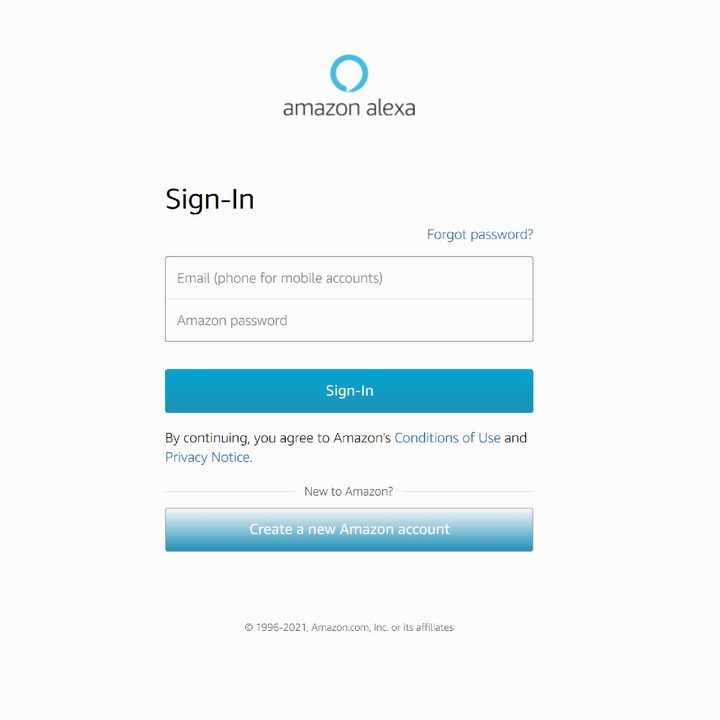
The app will first ask you to sign in with your Amazon account to activate Alexa. Input your user name and password to complete this step. If you don’t have an Amazon account, you will have to create one for Show Mode — and anything else Alexa-related — to work.
When your Amazon login has processed, you’ll see a new request to accept terms and conditions. Do so and move on to set up Alexa.
Step 4: Set up Alexa settings
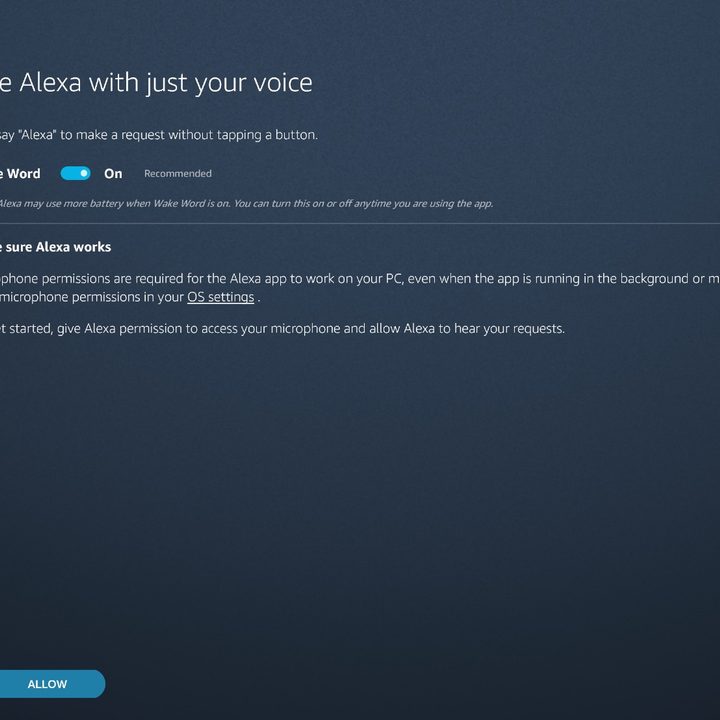
Now you’ll have a walkthrough to set up Alexa basics. First, the app will ask if you want to enable the Wake Word for Alexa (which is, indeed, “Alexa”). You don’t have to enable the Wake Word if you don’t want to, but it’s a good idea if you want to turn Show Mode on with a quick command. Note that you don’t have to open up the app every time to use the Show Mode command; Alexa can hear the Wake Word passively in the background.
The app will also ask you if you want Alexa to automatically launch when you log in, and if you want to pin the app to your taskbar for easy reference. Unless you are planning on using Alexa and Show Mode all the time, there’s not much need to pin Alexa to your taskbar, and even less need to launch it whenever you start up Windows. Choose based on your expected Alexa activity.
When the app is done, it will ask you for permission to make connections to external devices and similar capabilities. This is necessary for many Echo Show activities, so it’s important to grant permission here.
Step 5: Open Show Mode and get started

Alexa should now be ready to begin. With the Wake Word on, you can simply say, “Alexa, open Show Mode.” If you have the app open, on compatible PCs there will be a Show Mode button you can select. There’s also an interesting option to allow your computer to automatically enter Show Mode when it goes idle, an alternative to a screensaver that could be a great fit for the right users.
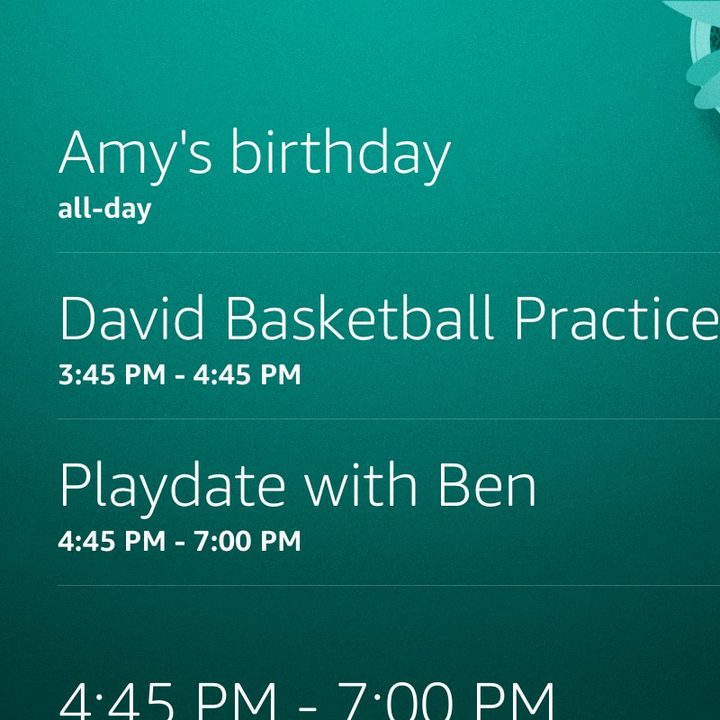
Your PC display will now assume a Show-like appearance with a central hub. Even passively, this hub can be useful as it will often bring up your upcoming events or show current timers, etc. However, you can also give it a wide variety of commands. Try watching news reports, or looking up a cooking video. Ask about upcoming weather, or listen to music (you can tailor Alexa to know your preferred primary music source). Open video calls with any of your friends who have an Echo Show, or ask to see your current shopping list.
Also, keep in mind that Show Mode extends to Alexa’s compatibility with smart devices. If you have a compatible Ring Video Doorbell, for example, Show Mode can send you alerts when the doorbell is used or motion sensors tripped, and you can view a live feed from the security cam directly on your PC. If you have physical Echo Shows — or your friends do — you can also give commands to Make an Announcement (which will broadcast a message to all Echo devices in the house), or Drop In on someone (start a video streaming with a particular contact or see through an Echo Show in your home).
Finally, don’t forget that this feature can play well with options like Alexa Guard, which sends you alerts if an Echo hears something suspicious in your home. If your Show Mode gets this alert while idling, for example, you can immediately tap into an Echo Show video stream at your home to see what’s going on — something that’s even more useful if you have the rotating Echo Show 10.