
High-dynamic range photography is easier, more powerful with Aurora HDR 2017

aurora hdr 2017 screenshot 3
Image used with permission by copyright holder
In 2014, renowned travel and landscape photographer, Trey Ratcliff, teamed up with Macphun to create the ultimate high-dynamic range (HDR) image processor. The result was Aurora HDR, a macOS application that combined ease of use with powerful features. For the 2017 edition, Macphun has all but rebuilt the program, adding a fresh interface, new HDR algorithm, and much more.

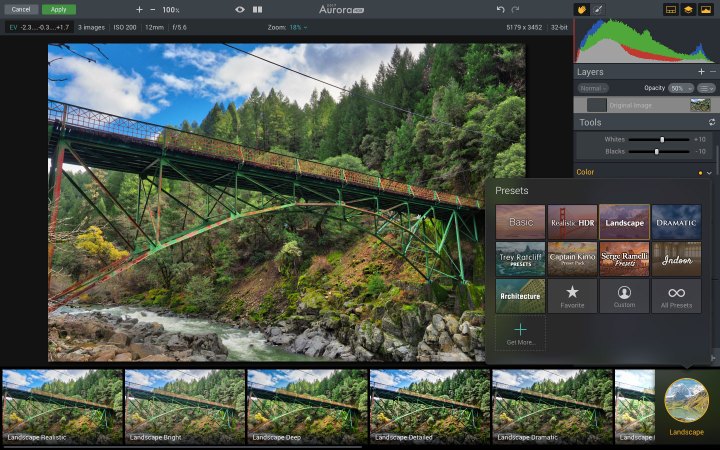
Digital Trends spent a few days working with Aurora HDR 2017 and we have found very little not to like about it. The interface borrows many cues from Luminar, Macphun’s RAW processing app we previewed earlier in 2016 It presents a simple approach to an HDR workflow, putting the basic controls front and center while keeping more advanced options on the periphery. First-time HDR shooters won’t feel overwhelmed, but advanced users can easily access the power they need.

aurora-hdr-2017-screenshot-2
Image used with permission by copyright holder

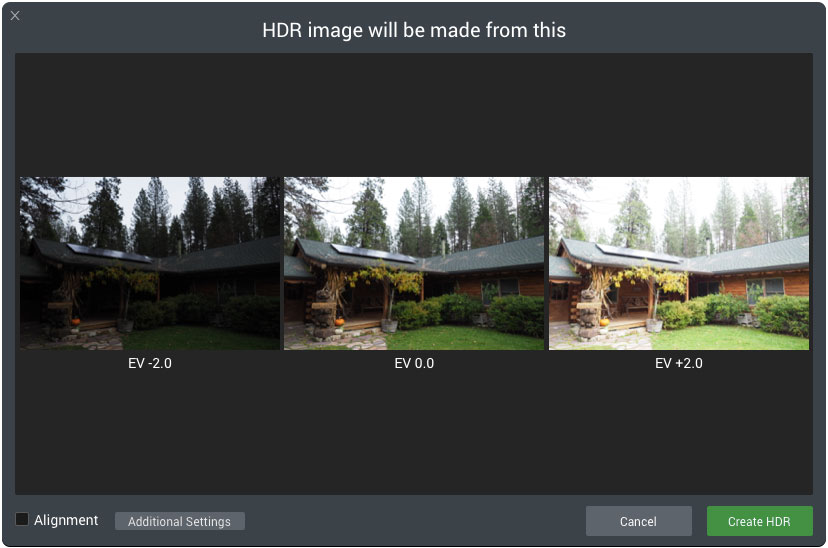
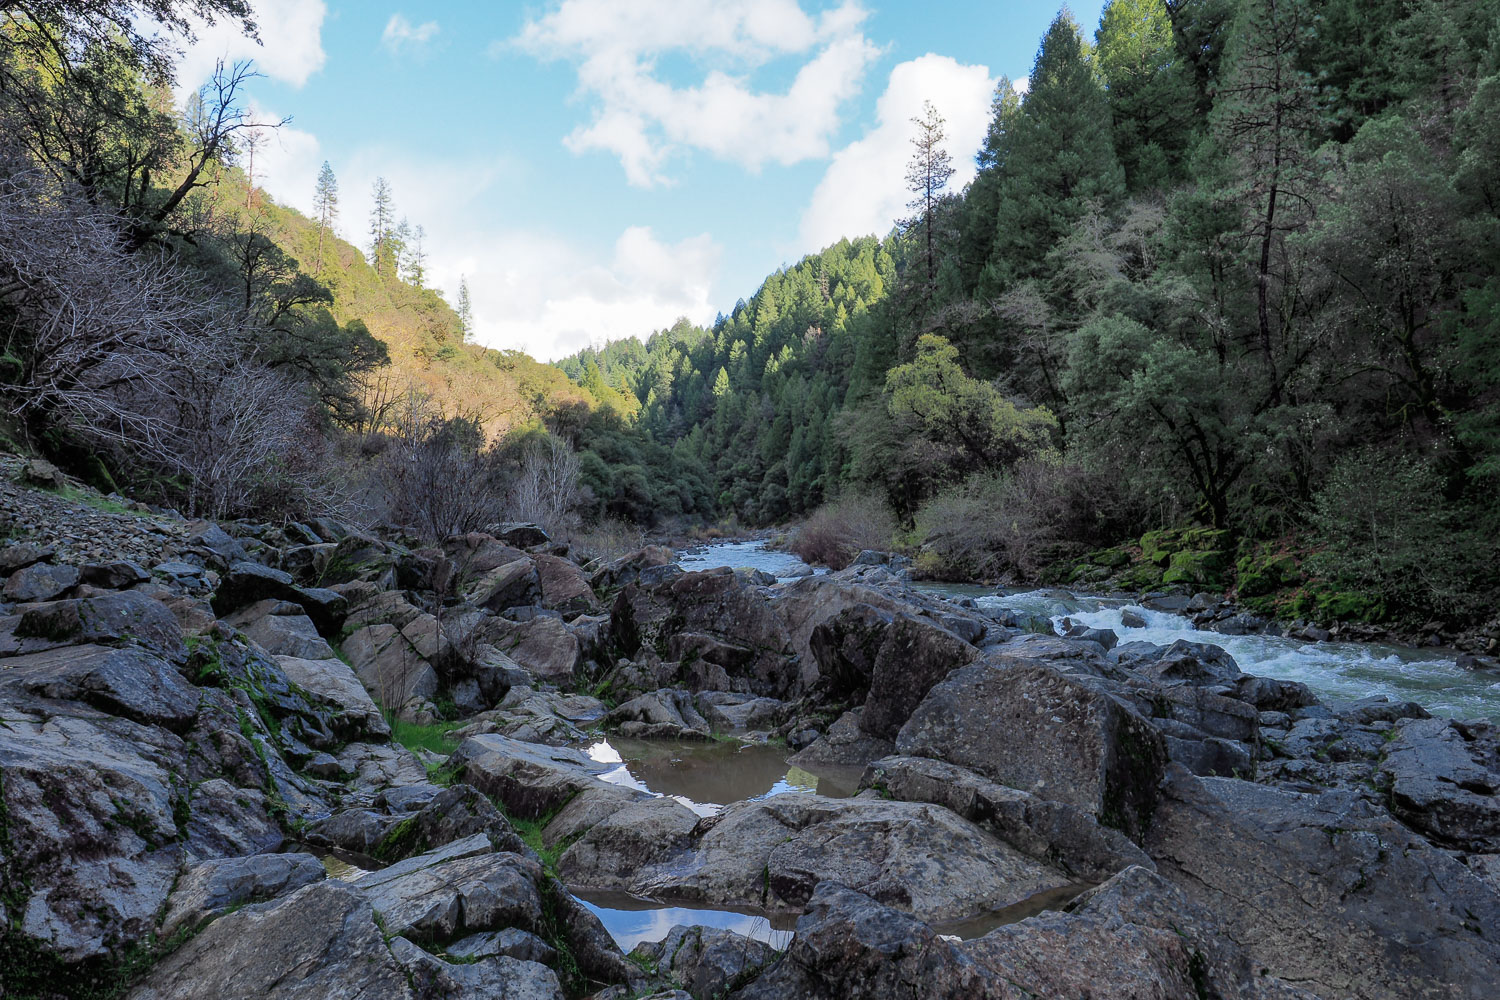
For those unfamiliar with the concept of HDR photography, here is a brief overview: If you ever tried to take a picture of someone outside with the sun behind them, you have likely encountered the problem of your camera’s limited dynamic range. Either your subject’s face is too dark, or the sky is completely blown out. HDR photography is the solution to this problem. It generally involves combining three (or more) images shot at different exposure values so as to retain detail in both the shadows and highlights in high-contrast scenes. One photo is taken at the camera’s default meter reading, a second is underexposed to properly capture the sky, and a third is overexposed to capture the shadows in the foreground. Most interchangeable lens cameras and advanced point-and-shoots can automate this process thanks to automatic exposure bracketing.

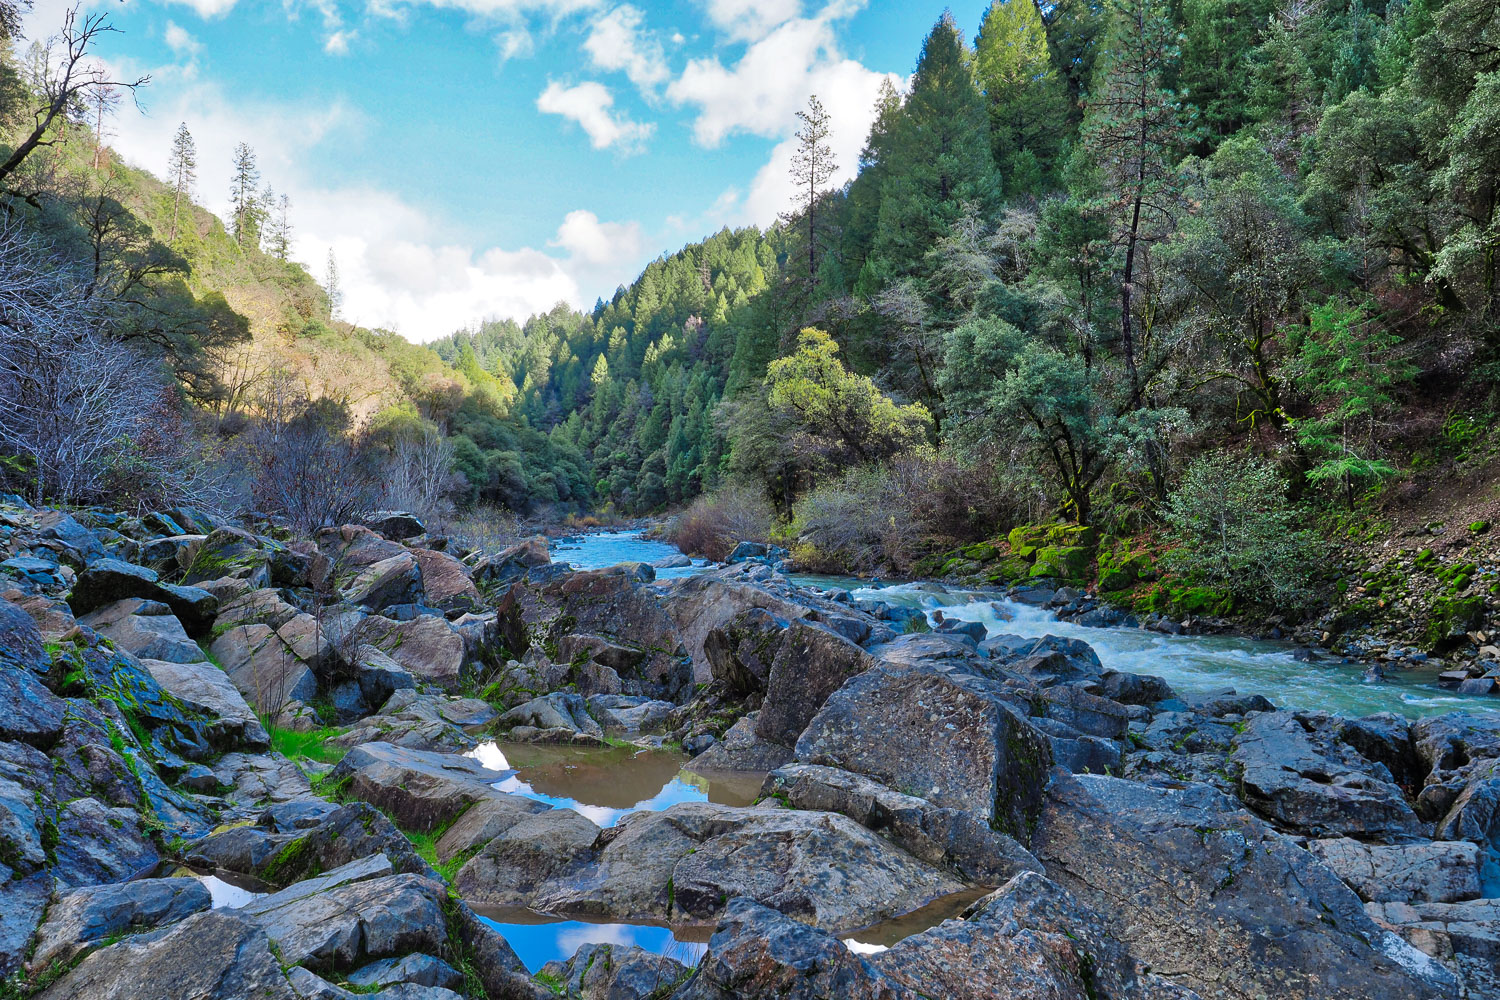
By themselves, any one of these images would look wrong, but when merged, the result can more accurately represent the scene as your eyes saw it — or create an extreme, stylized look. Aurora HDR 2017 makes this process as painless as possible.

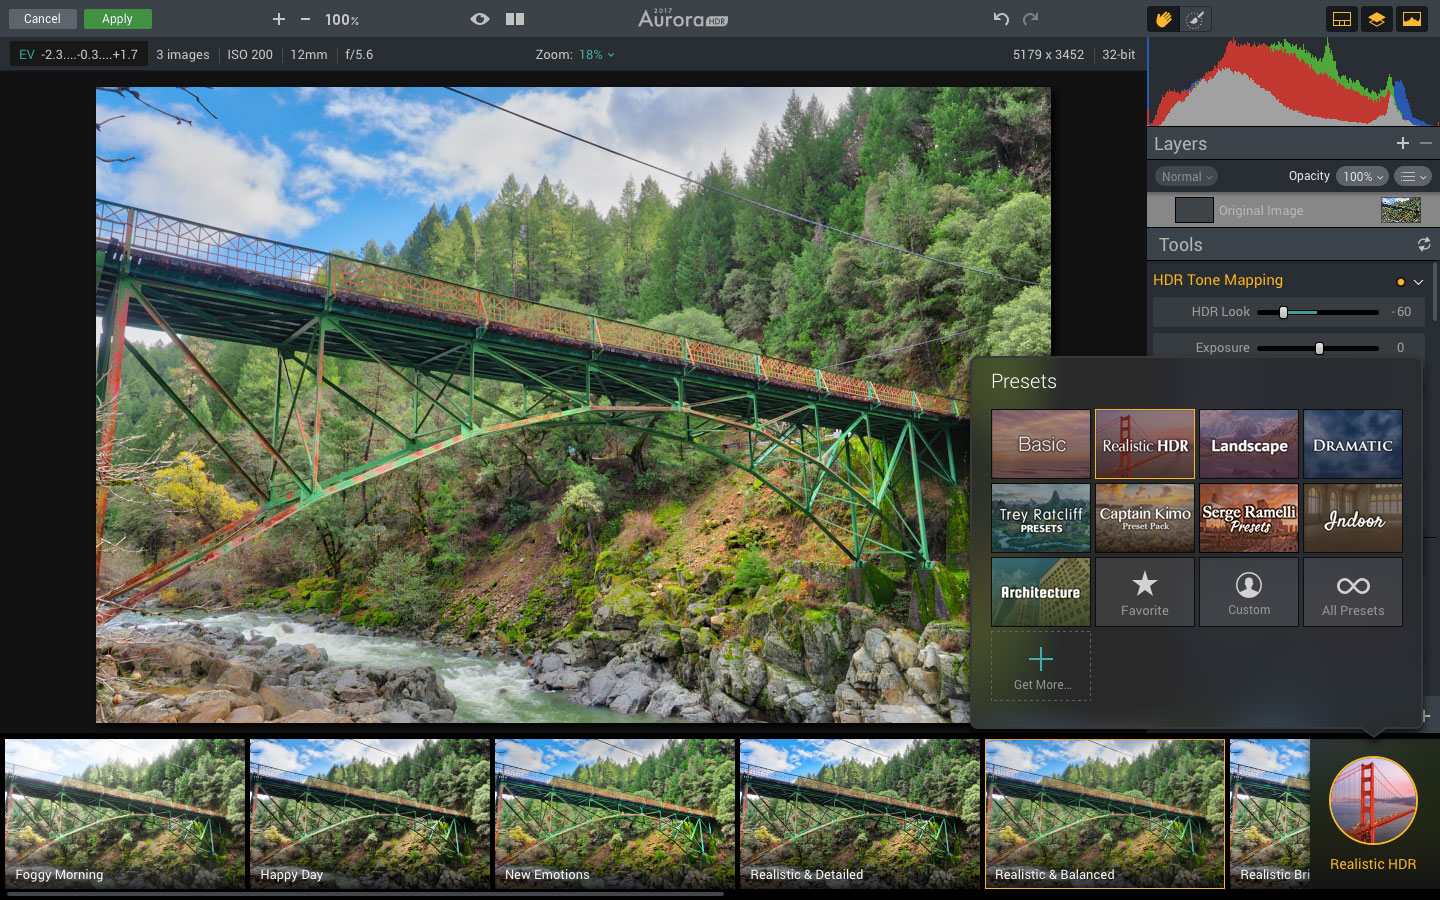
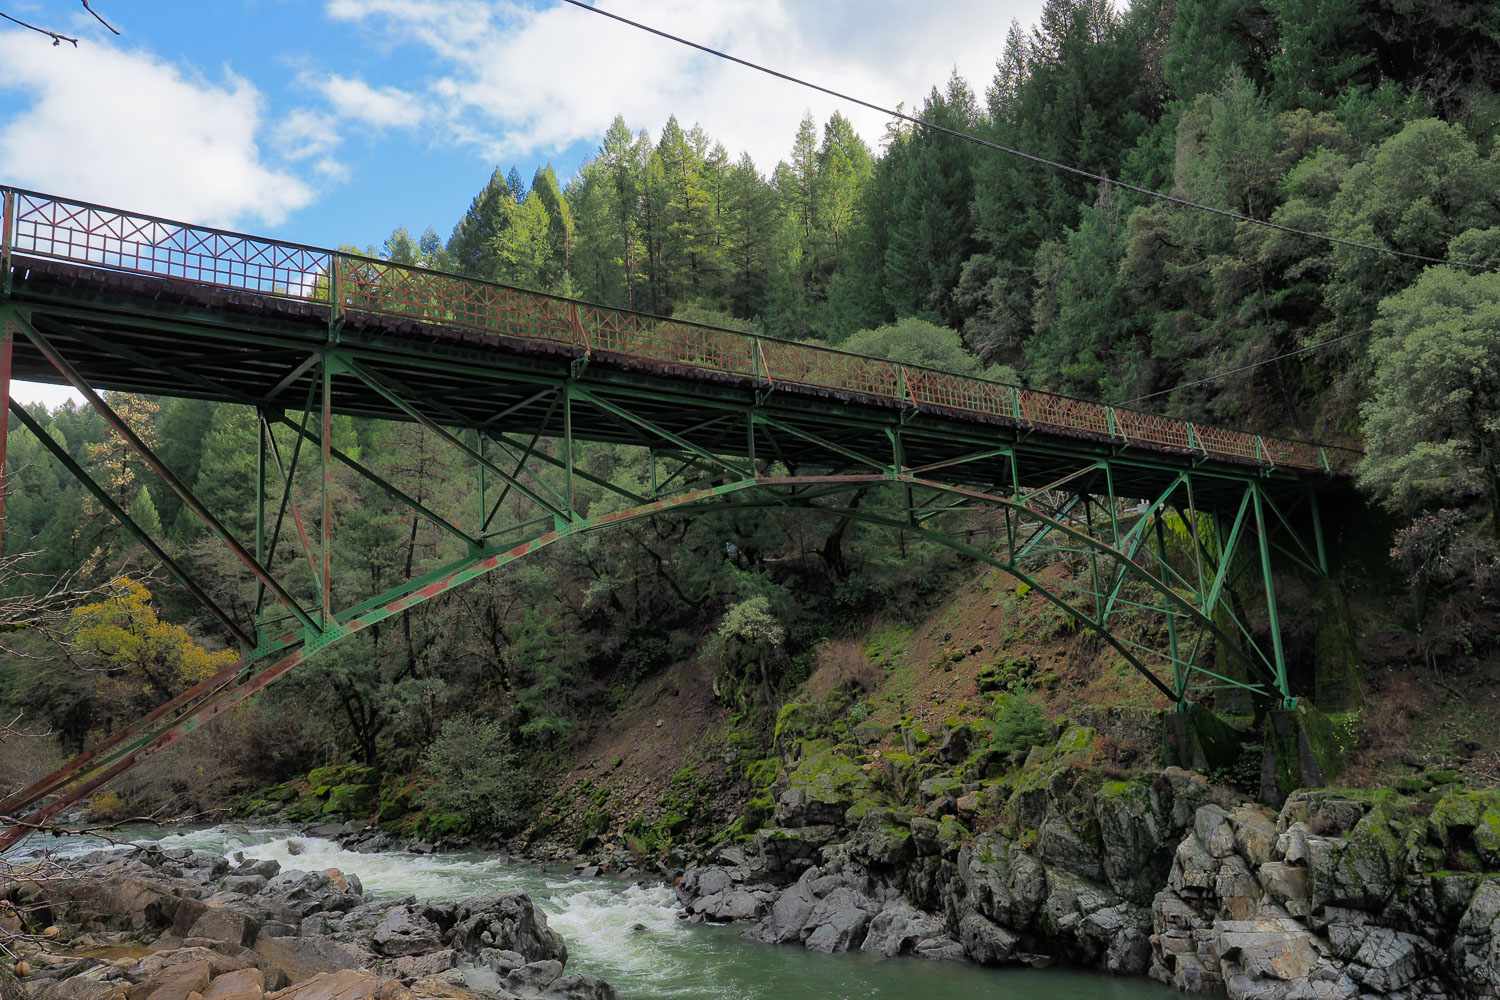
The bottom of the interface is occupied by a row of presets which are organized into various groups, including “Realistic,” “Landscape,” “Architecture,” and more (there is even a folder called “Trey Ratcliff Presents”). The presets provide a good starting point for any HDR workflow, but users will almost always benefit from making more refined adjustments.

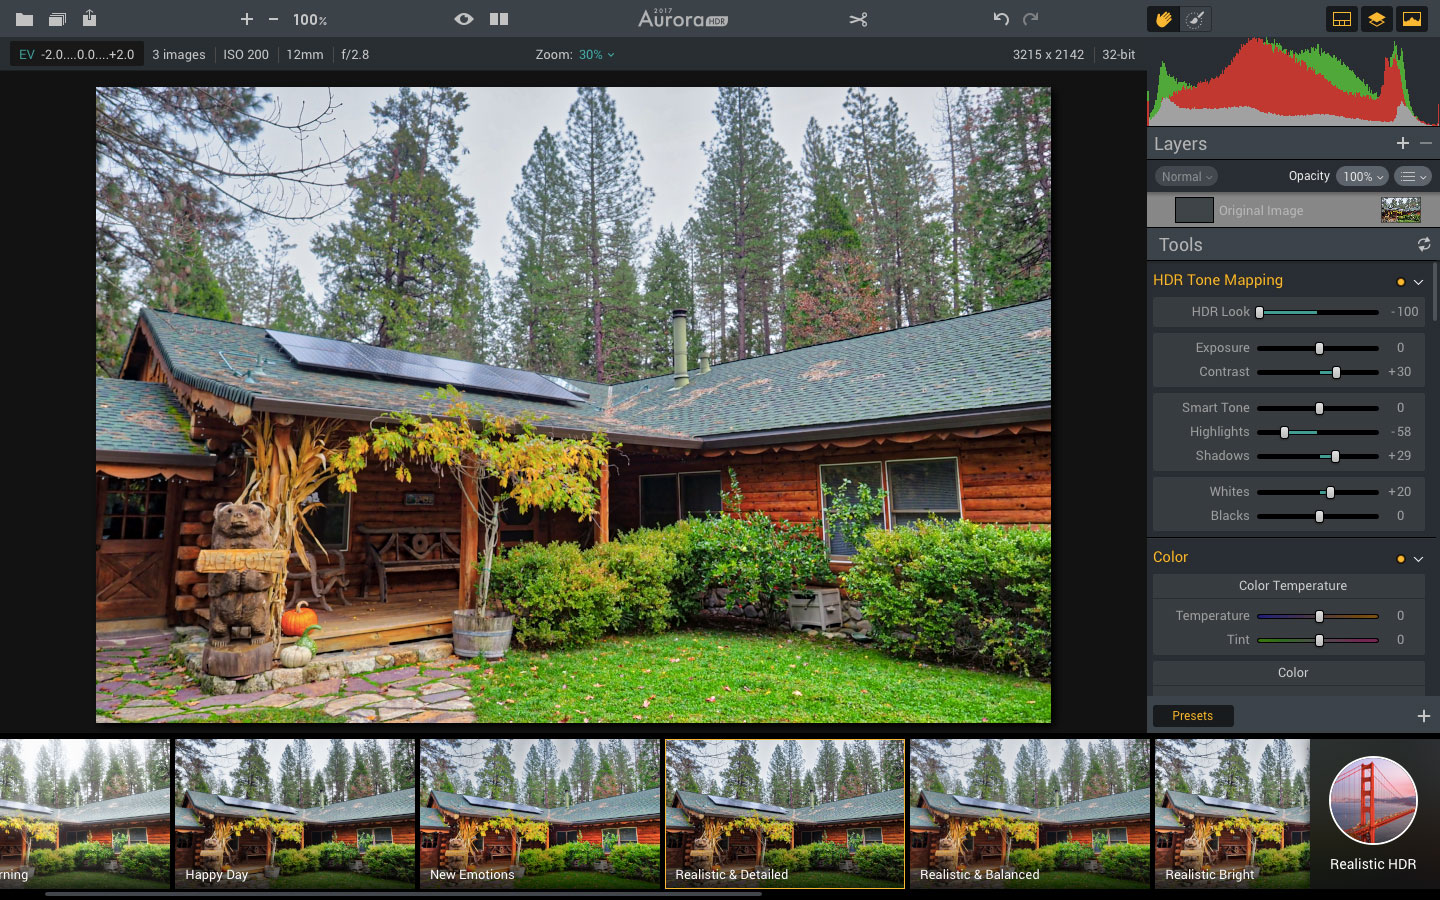
The first adjustment you will want to make is to the “HDR Look” slider. New for 2017, this control affects the overall look of the image. Keep it pinned to the left for the most realistic look, or drag it all the way to the right for a more cartoony appearance. In our experience, keeping the slider left of center generally produced the best results, although there is plenty of room for subjectivity here.

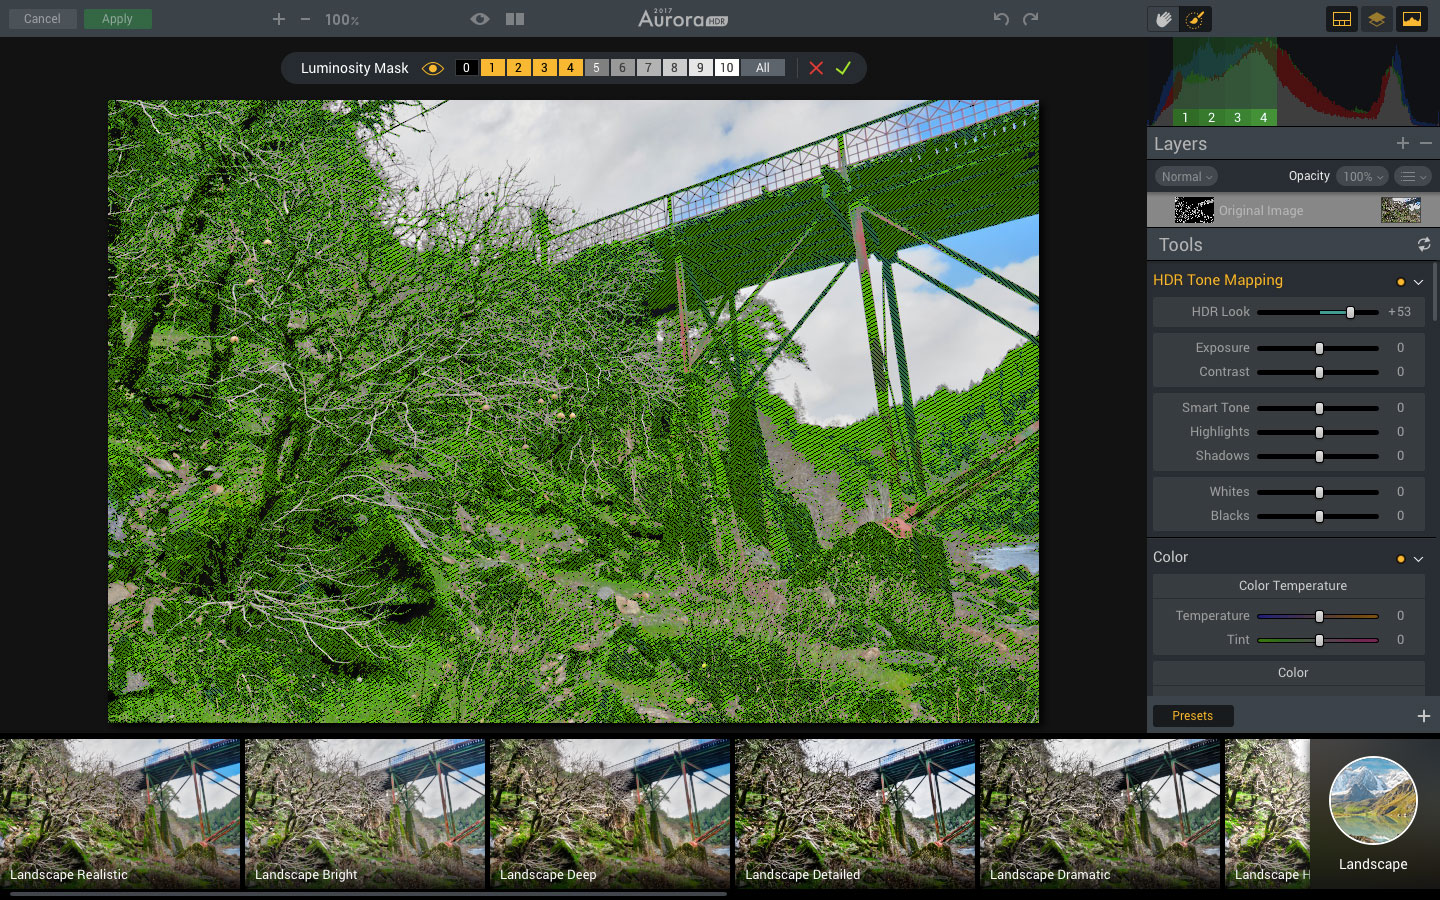
Aurora HDR offers a plethora of other adjustments, including exposure, color balance, and even a curves tool, that allow you to further refine the look of your image. Beyond this, the 2017 edition introduces a way to instantly create luminosity masks based on the zone exposure system. Simply select the zones you want to adjust (from one to 10, one being black and 10 being white) and now any adjustment you make will only apply to those specific tonal regions. This is handy when the default HDR interpretation lightens the shadows too much or oversaturates the highlights, or when you want to add contrast into the midtones without affecting the rest of the image.

aurora-hdr-2017-screenshot-6
Image used with permission by copyright holder

Like Luminar, Aurora HDR supports adjustment layers for nonlinear, non-destructive editing. You can also open images straight from your Lightroom catalog thanks to a plugin. When using Aurora HDR as a standalone application, however, you gain one key advantage, also new for 2017 — batch processing.

Batch processing isn’t always useful for HDR workflows, as most images likely require specific adjustments. However, if you have a large collection of photos from the same location or with similar lighting, Aurora HDR’s batch processing can save a lot of time. Simply point it to a folder that contains your images and it will automatically identify and group all of the bracketed shots. You can then select the presets and adjustments to be applied and with a single click, Aurora HDR will process all of the files.

Many cameras today — including phones — have built-in HDR functionality, but none offer the level of control that stand-alone programs give you. We compared in-camera HDR shots from an Olympus OM-D E-M1 Mark II with those made from bracketed exposures in Aurora HDR, and the difference was night and day. In general, the in-camera HDR processing was more realistic and subtle, if flatter, than Aurora HDR’s default processing. But virtually any look is possible with Aurora HDR’s advanced controls, whereas the options for in-camera HDRs are very limited. For the serious HDR photographer, there is no comparison.

Thanks in no small part to programs like Aurora HDR, HDR-image processing has grown infinitely more approachable than it once was. However, it remains somewhat of a niche style of photography, as Aurora HDR’s $99 price reflects. For the avid landscape and travel photographer, however, it is money well spent, and offers value for beginners and professionals, alike. Users of previous versions can upgrade at a reduced price.

Daven Mathies
Former Digital Trends Contributor
Daven is a contributing writer to the photography section. He has been with Digital Trends since 2016 and has been writing…
Watch an acclaimed director use the iPhone 15 Pro to shoot a movie
acclaimed director uses iphone 15 to shoot movie shot on pro midnight

Shot on iPhone 15 Pro | Midnight | Apple

As part of its long-running Shot on iPhone series, Apple recently handed acclaimed Japanese director Takashi Miike (Audition, 13 Assassins, The Happiness of the Katakuris) an iPhone 15 Pro to shoot a short film.

Read more
How to remove location data from your iPhone photos
How to transfer photos from an iPhone to an iPhone

We all love making memories, and a great way to collect those memories is to take a quick snap of a gorgeous landscape, a party in full swing, or a particularly incredible meal. The Apple iPhone now also adds a location to your pictures, meaning it can collate those images together into a location-themed album, or show you all the shots you've taken in a specific location. It's a fun little addition, and it's one that adds a lot of personality to the Photos app.

Read more
‘Photoshopped’ royal photo causes a stir
The Princess of Wales with her children.

[UPDATE: In a message posted on social media on Monday morning, Princess Kate said that she herself edited the image, and apologized for the fuss that the picture had caused. “Like many amateur photographers, I do occasionally experiment with editing," she wrote, adding, "I wanted to express my apologies for any confusion the family photograph we shared yesterday caused."]

Major press agencies have pulled a photo of the U.K.’s Princess of Wales and her children amid concerns that it has been digitally manipulated.

Read more