As for new features, there are two that stand out. A new Golden Hour filter that mimics the warm sunlight of late-evening settings, regardless of the actual time of exposure, will be welcome for landscape shooters. Also, in taking a cue from Adobe, Macphun has created a new Dehaze filter for Luminar that helps clean up foggy mornings or hazy cityscapes. Other add-ons include an improved white balance tool, improved presets sharing, and more.
A previous update also added support for the Touch Bar on the new Apple Mac Book Pros. For more information, see this Luminar blog post.
Updated November 10, 2016: Macphun continues to work on Luminar while in beta and has issued a new update. Among other things, the update promises faster performance, painting speed improvements, improved handling of RAW files, and better quality noise reduction. We tested the latest version, and found modest loading speed improvements with our Fujifilm X-T2 RAW files. Load times were still slow, but the app window now opens much sooner and displays a progress bar that communicates what is going on. Most of the time is spent in the “RAW denoise” process.
We also tested out the noise reduction and can confirm that it works quite well. It is easy to go over-the-top with it, which will cause a loss of detail in the image, but with a more modest application, it does a very good job. We were particularly impressed with how well it held onto color information. This made it easy to clean up some RAW files shot at 12,800 ISO.
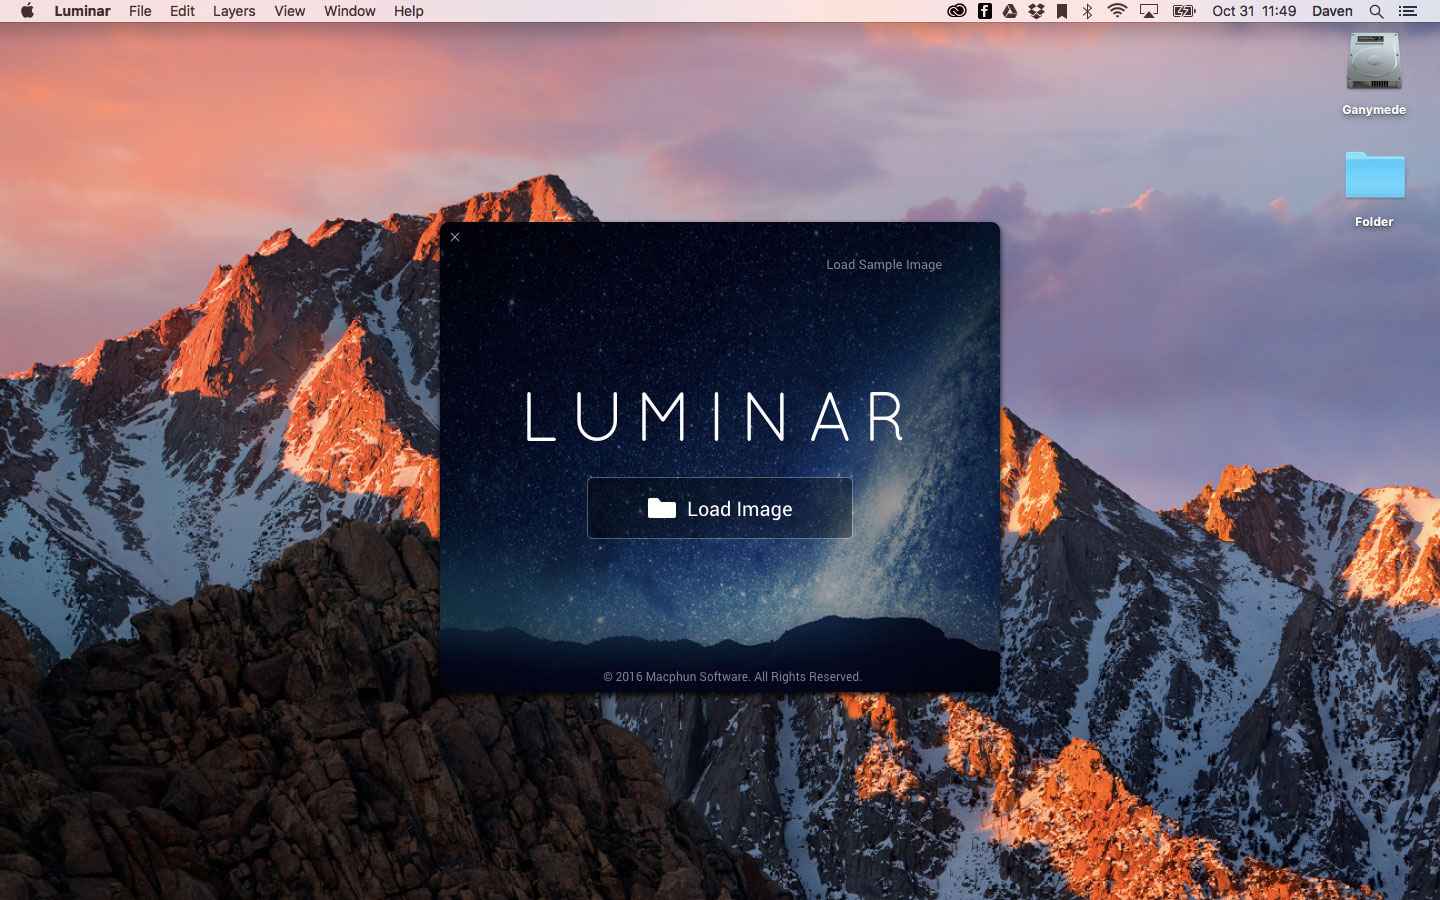
The first time you launch Luminar, the new RAW processor from Macphun, you might be taken aback by its simplicity. A single window opens at the center of your monitor that looks like a splash screen, as if the rest of the program is loading in the background. But nothing is going on behind it. Instead, you’ll soon realize the window is presenting you with an option: “Load Image.”
This kind of simplicity just isn’t seen in photo editing software anymore. Either you have programs like Adobe Lightroom and Apple Photos, which manage vast libraries of images and offer a broad selection of editing tools, or you have something like Photoshop, which focuses on a single image, but in a very complex way.
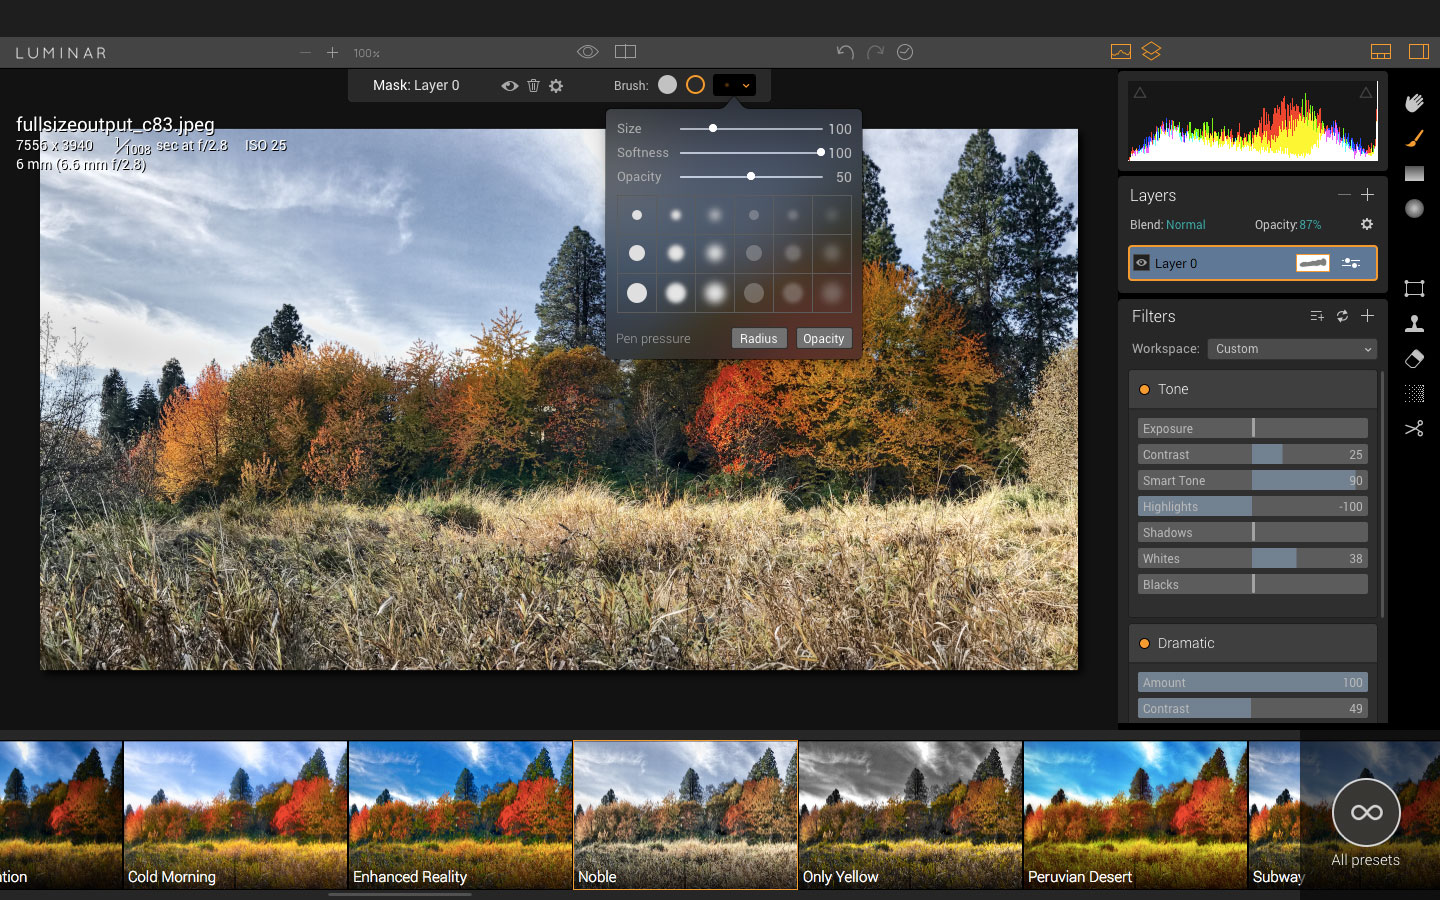
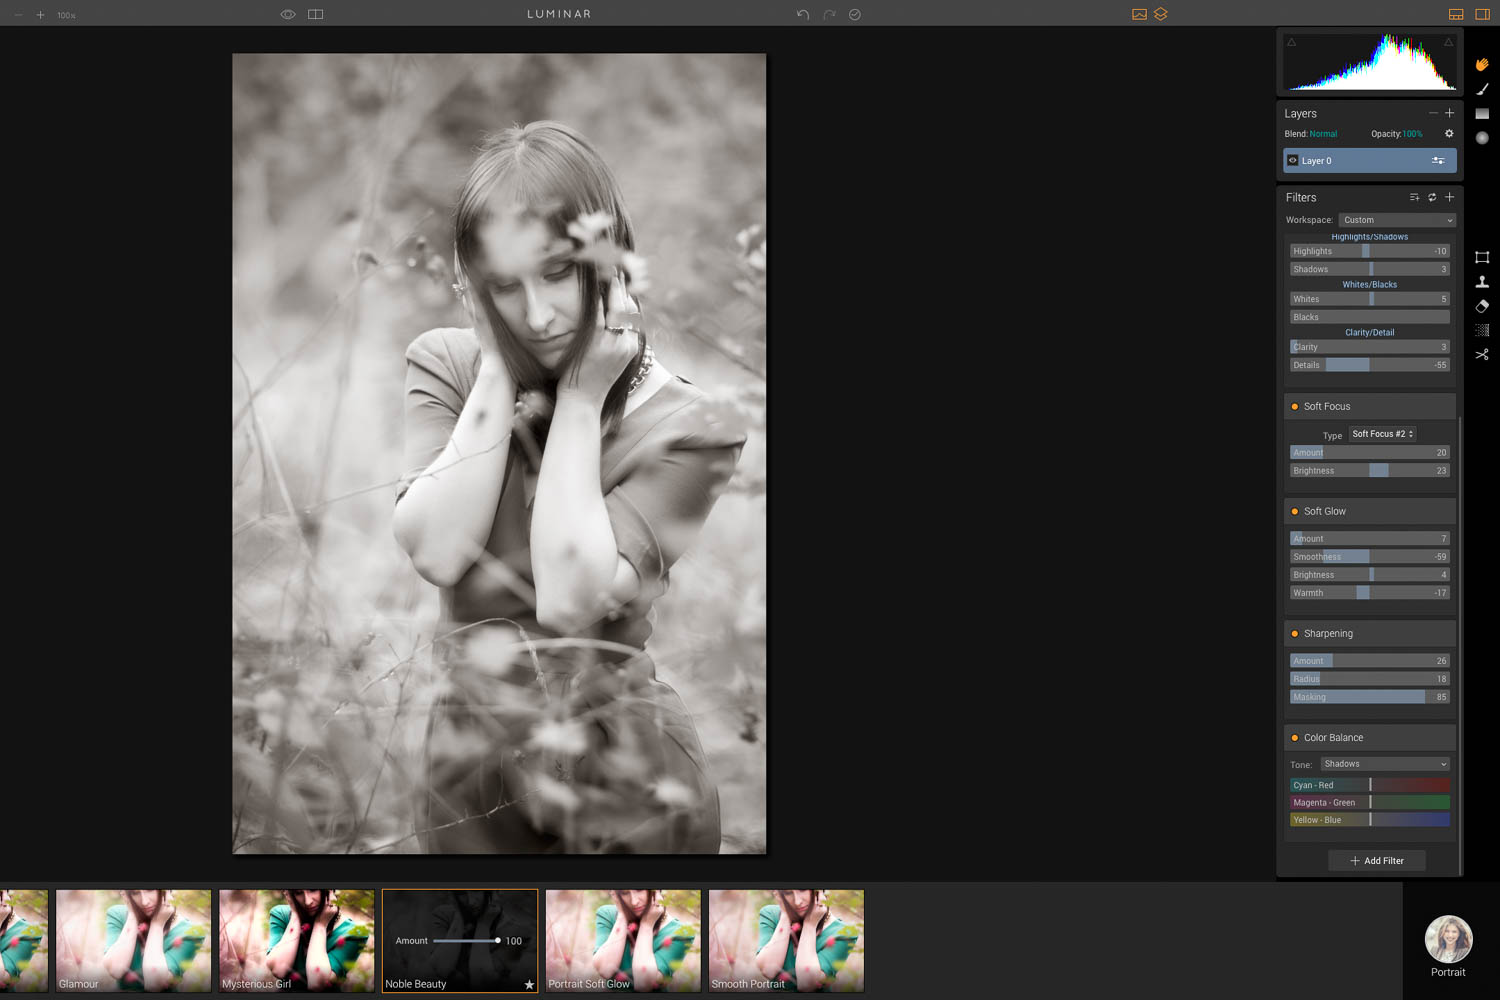
Luminar, by comparison, is a breath of fresh air. It presents a refined approach to image editing, one that scales with your level of experience. Want one-click adjustments that you can set and forget? There’s a row of presets right there at the bottom of your screen. Need more advanced exposure controls? No problem – in fact, there are some 35 filters to choose from. How about layers, masks, adjustment brushes, and even a clone stamp? Yep, those are all there too.
What separates Luminar from other photo editing applications isn’t so much what it can do, but how it does it. It uses an “adaptive interface” that keeps higher-end features hidden by default so they don’t hog the screen. This makes the app approachable to beginners, but it effortlessly scales up for experienced users. You will have no problem quickly setting the interface to your own personal taste. Want to go full manual and not see the presets at all? Just click a button.
A key to Luminar’s interface is what Macphun calls Workspaces, which are collections of adjustment filters. A handful of Workspaces are included by default, tailored to different types of photography. Filters presented in the Landscape Workspace, for example, include a Foliage Enhancer, Polarizing Filter, and a Top and Bottom Lighting control that lets you adjust exposure separately for the top of the image from the bottom.
The Portrait Workspace adds filters like Soft Focus and Soft Glow. The idea is that each Workspace provides the tools you need and hides those you don’t. Naturally, each workspace includes basic brightness, contrast, and white balance filters.
Presets are organized in a similar way, so if you need a one-click-fix before posting a vacation photo online, you’ll probably find what you’re looking for in the Travel folder.
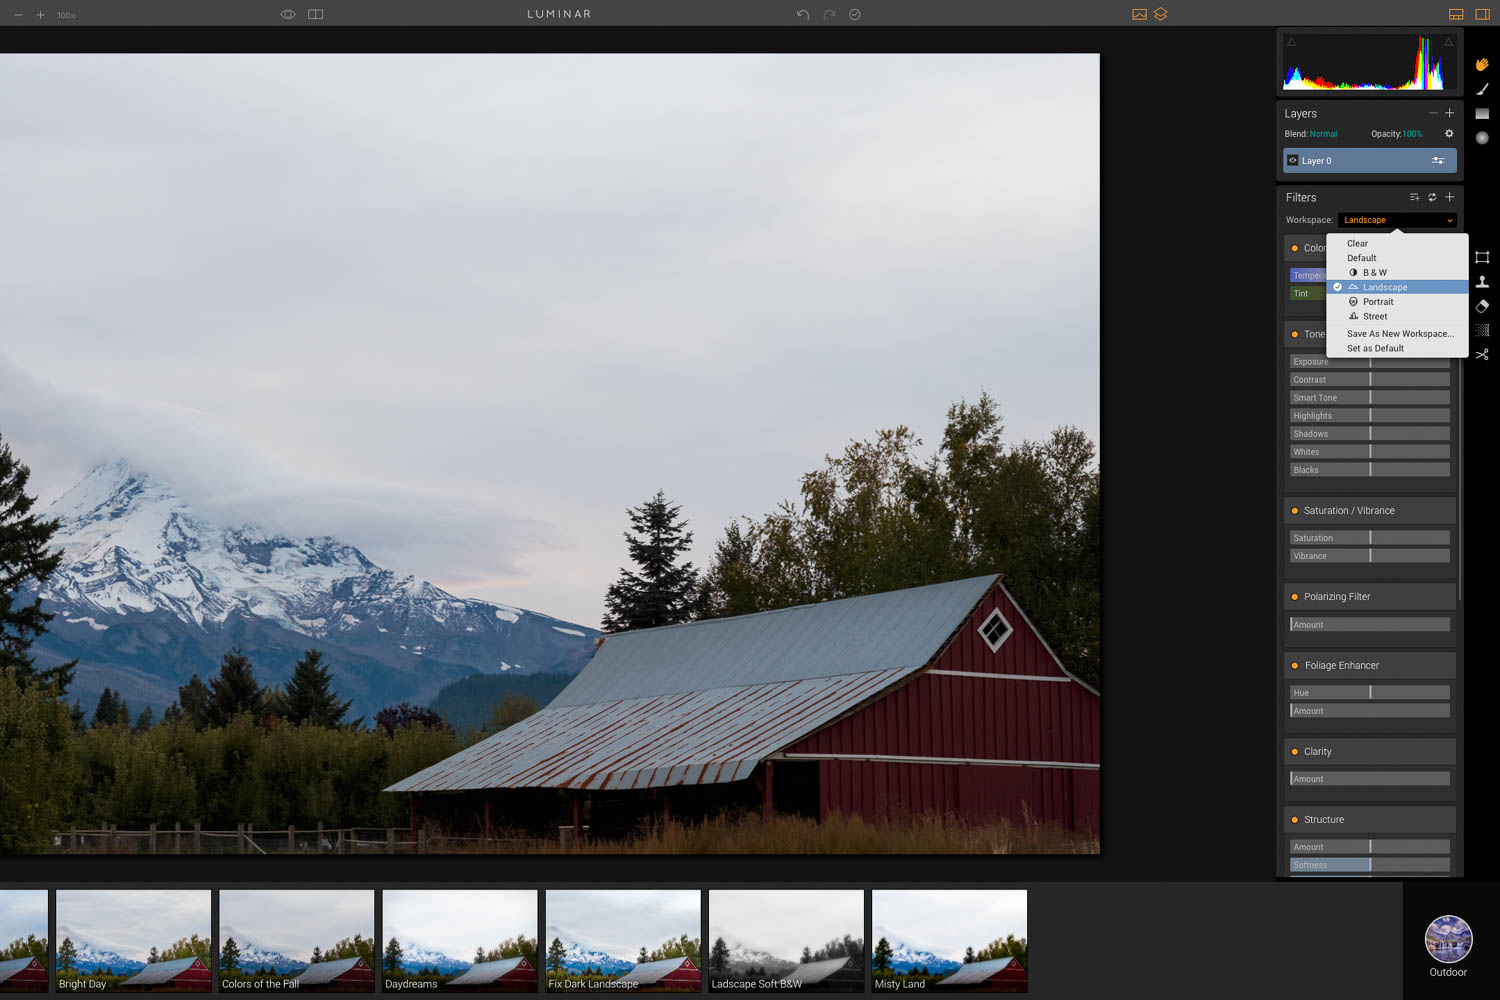
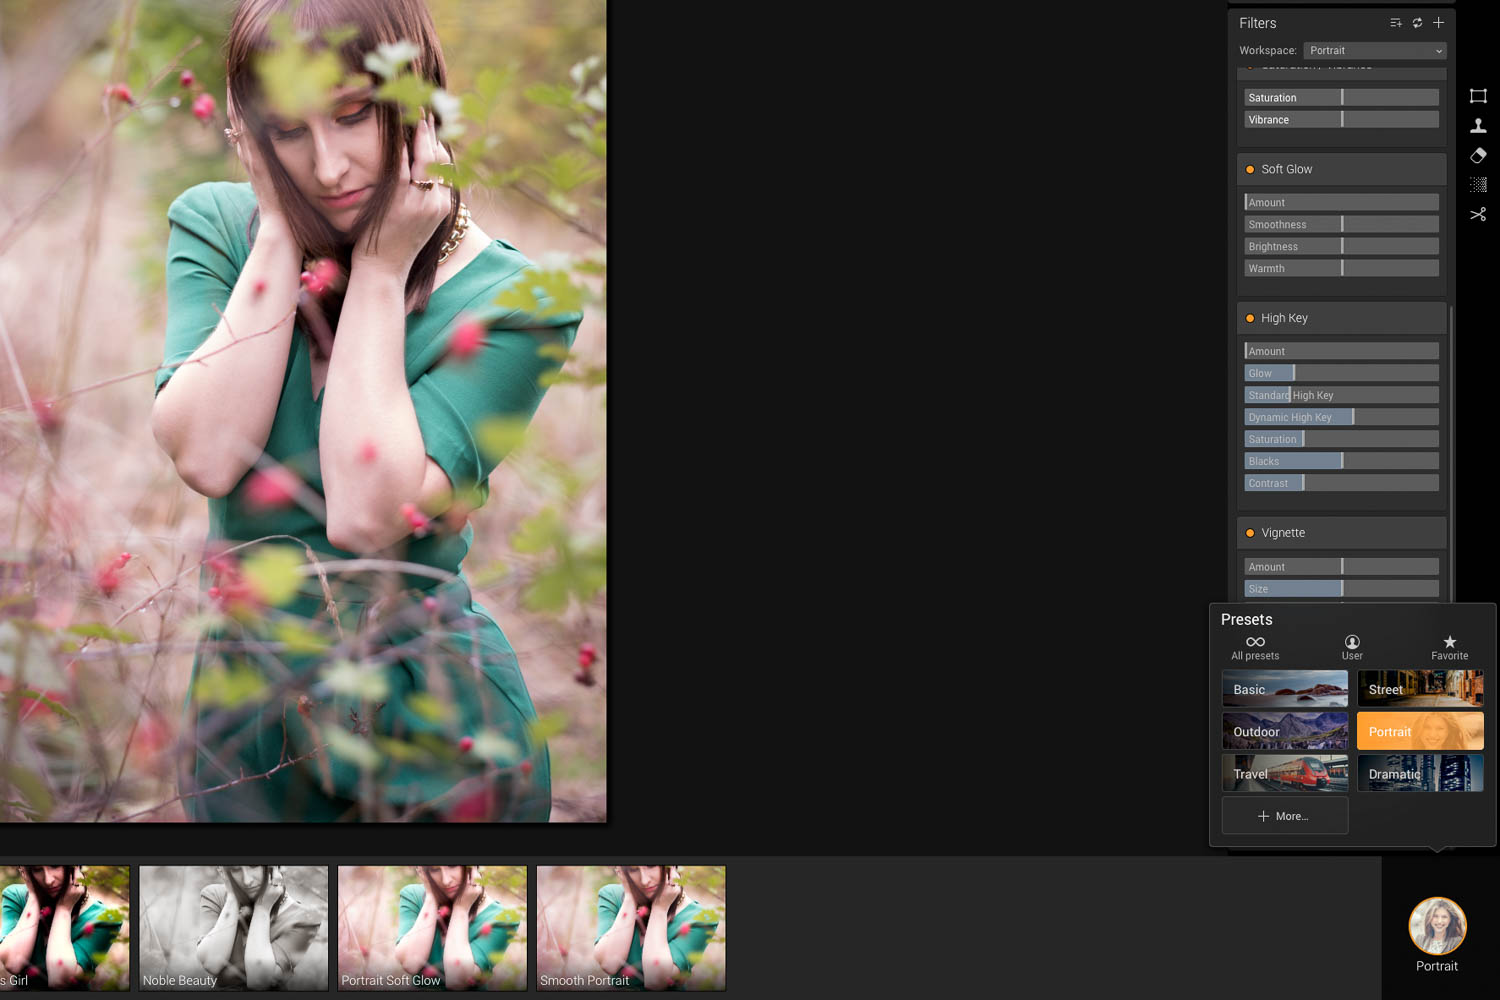
Workspaces are a good way for beginners to step up to the intermediate level, and users looking for something more can customize them to their hearts’ content. Any filter can be added or removed, and Workspaces can even be saved and exported to share with others.
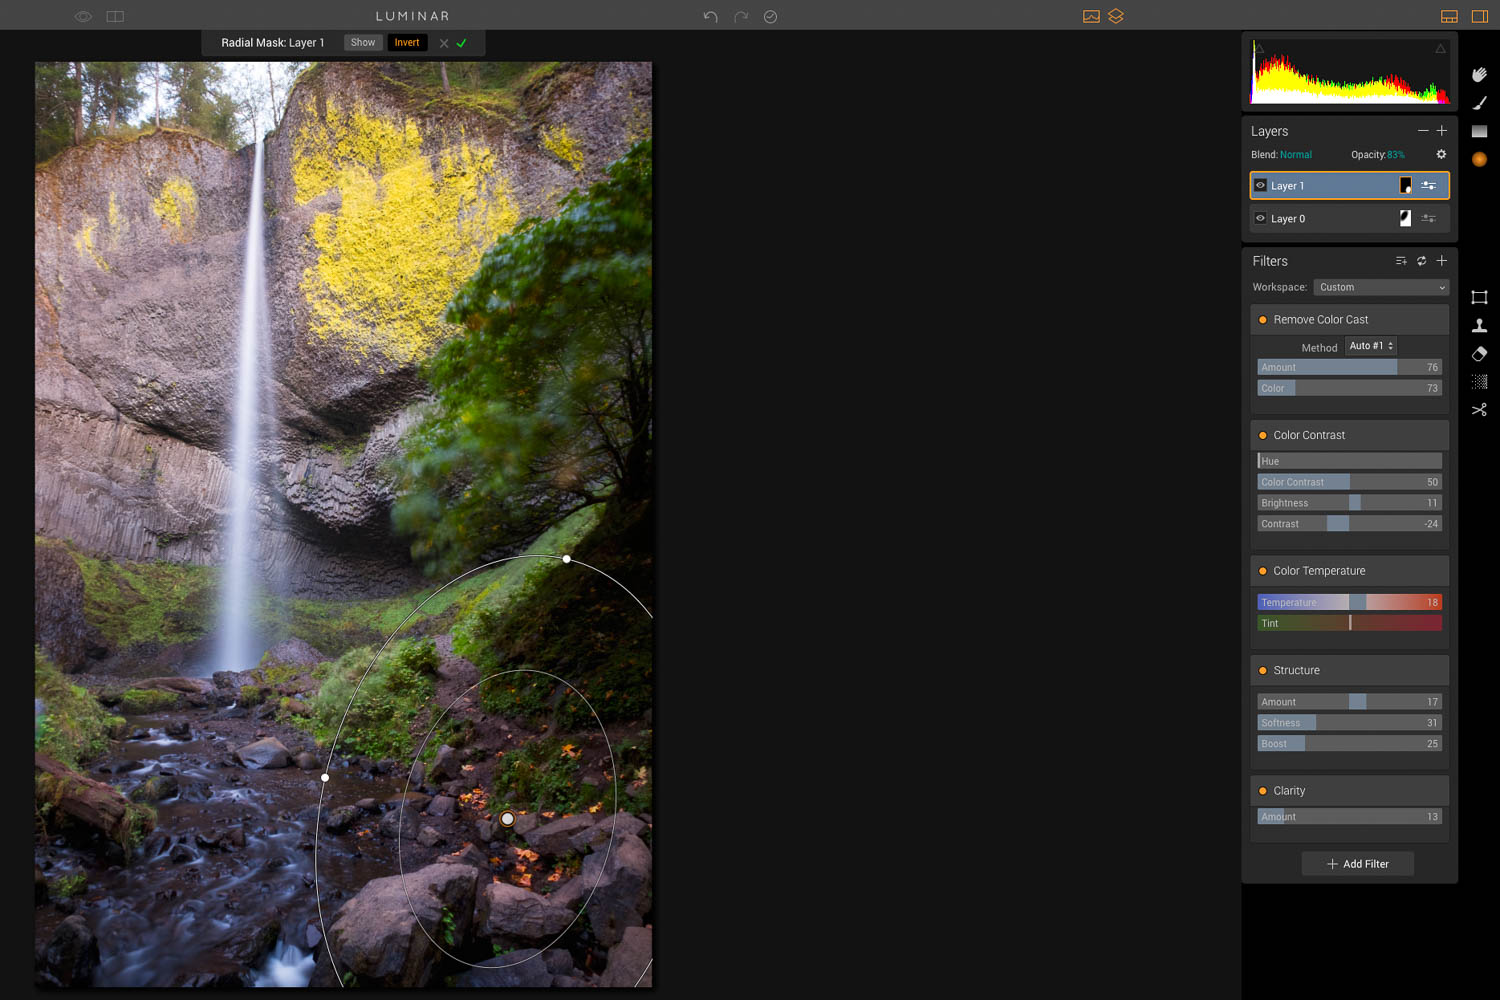
We’ve had our hands on a beta version of Luminar for a few days now, and our experience has been mostly positive. The highlight is undoubtedly the user interface, which took no time to familiarize ourselves with. It can get a little convoluted when multiple layers and masks are involved, but it’s not nearly as complex as Photoshop, and novice users won’t have to worry about those options.
We were impressed with how quickly we could create some pretty in-depth edits with the program. We added gradient masks, multiple layers, and countless filters within just minutes of opening the app for the first time.
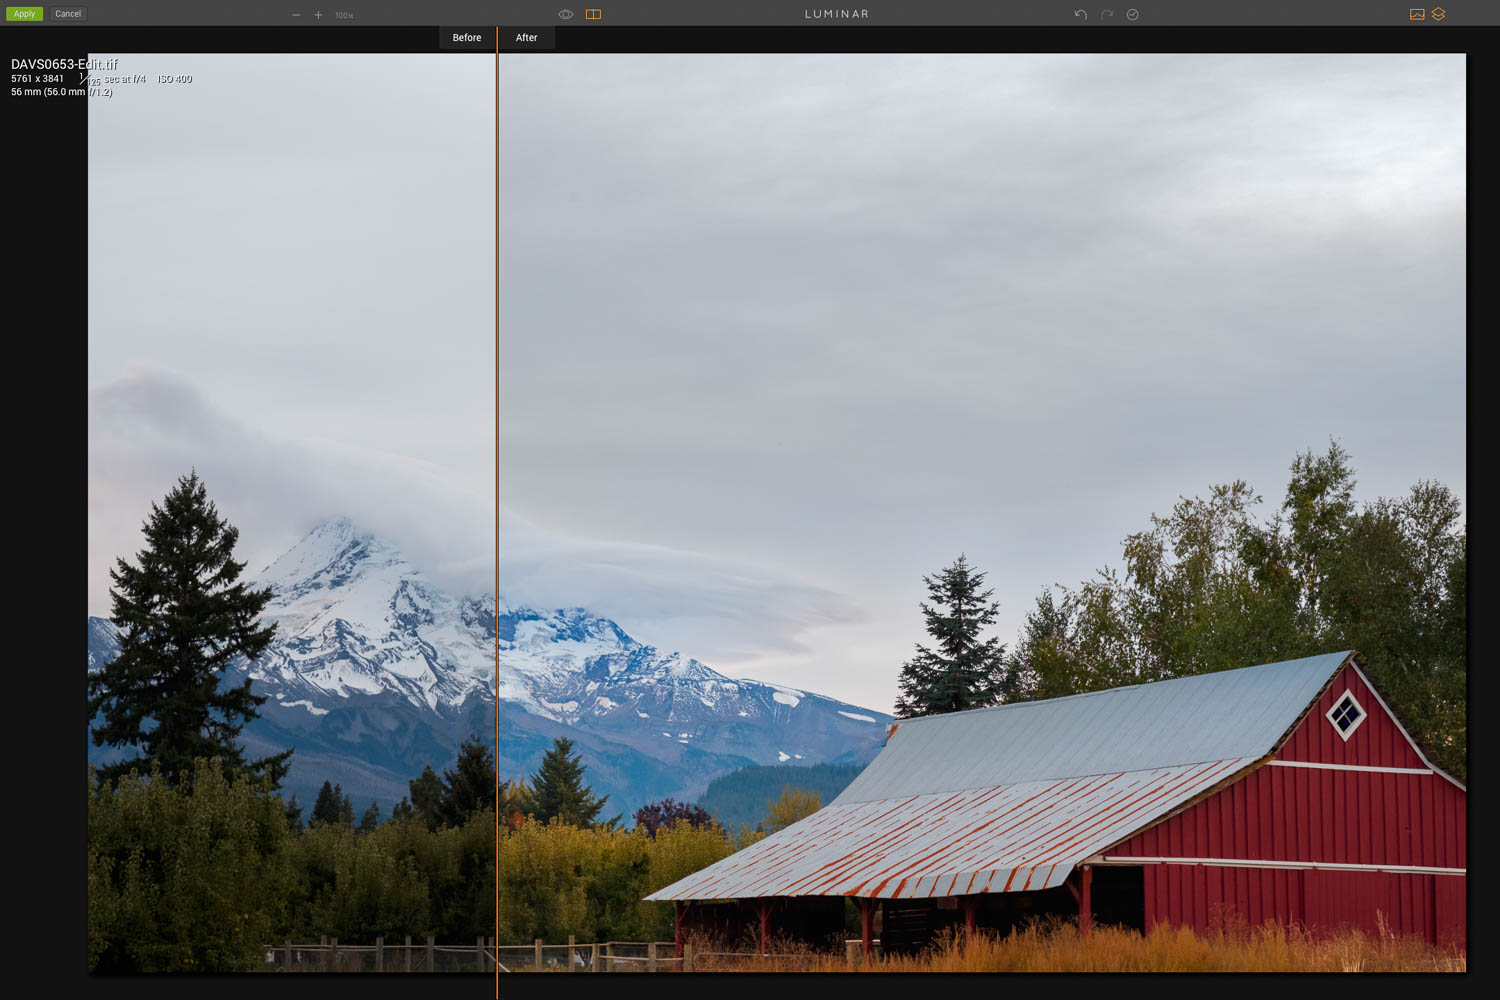
There are some nice smaller touches, as well, like a Quick Preview that shows the original, unedited version of the photo when you hold the backslash key. There’s also a side-by-side comparison tool, but checking the Quick Preview was so easy, it became second nature as we worked.
A history pane is also included, which provides an easy way to see every adjustment you’ve made. You can quickly jump to any step in the process to start again from that point.
Overall, Luminar is a surprisingly powerful photo editor, especially when you consider its $59 price (just $49 for owners of any other current Macphun products). It runs as a standalone app, but can side-load images from other apps thanks to plugins for Photos, Lightroom, Photoshop, Photoshop Elements, and even Aperture. It works best in conjunction with a cataloguing program since it has no file management capability of its own.
If the Macphun name didn’t give it away, Luminar is macOS-only. It’s probably best suited to Photos users who don’t have an Adobe Creative Cloud subscription. Luminar boasts some powerful tools and an elegant UI, but there’s nothing here that can’t be done with the combination of Lightroom and Photoshop.
That said, for inexperienced Photoshop users, Luminar presents a much easier learning curve. Even the advanced features are easy to use. In mere seconds, you can replace a boring sky with a more interesting one from another photo, remove blemishes, or completely remix the colors in an image. If you don’t mind a little redundancy in your app lineup, you may find a use for Luminar even with Lightroom and Photoshop in your arsenal.
As we were working with beta software, we won’t be too quick to judge Luminar for its imperfections, but there are a couple of negatives to point out. One, while working in the app itself is quite smooth, loading images can take a while. Sending a RAW file from Lightroom, for example, took about 30 seconds. JPEGs, however, were much faster, opening in about four seconds.
It might be worth noting that this particular RAW file was from a Fujifilm X-T2. Fujifilm’s X-Trans sensors use a complex color pixel array, and it is possible that Luminar might have an easier time processing RAW files from cameras that use standard Bayer arrays. We were also testing the app on a late-2012 iMac, and while the computer is maxed out for its time, newer machines will undoubtedly be faster. Still, 30 seconds is a long time, and there would appear to be some room for optimization.
The second issue is that there isn’t really a way to batch process photos. You can create your own presets, which can then be applied to other images, but as far as we can tell, this would all have to be done one image at a time. You can sort of open multiple photos at once, but each opens in its own window, so there isn’t a streamlined workflow for editing multiple images.
If you only need to work on a single image at a time, however, Luminar does not disappoint. It offers a great intermediate step between something like Photos and Photoshop, and even its advanced features should be pretty easy for novices to learn. We also can’t argue with the price: at $59, without any sort of monthly commitment, Luminar isn’t just a deal, it’s a bit of a rarity these days.
Updated November 4, 2016: Macphun has confirmed other user reports of slow performance with Fujifilm X-T2 RAW files and is investigating the issue. The company also said batch processing will be coming in December.


