
These days, Siri is more than just a voice assistant — it’s a whole smart AI system embedded in Apple’s devices. That means there’s so much you can do with it, especially now that it’s on MacOS as well as iOS. What’s more, Siri understands natural language, so you can say things like “Pump up the volume,” and Siri will understand that you want your Mac’s volume increased.
In this guide we’ll show you how to get started with Siri on a Mac, as well as some of the best ways you can put it to use. If you want to know even more ways you can use Siri on your Mac, load Siri and ask, “What can you do?” or check out Apple’s support document.
How to set up Siri on a Mac
Step 1: Open Siri’s System Preferences
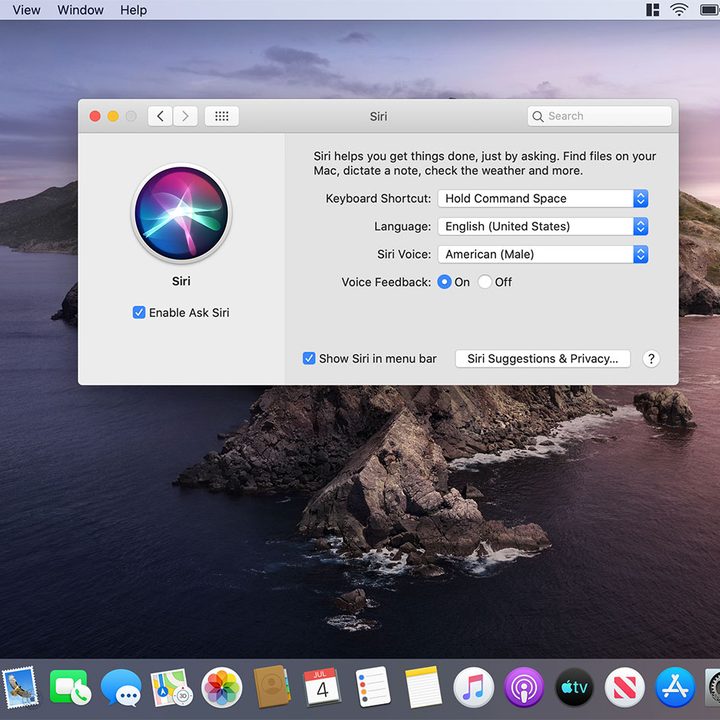
All of Siri’s settings are stored in System Preferences. Click the Apple icon in the top left, then click System Preferences. Once the window opens, click Siri to open up the settings you can change.
Step 2: Assign a keyboard shortcut
If you have a MacBook Pro with a Touch Bar or a 2018 MacBook Air, you’ll have a Siri button to quickly launch Apple’s assistant. But if your Mac doesn’t have this button, you might want to assign a shortcut to launch Siri instead.
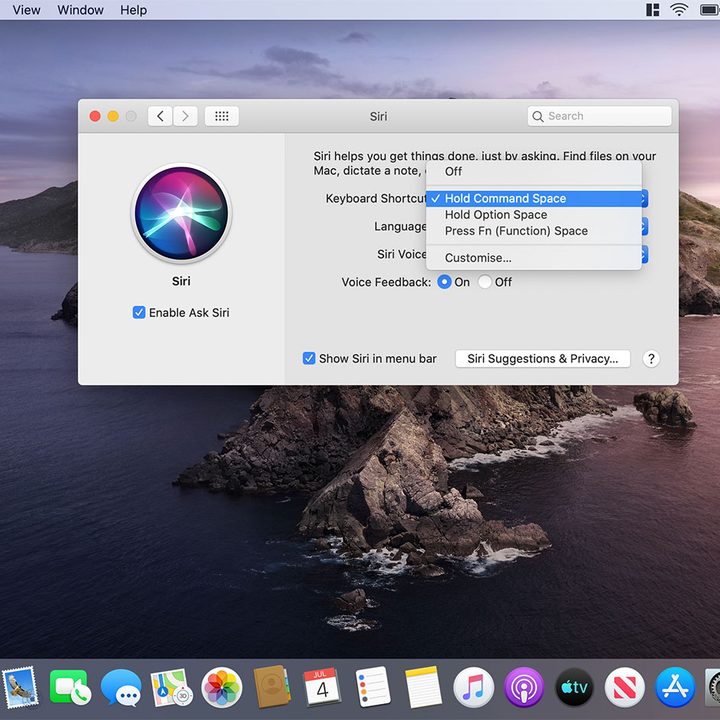
By default, this is set to pressing and holding Cmd+Space. Apple gives you two other pre-set choices: Hold Option+Space or press Fn+Space. You can also customize this with your own combination of two keys.
Alternatively, you can disable a keyboard shortcut and just use the Siri buttons located in the Dock and the menu bar. Or even better, you can launch it with your voice by saying “Hey Siri.” Some older models, as well as the entire iMac line, don’t include the T2 co-processor which enables the always-listening “Hey Siri” support.
Step 3: Choose Siri’s voice and language
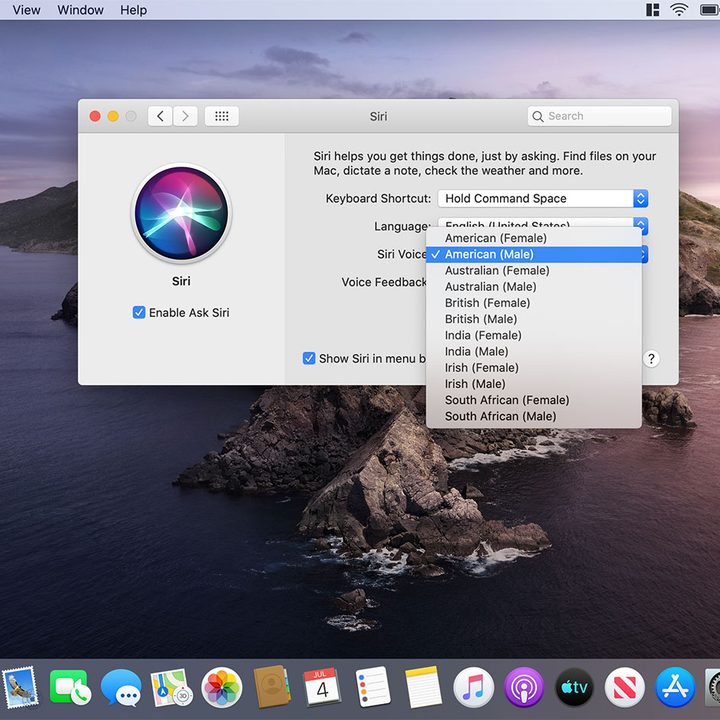
The default language and voice Siri uses are determined by the settings you entered when first setting up your Mac. If you want to change them, use the drop-down boxes below the keyboard shortcut box in Siri’s System Preferences.
Depending on your language, you may be able to choose from various accents and whether the voice is male or female.
Step 4: Type to Siri
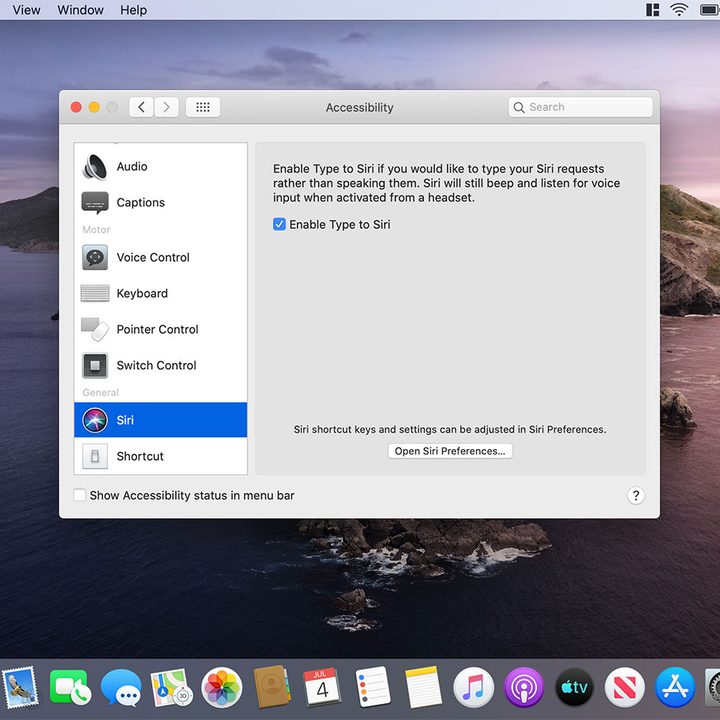
By default, Siri listens for your voice. If you’d rather type your requests, you can enable that. Open System Preferences, then click Accessibility. Scroll down to the bottom of the left-hand column and click Siri. In the pane that appears, click “Enable Type to Siri.”
This will disable speaking to Siri, but note that Siri will still listen for your voice if you activate it while using a headset with your Mac.
The best ways to use Siri on your Mac
Find your files with Siri
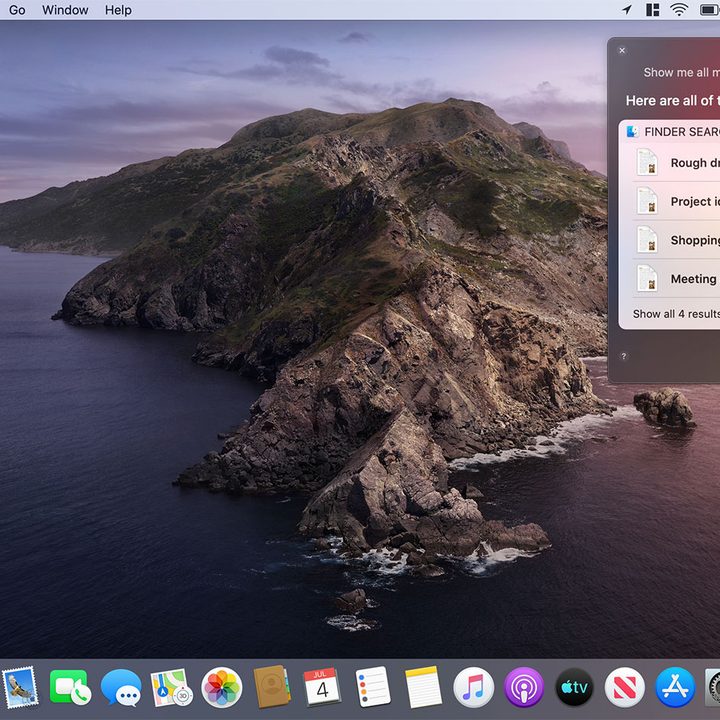
Keeping track of all your files can be tricky. Luckily, Siri is on hand to help. Just tell Siri to “Search for PDF documents,” for example.
But Siri can do more than just simple searches. It understands various conditions, such as “Show me all files I opened this week.” You can then refine results too, for example by saying “Only the ones titled ‘report’” once the original results have been loaded.
Drag and drop Siri results
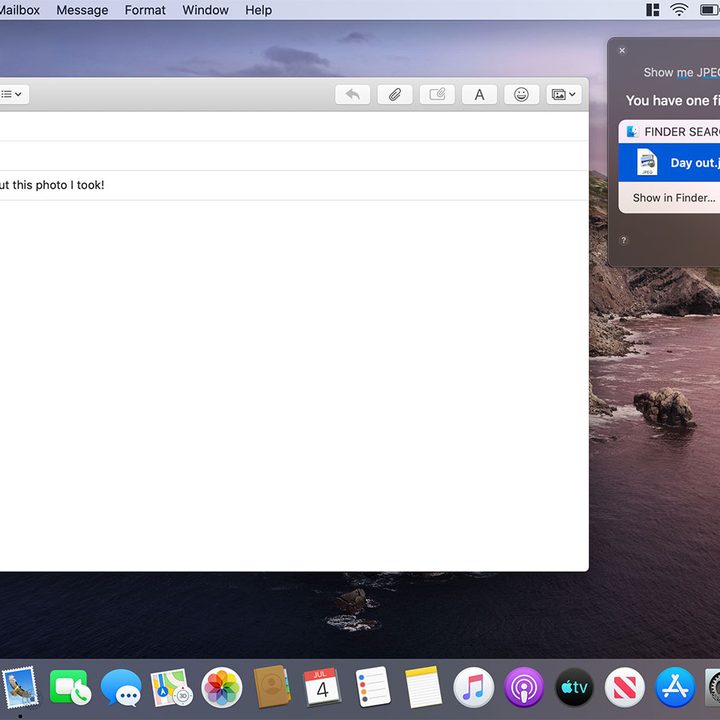
Apple makes it easy to take certain types of files from Siri results and add them to other documents. Let’s say you’ve just spent a week away on holiday and want to show your friends some of the pictures you took. Compose a new email, then say to Siri “Show me my photos from the last week.”
Once the results have loaded, you can drag and drop them directly into your email.
Add Siri results to Notification Center
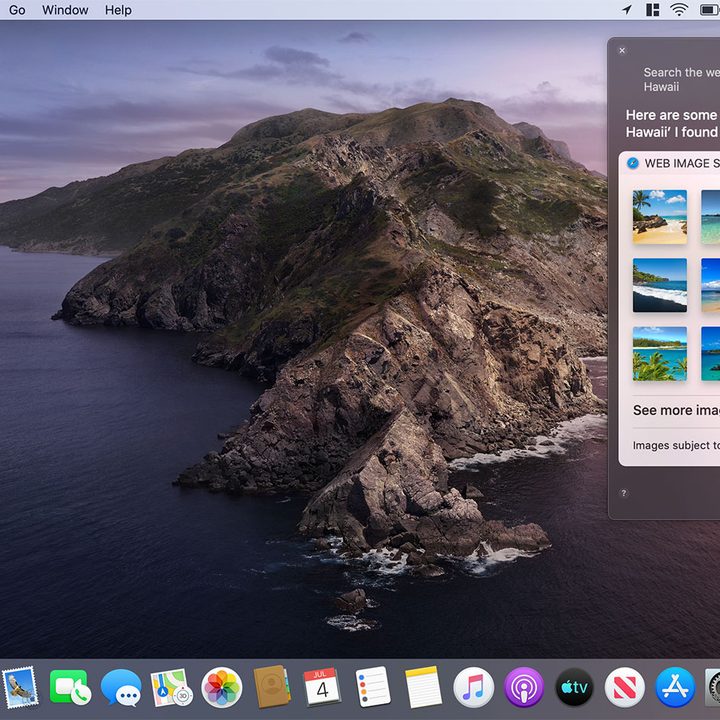
MacOS lets you pin some Siri searches to the Notification Center. For instance, say “Search the web for images of beaches in Hawaii.” In the top-right of the results is a small + icon — click that and the results will be pinned to Notification Center.
What’s more, those results update dynamically. So, if you want to keep up to date with a company’s latest stock price on a daily basis, you can pin it to Notification Center and Siri will give you the latest prices in real time.
Find your devices

Lost your Apple device? Just ask Siri to find it for you. As long as your device is registered to your Apple ID, you can say “Find my iPhone,” for instance, and Siri will locate it.
Quickly launch an app
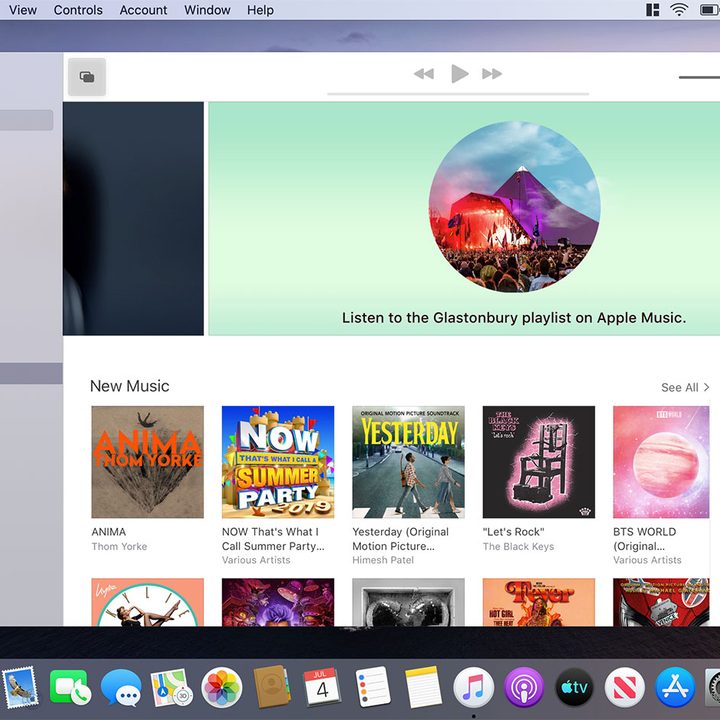
If you want to load up an app in a snap, just open Siri and say, “Launch Photos” (or whichever app you want it to open). This is particularly useful if you haven’t pinned the app to the Dock and don’t want to go looking through the Applications folder for it.
Send a message
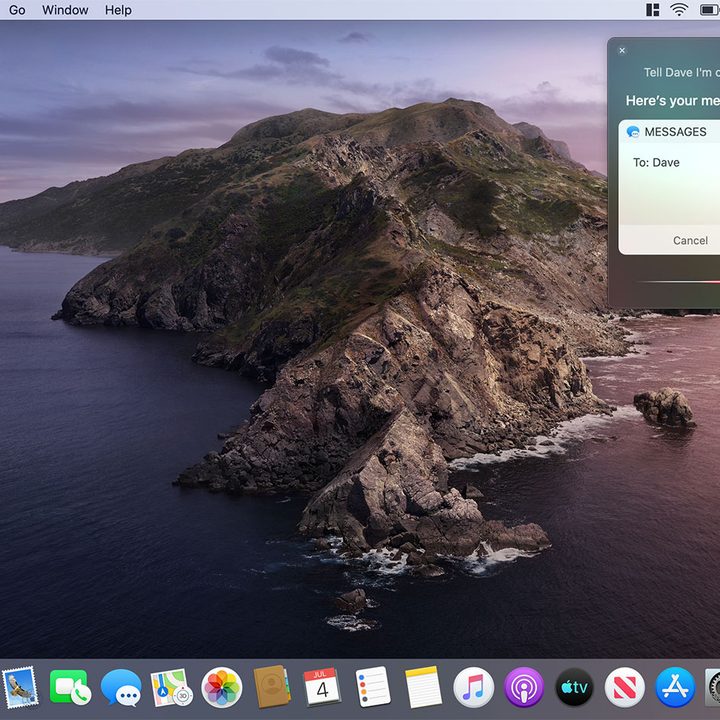
As we alluded to earlier, one of the best things about Siri is its ability to understand natural language, which means sometimes you don’t even have to tell it which app you want it to use. One way this works is in sending messages. For example, say “Tell Dave I’m on my way” and Siri will send a text to Dave using the Messages app with the content “I’m on my way.”
Get results
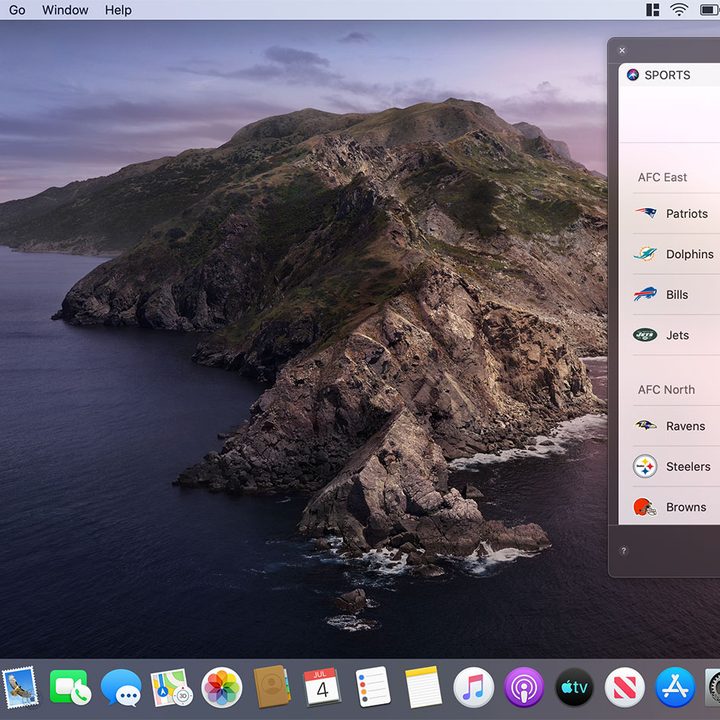
Want to know how well your team did in the big game? Siri can help. For example, ask it “Did D.C. United win?” — and it’ll fill you in.
This also works if you want to get a broader picture. Say “Show me the NFL standings” or “What are the next Women’s World Cup fixtures?” to have Siri show you how the latest competitions are going.