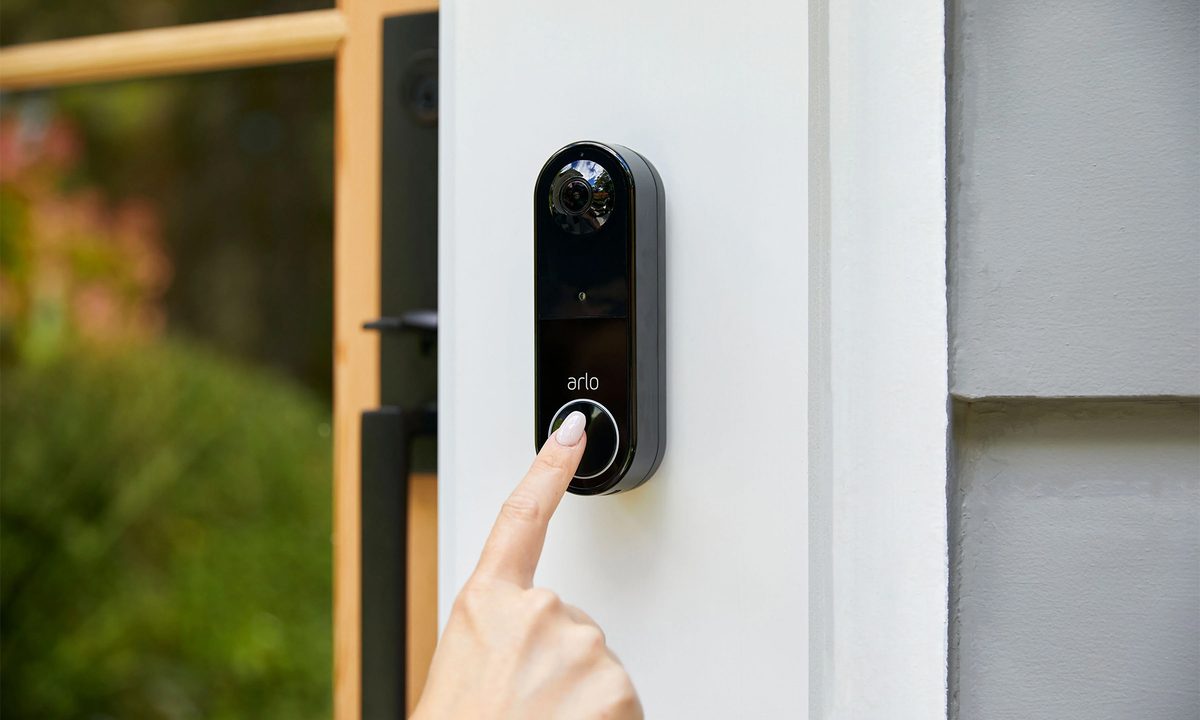
Arlo's Essential Video Doorbell is a pricey way to add security to your front door, but it also gives you a lot of software features to help identify strangers. This model is a great addition if you're already in the Arlo home security system.
For those who just picked up an Arlo Essential Video Doorbell, we've got the steps to show you how to mount and install it correctly. You can replace your existing doorbell with a wired setup, or mount it wirelessly if you don't have a pre-existing doorbell. We'll cover both ways below.
The mounting and installation options between the two are similar, but we will break them out separately. We are starting with the wired version. You'll need to install its Power Kit first.

Wired installation of an Arlo video doorbell
Here's how to install the wired version of the Arlo video doorbell.
Step 1: Find your chime box in the house. It is normally located at the front door or in a hallway. Ring the doorbell and follow the sound to find where the location of the chime box.
Step 2: Turn off the power at the breaker. Confirm there is no power to your chime box and doorbell by ringing the doorbell again. If there's no sound, the power is off.
Step 3: Remove the cover of the chime box.
Step 4: Connect the Power Kit wires to the chime box terminals. Different homes will have different chime box setups. Use the Arlo app to determine where to connect the Power Kit wires. Make sure to keep the existing wires connected to the terminals.
Step 5: Place the Power Kit in or around the chime box. Use the Arlo app to determine the best locations to place the Power Kit.
Step 6: Replace the chime box cover and head to your doorbell.
Step 7: Remove your existing doorbell from the wall and disconnect the wires.
Every house has a different way to do this, so call an electrician if you're unsure. Tape the wires together and position them, so they don't fall inside the wall and get stuck or lost.
Step 8: Mount the Arlo doorbell mounting bracket onto the doorbell area.
Use the contents from the box to install the holes in the correct spots using the screwdriver. You can also use a power drill, but you may have less control than a screwdriver. Also, you can use the mounting wedge to position the doorbell at a more optimal viewing angle.
Step 9: Remove the tape from the wires and connect your power and chime wires to the back of the Arlo doorbell. The wires can attach to either screw.
Step 10: Snap the video doorbell into the bracket, using an upward motion.
Step 11: Turn the power back on at the breaker.
Check the LED on the Arlo Doorbell. If the LED is off, give it a few minutes to power on; otherwise, recheck your wires. If the LED is amber, you may not be giving it enough power, or the temperature is too low.
Step 12: Use the Arlo app to connect the Arlo Doorbell to your Wi-Fi network.
Step 13: Press the doorbell to sync it with the app. Once synced, follow the instructions through the app to finish setup.
Wireless option
Here's how to connect a wireless Arlo video doorbell.
Step 1: First and foremost, charge the battery that came with your Arlo Doorbell.
Step 2: Connect your phone to your Wi-Fi network.
Step 3: Use the QR code that came in the Arlo box to connect the doorbell to your Wi-Fi network.
Step 4: Find the perfect spot for your Arlo Doorbell and mark it.
Step 5: Mount your Arlo doorbell using the mounting contents from the package. You'll likely want to use a screwdriver or drill.
As you can see, mounting either option is very easy. Although, the wireless way is a little safer and less permanent. You will have to remove the battery every few months with the wireless option to charge the doorbell.
Once you mount your Arlo Doorbell, go through the app and check out all the features that it offers. Also, connect it with your smart home ecosystem to integrate it with your whole house.
Arlo has a gracious return period and warranty for its doorbells, so if you have any issue with the mounting process, give them a call. The should last in any reasonable weather or temperature.