Blizzard Entertainment might have delivered a much more accessible action-RPG in Diablo 3 as compared to its predecessors, but don’t confuse accessible with simple. There’s a lot of nuance to the newly released game, and all manner of little tricks and quirks that you can take advantage of to more effectively take on the Lord of Terror’s vicious hordes.
Is the way you want to play better suited to the Witch Doctor or the Demon Hunter? Should you spend your hard-earned gold leveling up your crafting specialists? How can you more effectively attack individual enemies when you’re surrounded by a crowd of them? This feature is all about educating you on some of the basic game concepts and introducing you to elements that will make you a more effective loot collector in Diablo 3‘s Sanctuary.
So You Want To Be A Hero
The first step for every Diablo 3 player involves choosing your class. If you’re familiar with the game at all then this is probably not any kind of news. You’ll want to make the right choice for your own play style though, since this is a character whom you’ll be spending at least 15-20 hours with, if not many more.
The Barbarian and Monk classes are the most suitable for players who like to take the fight directly to the enemy’s face in close-quarters combat. The Barbarian is the heavier damage dealer, Diablo‘s “tank” class, with lots of health and the ability to deal out high-damage attacks to both individuals and groups. The Monk is a martial arts specialist, quicker on his feet than the Barbarian and equipped with support skills that actually render this class as a competent healer.
The Wizard and Demon Hunter classes are both much better at range, but where the Wizard deals out very high damage magical assaults the Demon Hunter instead peppers his enemies with many shots that add up to a lot of damage. Both rely on trickery — magical for one, physical for the other — to offset their lower armor ratings. The Wizard excels at dealing area of effect damage while the Demon Hunter is better off in single combat against powerful foes.
Lastly we’ve got the Witch Doctor. This one is sort of the odd duck out, with a mixture of strong melee capabilities and potent magical spells, many of which deal indirect damage by way of summons and the like. Many longtime fans of the series compare the Witch Doctor to the Necromancer class from the previous games. You can capably fill multiple roles as a Witch Doctor, relying on your casting abilities for support before closing the distance and tearing apart your enemies in close-quarters engagements.
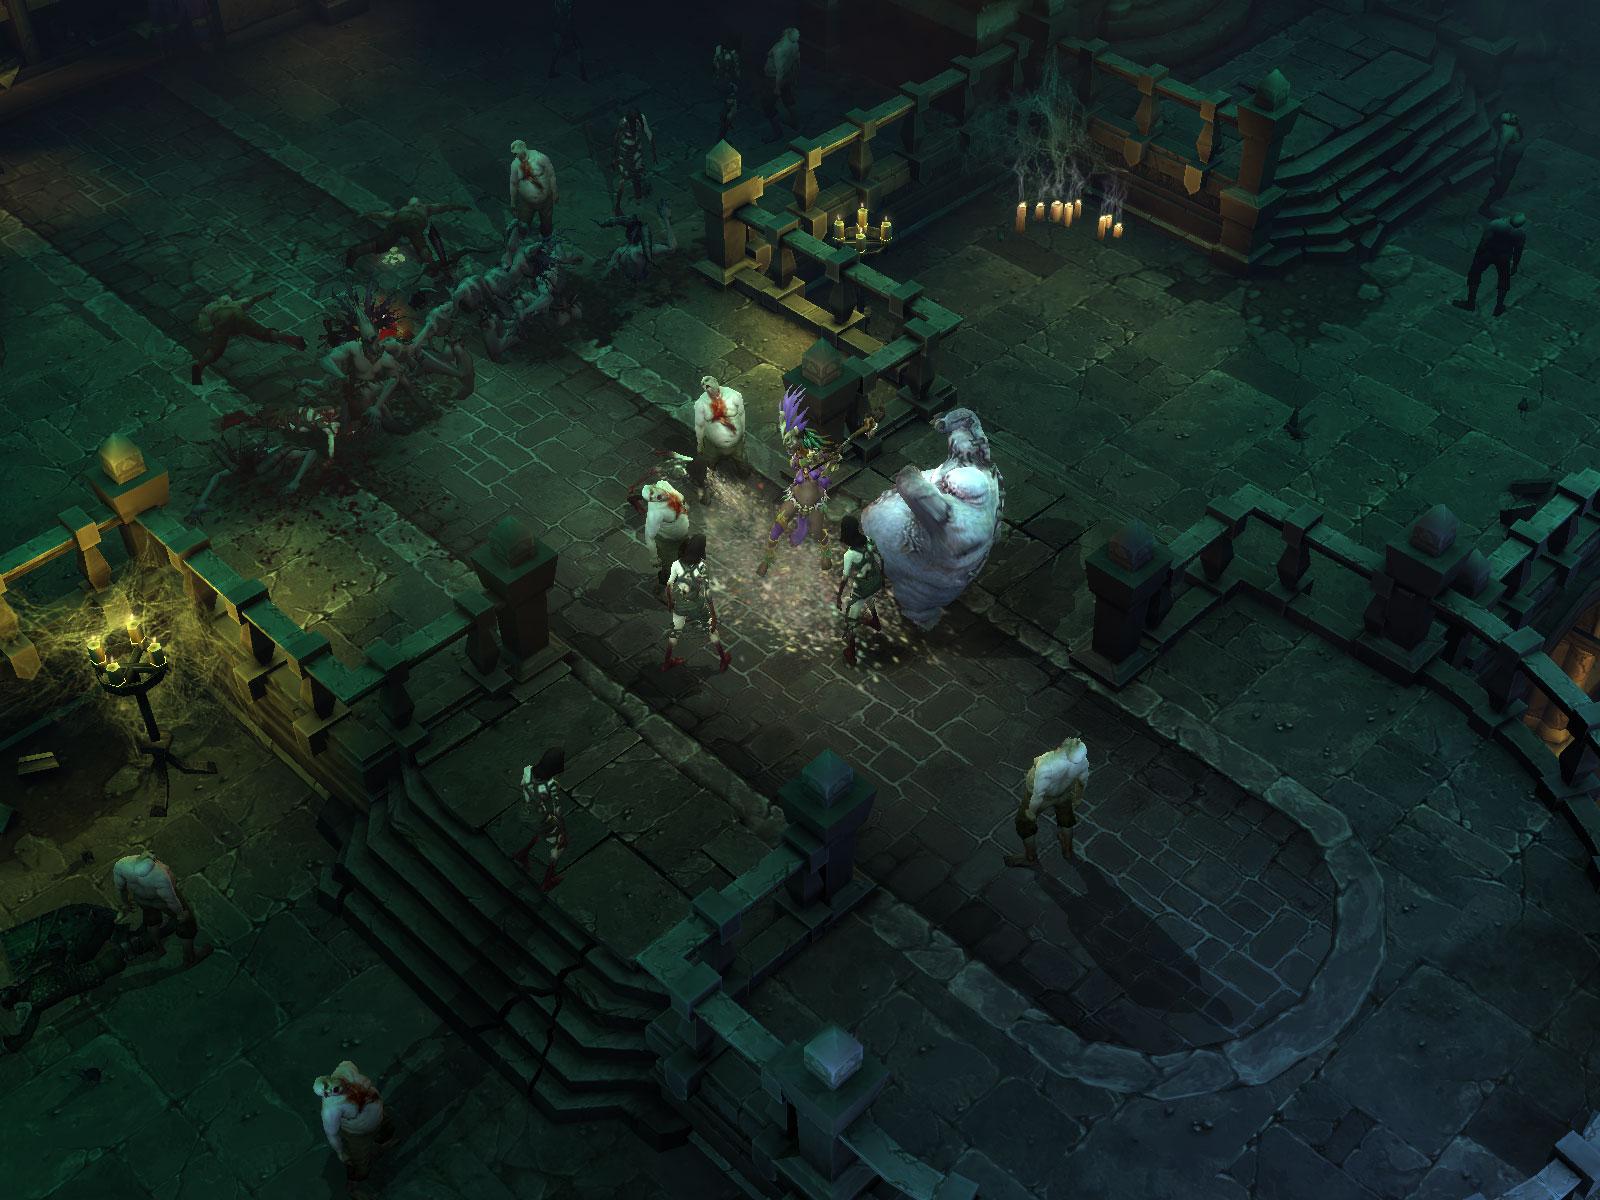
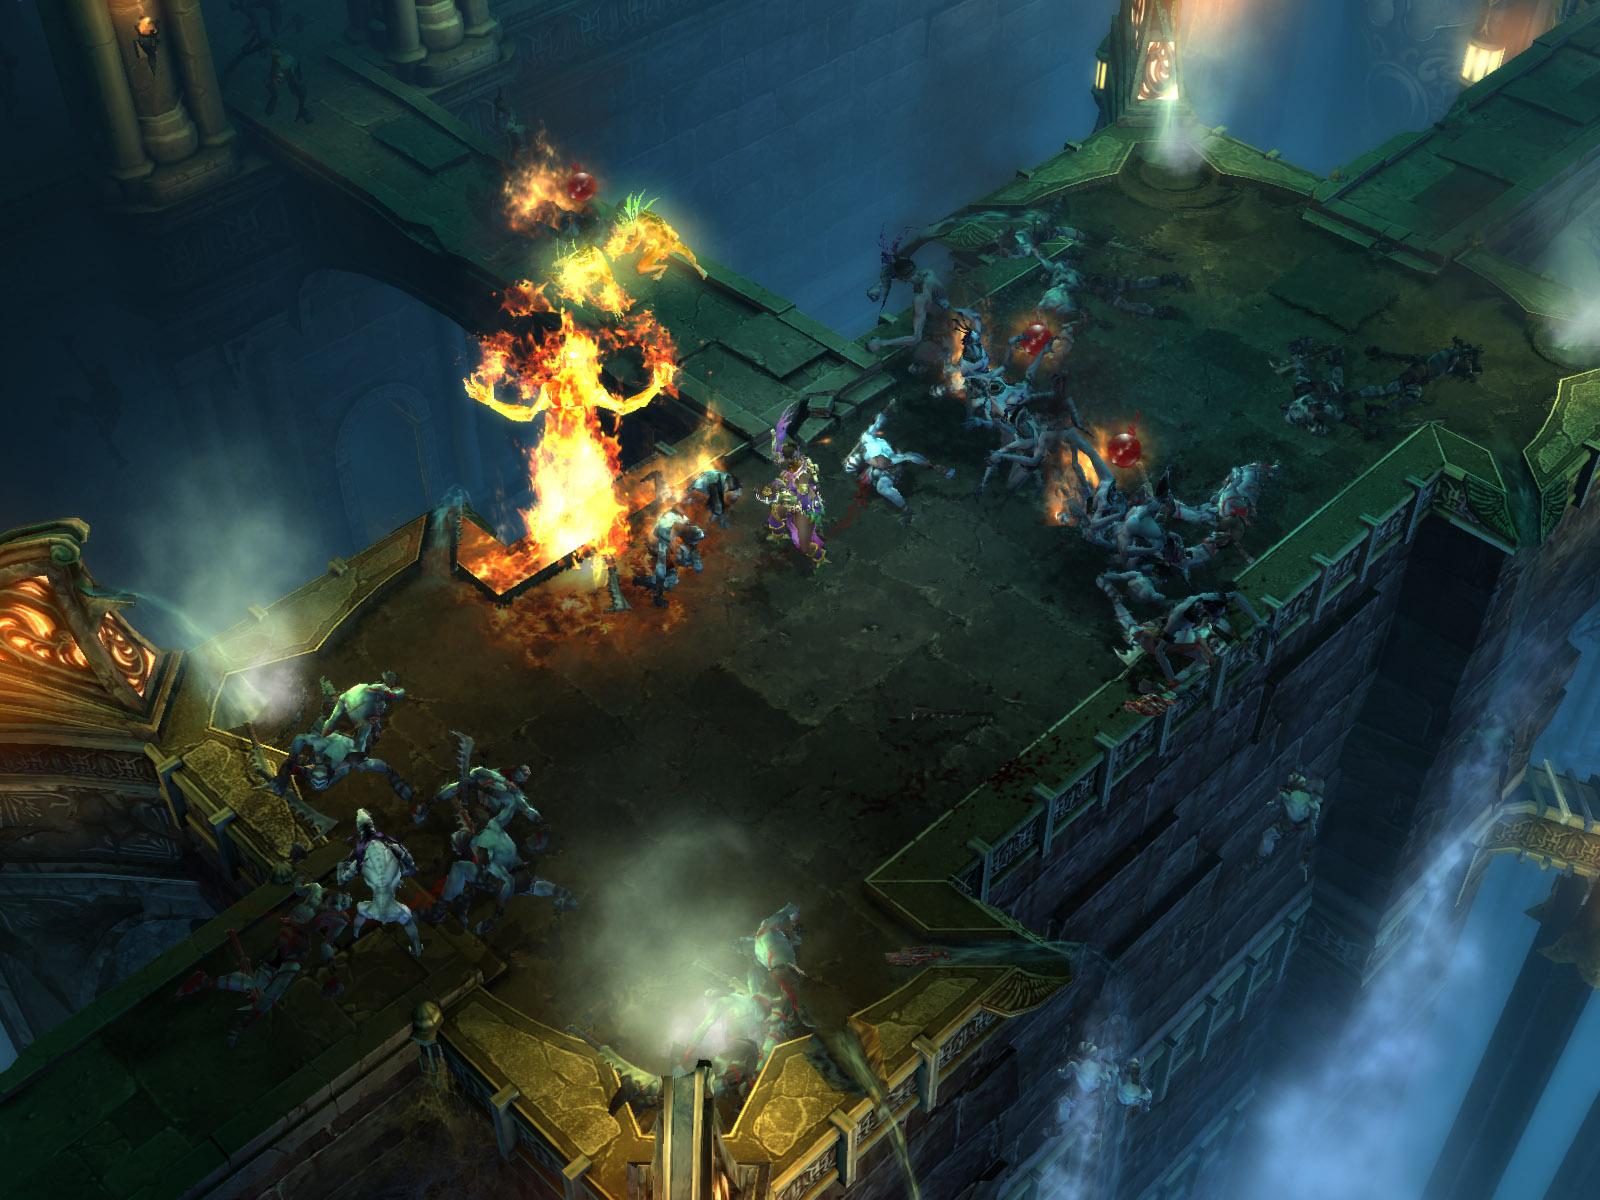
Clearing the Battlefield
Point and click combat is the beating heart of the Diablo series, and that’s still true in Diablo 3. It’s important to understand though, if you’re JUST pointing and clicking then you’re not fighting as effectively as you could be. At all times you should have one hand on your mouse and the other hovering close to the important hotkeys (1-4, Q for potions).
You’ll also want to bring along a companion once you’ve unlocked them. The Templar is a strong all-around choice; not only does he join you early, but he’s also equally capable as a melee fighter and a healer. You’ll still need to rely on your stock of potions and kiting — keeping a distance from your enemies while cooldown timers run out — but the Templar is a welcome healing boost as well. Also note that you can change up your followers’ equipment by talking to them at each act’s camp and selecting “Inventory” from the dialogue menu.
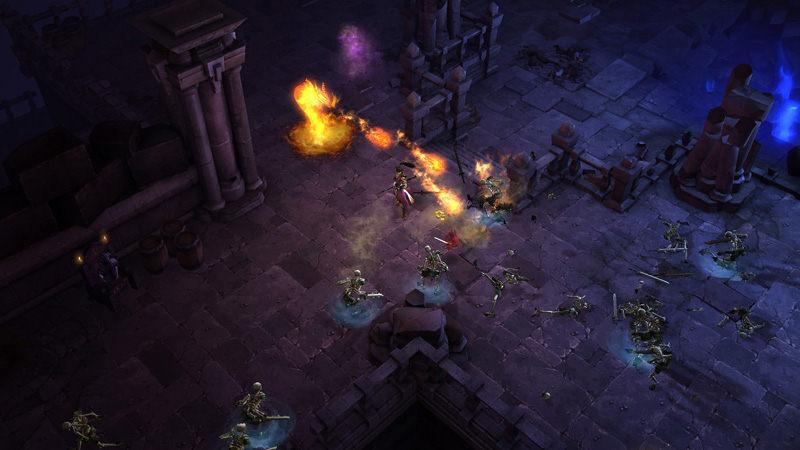
That’s novice-level stuff though. You should also get a handle on how to effectively use the “Shift” key. Normally, left-clicking anywhere in the environment will move you to that location. However, if you press and hold the Shift key before you click, your character will direct his or her attacks at that location. This is tremendously useful when taking on groups of fast-moving enemies, especially when you’re using a strong AOE class like the Wizard. Simply arm a primary attack like Spectral Blade or Electrocute and shift-left-click in the direction the enemies are coming from to create a wall of death.
You also might want to consider turning on Elective Mode in the game’s options menu. By default, your class’s unlocked abilities in Diablo 3 are sorted into four separate categories (plus a fifth “passive” category). This means that hotkeys 1-4 are pre-assigned in a sense; each number governs one skill category. With Elective Mode turned on you can tweak the default key bindings, effectively allowing you to map two skills from the same category to two different hotkeys.
Crafting Your Master Craftsmen
As you progress through the initial acts of Diablo 3 you’ll unlock crafters in your bases. First a blacksmith and later a gemcrafter who can combine low-level gems into higher level ones and remove equipped gems from item slots. You can spend gold on both of these fellows to improve their skills, offering you access to a much wider range of crafting possibilities.
What you might NOT know is that your crafter leveling is persistent across all classes. If you spent a bunch of money with your first hero upgrading your blacksmith to level 5, that level will remain a constant throughout any subsequent playthroughs, regardless of your class choice or difficulty setting. There’s really very little need to spend your gold with Diablo 3‘s merchants on anything other than equipment repairs; you’re better off saving up to buy improved skill levels for your crafters and more slots in your stash, another persistent element that carries all stored items over to your different heroes.
The trick with crafting is to shore up your resources. You won’t be using your craftsmen very much at first, especially the blacksmith, since you’ll be finding better gear out in the world. You pick up blacksmith crafting resources by salvaging it from magic items. When you’re out exploring, you can safely ignore any dropped items with white- or grey-colored names. Go for the blues, the yellows, the oranges.
Instead of selling anything you can’t use and don’t want to save for another of your classes to use, salvage it all. This provides a steady flow of incoming resources that will be very useful when you do eventually start creating your own gear.
Adventuring With Friends
Multiplayer in Diablo 3 is very, very straightforward. You join your friend’s game or they join yours, and you’re suddenly running together on the same set of maps. There are a couple of helpful things to know about that make getting used to having a second human presence in your game a little easier.
First and most importantly: there’s no competing for loot. You don’t share loot in Diablo 3; instead, loot drops are specific to each player. So the stack of crap that just spurted out of the Champion that you killed is different from the stack of crap that your friend saw spurt out. Smart move on Blizzard’s part, no question. Imagine how much less sniping you and your friends will engage in with everyone getting to enjoy their own loot drops.
It’s also helpful to know that you can immediately teleport to the location of any human players in your party from what the current act’s base camp is. Teleport to the camp and then simply left click on the banner near the waypoint stone that corresponds with the friend you want to link up with. You’ll then be instantly transported to that location, simple as that.
Editors' Recommendations
- BlizzCon 2024 is not happening despite Blizzard’s strong 2024 lineup
- Xbox Game Pass gets its first Activision Blizzard game very soon
- These Activision Blizzard games need to come to Xbox Game Pass this year
- The video game industry flew too close to the sun in 2023. Now, its crashing back to Earth
- The best weapons in Call of Duty: Modern Warfare 3