Update: We’ve added a list of new Edge Sense gestures coming to the HTC U11 later this year.
If you’re about to get your hands on the HTC U11, you’re going to want to unlock its secrets and take full advantage of its capabilities. There are unusual functions and hidden features galore, alongside a host of useful Android options designed to enhance your smartphone use.
We’re here to help you get to grips with everything, from the squeezable Edge Sense to the performance enhancing Boost+. If you haven’t had a chance, take a look at our full review of the U11 for more information about HTC’s latest flagship.
HTC U11 Tips
We’re mostly focusing on U11 tips that are unique. As it runs the latest flavor of Android, you can also try out our Android 7.1 Nougat tips and tricks with the HTC U11.
How to use Edge Sense
One of the most eye-catching features of the HTC U11 is its squeezability. The sides of the phone can be squeezed to launch apps and trigger functions. This is not a feature you’ll find in any other phone. You’ll have the option to set up Edge Sense the first time you power on the U11, but you can always pull down the notification shade and tap the Edge Sense icon, or head into Settings > Edge Sense to change what it does.
By default, a short squeeze launches the camera and another squeeze will snap a shot. You can change that via Settings > Edge Sense > Customize squeeze action. You can also add a second function, triggered by a squeeze and hold, if you tick the box next to Enable advanced mode. By default, this will add the ability to launch Google Assistant with a squeeze and hold. If you find it difficult to use, then recalibrate the force required to trigger it via Adjust your squeeze force level.
Both the short squeeze and the squeeze and hold actions can be configured to do a variety of other things including launch apps, take screenshots, turn the flashlight on or off, record your voice, launch HTC Sense Companion, or turn your Wi-Fi hotspot on or off.
HTC is adding new Edge Sense features on a rolling basis. In June, it added “squeeze controls” in Google Maps. Exerting pressure on either of the phone’s sides zooms in on streets and buildings. (Zooming in on photos in the gallery app works the same way.) In the HTC 11’s calendar app, a squeeze switches between weekly and monthly calendar views, and in the phone’s alarm app, squeezing silences the ringing alarm.
Finally, squeezing while watching a video pauses it, and squeezing when a call comes in answers it.
How to use HTC Sense Companion

If you look in your app drawer, you’ll see an app called Sense Companion. It’s an unusual smartphone assistant that tries to offer up bits and pieces of useful information, such as weather reports, suggestions for places to eat nearby, and reminders to charge up your phone before you go out. When it has something to suggest, you’ll hear an alert and a small bubble, like a Facebook chat head, will pop up on your home screen, or on top of any app you might have open. Tap on it to see what the suggestion is, or ignore it and it will go away within a couple of seconds.
You can also check suggestions by opening the app. Tell it whether you liked a suggestion, give some reasoning, and it should learn over time and improve recommendations for the future. If you expect it to be useful, then you need to grant it access to your data. This is split into four areas: Location, usage, device, and activity data, which you can set in the app by tapping the three vertical dots at the top right and then Permissions.
How to use gestures


There are a few gestures you can use with the HTC U11 as handy shortcuts. To find them, go to Settings > Display, gestures & buttons and scroll down to the bottom. The Media gesture simply launches HTC Connect when you swipe up the screen with three fingers, so that you can connect to any DLNA devices in the vicinity and share content on a big screen, or stream audio to a music system. You can also choose to Press power button twice for camera, though we much prefer the squeeze shortcut for launching the camera.
At the very bottom of Settings > Display, gestures & buttons you’ll find Motion Launch gestures. There are five to choose from with short animations to explain how they work. We recommend the Double tap to wake up & sleep, but the usefulness of these options is somewhat limited if you have lock screen security in place, as you should.
How to get great audio

The U11 does have BoomSound speakers, though the main speaker is on the bottom edge, so be careful how you hold your U11 to avoid covering it up. When you start playing content, you’ll usually see a pop-up asking if you want Music mode or Theater mode. It’s worth choosing the appropriate mode for the best sound. You can also change this via Settings > HTC BoomSound for built-in speakers.
We also recommend using the HTC USonic earphones that come in the box with your U11. They have excellent active noise cancellation, which drowns out background noises. You’ll be prompted to create a personal audio profile when you first plug them in. If you want to recalibrate for any reason, then go to Settings > HTC USonic with Active Noise Cancellation and plug them in again. It’s a quick process and it does improve audio clarity.
How to use Night Mode


We’re pleased to see that options for filtering out blue light, which can keep you up at night, are becoming standard on smartphones. If you’re reading in bed and plan to get some shuteye soon, then pull down the notification shade and tap the Night mode icon. You can also find it in Settings > Display, gestures & buttons > Night mode, where you have the option to set the color temperature and schedule it to turn on automatically. It turns itself off again automatically at sunrise.
Camera tips for the HTC U11
Because this smartphone has such a great camera, our second page of HTC U11 tips is going to focus on how to use the camera and reveal some of its special abilities.
How to quick launch the camera and snap


Capturing spontaneous moments requires a fast camera and the ability to snap shots without a lot of loading and tapping. Our favorite method with the HTC U11 is to squeeze the sides to launch the camera at any time and then squeeze again to snap a shot. This should be on by default, but you can check in Settings > Edge Sense.
You can also try Settings > Display, gestures & buttons > Press power button twice for camera. It’s another quick way to launch the camera app from anywhere.
If you open the camera app and tap the two lines to open the menu, you can go to Settings > Volume button options and choose Capture. This allows you to quickly snap shots with the volume buttons.
Although we love the squeeze function for launching the camera, we have found that there’s a three-second timer when you employ it to snap shots. This is actually helpful if you’re using it to take superior selfies with the main camera, but if speed is what you want, then use the on-screen shutter button or the volume buttons to capture your shot.
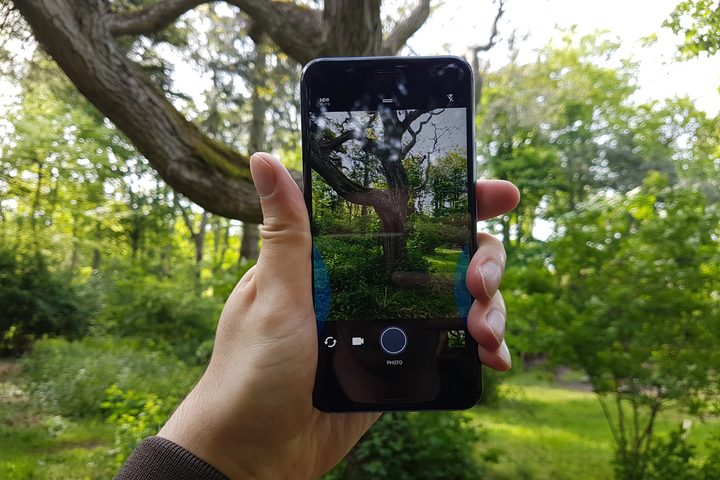
How to quickly adjust exposure
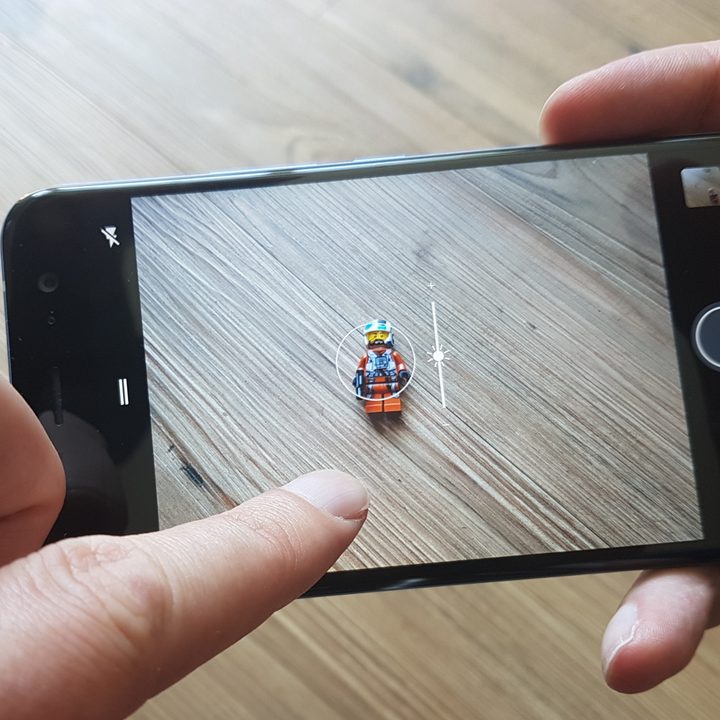
If you’re lining up a shot and you feel that it looks a bit too bright or a bit too dark, then tap and hold on the screen, then slide your finger up or down, and you’ll find that you can manually adjust the exposure.
The auto focus is generally excellent and very fast, but you can still tap on the screen to change your subject and choose what the camera should focus on. Alternatively, you can get more control over exposure by opening the menu via the two lines and choosing Settings > Touch autoexposure. With this activated, you can tap on the screen to automatically brighten dark areas or darken overexposed areas of a shot.
How to take photos automatically


There are a few ways to snap photos automatically with the U11. Using the main camera, you can tap the two lines to open the menu, then choose Settings > Camera options > Auto smile capture. Now, if your subject smiles, the camera should snap a shot.
You can do the same thing with the selfie camera by selecting Settings > Camera options > Auto selfie capture. It will trigger a selfie automatically when you smile, or just when you stand still – a box around your face turns green to show you it’s about the snap the shot.
Alternatively, you can turn Voice capture on in Settings > Camera options. It allows you to say “Cheese” or “Capture” to take a photo or “Action” or “Rolling” to shoot video with either camera.
There is also a timer option. Tap the lines in the camera app to open the menu and you’ll see a timer icon below your chosen mode. Tap on it and you can select 2, 5, or 10 seconds.
How to manually adjust everything

We have found that the automatic photo mode gets great results, but HTC has included a Pro mode in the U11 that allows you to tweak everything. Open the camera app and open the menu, then choose Pro mode to try it out. You’ll find a set of sliders that enable to you to manually adjust settings like the white balance, ISO, and shutter speed.
After fine-tuning these settings, you can save them by tapping the plus icon on the left above Custom. You can have up to three different sets of custom settings saved for different situations.
How to record 3D or high-res audio

The HTC U11 has four microphones and it has a few sound-related tricks up its sleeve for when you’re recording video. By default, it will record in 3D Audio, so when you play videos back with earphones on you should get an immersive surround sound effect. There’s an icon at the bottom of the viewfinder if you want to turn it off.
You can also use something called Acoustic Focus. It’s on by default, but you can turn it off in the camera app in the menu under Video. When you slide two fingers apart during recording to zoom in on a subject, it will also amplify their audio. Handy if you’re recording someone talking or singing, but not for much else.
There’s also an option to record High-res audio via the slide-out menu in the camera app. Video quality must be 720p or above and you can’t pause when recording high-res audio. These files are output in MKV format.
Whatever kind of sound you’re recording it’s worth noting the placement of the microphones, so you can avoid covering them up accidentally. There are four: One on the bottom edge, one on the top edge, one on the back at the bottom, and one at the top of the front between the speaker and the selfie camera.