Did you know that you can still pull off gestures and haptic tricks with a Mac computer, even without a touchscreen? Such feats are possible, just as long as you own an Apple Magic Mouse. Far more than a sleek-looking desk accessory, the Magic Mouse functions much like a MacBook trackpad. Taps, long presses, swipes, and pinches (among other actions) deliver a number of results, and you’ll be able to customize these commands, too.
Here’s a guide to help get you customizing your Magic Mouse gestures in five minutes or less. And be sure to stick around to the end for some expert advice on a few other Magic Mouse matters!
Adjust point and click gestures
Point and click gestures include those you use to scroll, secondary click (right-click), and zoom.
Step 1: Open System preferences using the icon in your Dock or the Apple icon in the menu bar.
Step 2: Select Mouse.
Step 3: Pick the Point and click tab at the top of the window. Then mark the following settings you want to use.
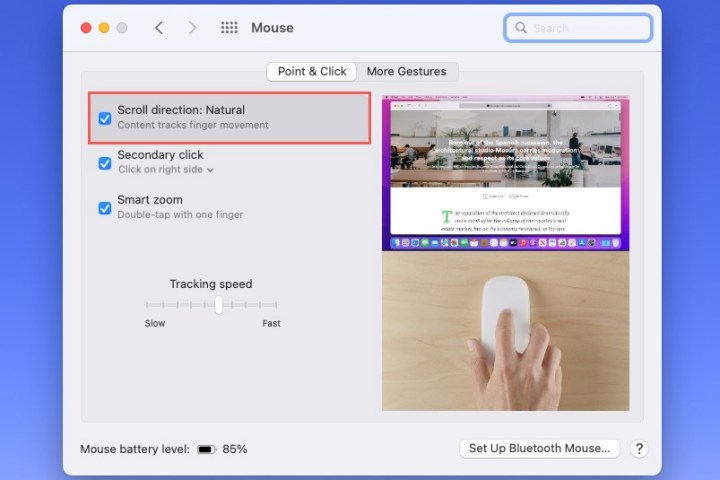
Step 4: Scroll direction: Mark this option to use a natural scroll direction. When scrolling a page or scroll box, the content tracks the movement of your finger.
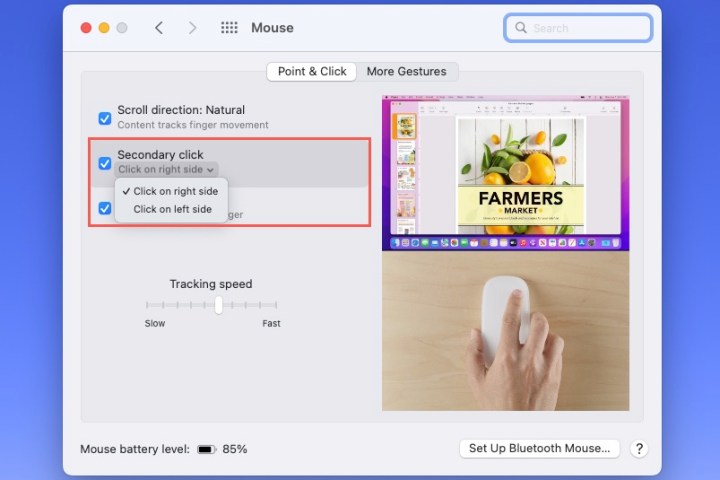
Step 5: Secondary click: Select this setting to have your secondary click on the right or left side of the mouse. Choose the option you want in the drop-down list.
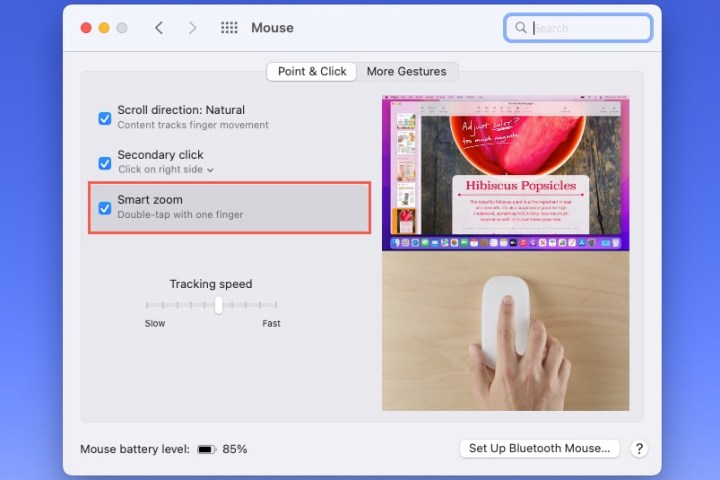
Step 6: Smart zoom: For an easy way to zoom, check this box. Then, double-tap your mouse with one finger to zoom in.
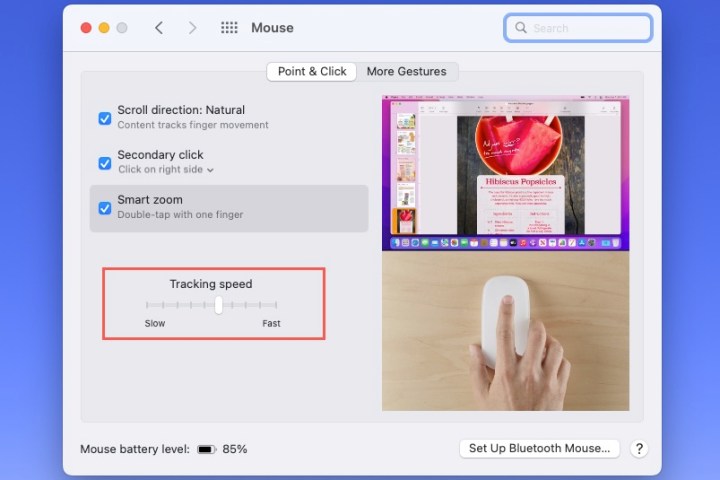
Step 7: Tracking speed: To adjust the speed of your cursor, use the Tracking speed slider at the bottom of the Point and click tab.
If you select a setting, you can see a preview of how to use the point and click gesture on the right side of the window.
Customize swipe and other gestures
Additional gestures available for your Magic Mouse include swiping between web pages and full-screen apps as well as accessing Mission Control.
Step 1: Open System preferences using the icon in your Dock or the Apple icon in the menu bar.
Step 2: Select Mouse.
Step 3: Pick the More gestures tab at the top of the window. Then mark the following settings you want to use.
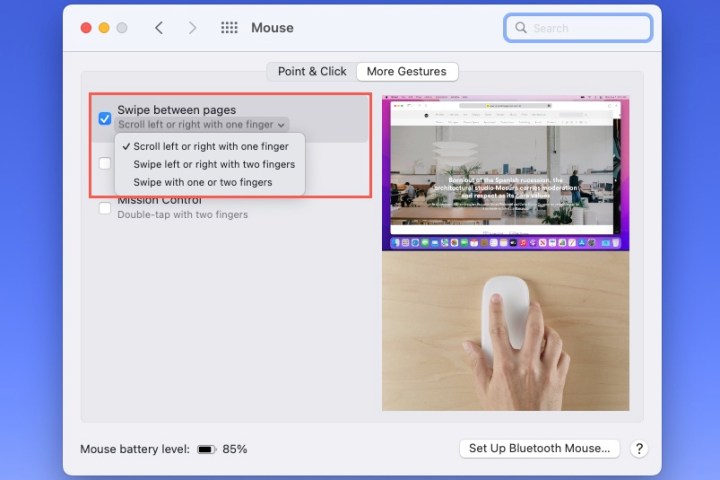
Step 4: Swipe between pages: When you’re viewing multiple pages in Safari, you can swipe between them using a mouse gesture. Use the drop-down box to pick Scroll left or right with one finger, Swipe left or right with two fingers, or Swipe with one or two fingers.
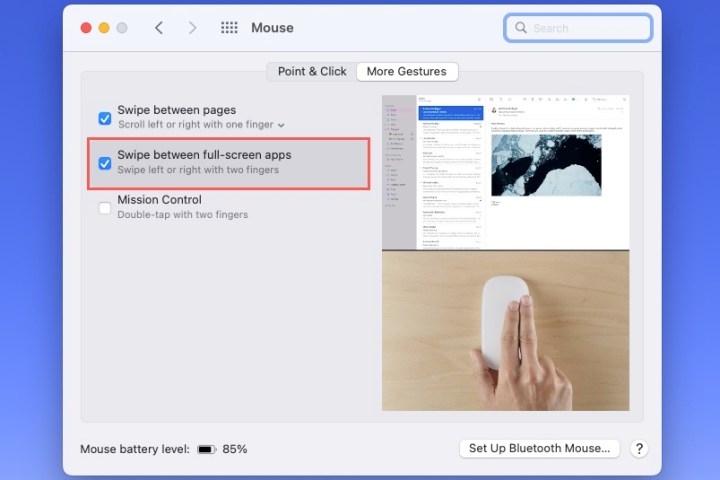
Step 5: Swipe between full-screen apps: When you use your Mac apps in full-screen mode, you can swipe between them with this mouse setting enabled.
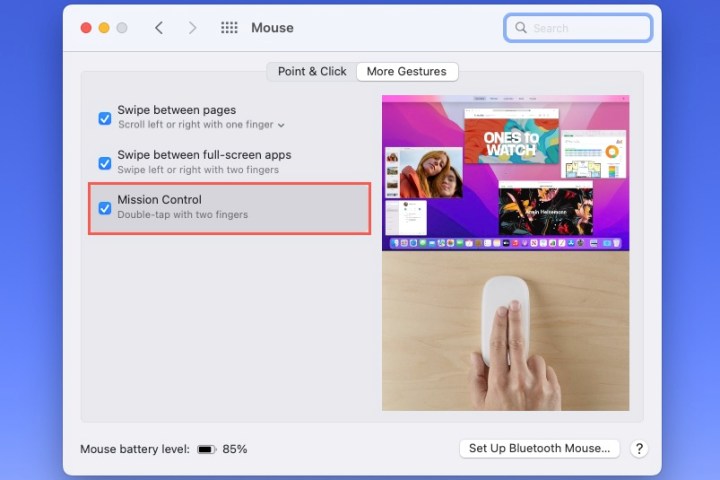
Step 6: Mission control: To access, mark this option and then double-tap your mouse with two fingers. You can choose an option to see a preview of how to use it on the right side of the window.
Maybe you’ll decide to change your gesture settings as soon as you purchase a new Mac or wait until you see which ones you really want to use. Either way, keep in mind how easy it is to customize mouse gestures on your Mac.
Editors' Recommendations
- The 6 key things Apple must fix in the next version of macOS
- How to change the login picture on a Mac
- How to change your MAC address on Windows and Mac
- How to create a Memoji on a Mac
- How to delete messages on your Mac


