AI image generation has quickly become a popular – and somewhat controversial – pocket of the internet, so you may be wondering how to use apps like Stable Diffusion on your Mac. Stable Diffusion can easily create AI images on your Mac with the right workarounds, and the setup isn’t difficult.
If you’re vying with others to create the zaniest or most beautiful AI art you can, you may have been disappointed to learn that apps like Midjourney or Dall-E require additional hoops like a Discord account. Stable Diffusion is a much simpler setup. Here’s what to do.
How to download Stable Diffusion on your Mac
Step 1: Make sure your Mac supports Stable Diffusion – there are two important components here.
First, you’ll need an M1 or M2 Mac for this download to work. Previous Macs won’t support the app. If you have an older Mac, that’s OK — check out some of our alternatives below.
Second, You’ll want to update to the latest version of macOS Monterey before you try to use Stable Diffusion – these are relatively recent download options, and they may not work with older versions of macOS.
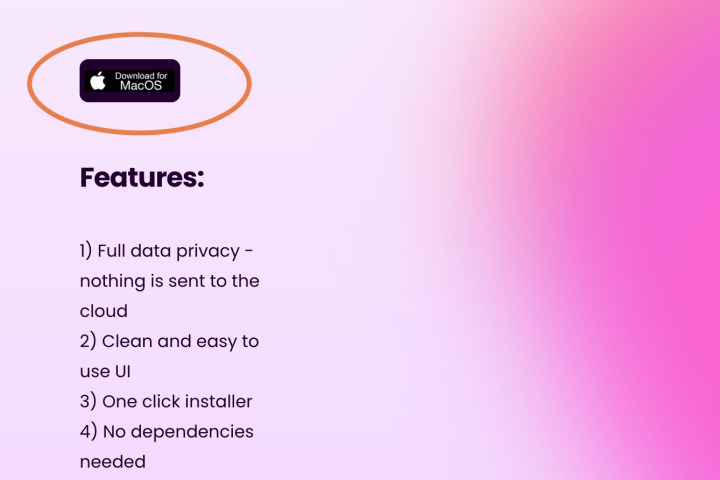
Step 2: Visit the DiffusionBee website. Find the Download for macOS button and select it.
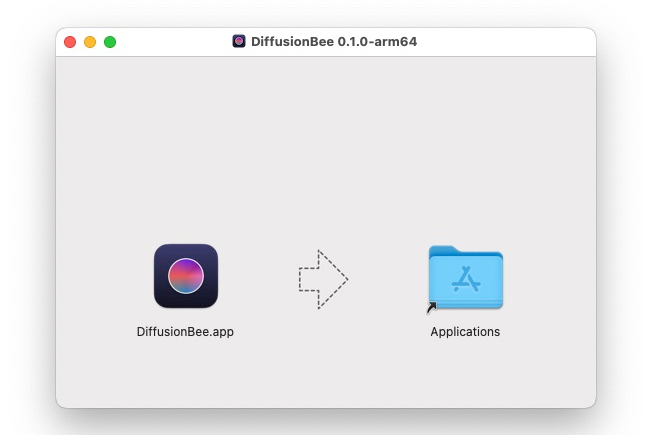
Step 3: The installer will download. Wait until it’s finished, then open it and transfer DiffusionBee to your Applications to complete the installation. Once it is finished, open up DiffusionBee.
Step 4: At the top of the app, you’ll see that you’re on the tab Text to image, which is where you’ll want to be for typical image generation (the other tabs seem a little buggy for now, anyway). Just below, you’ll find a text box where you’ll give the AI image instructions.

Step 5: Type your image description like you would type tags, with commas separating key phrases. Start with a detailed description of the image you want, with the most important subjects and descriptors listed first. Then, list any important attributes you want for the image, such as a painting or photo style, high detail or blurry, lighting details, etc. You can also list sources of direct inspiration for the AI to draw from, such as a TV show or a particular painter or landscape.
Step 6: In the Advanced options section, you’ll also find options to adjust image size and similar important parameters. When you are finished making all your adjustments, select Generate.
Step 7: If the generation doesn’t work, try it again a few times – the AI may need a couple of attempts to fully generate an image for you. Once it is generated, you can copy it or choose Save image to download it.
Alternative 1: Use a web app
If you have a Mac that can’t run DiffusionBee, all is not lost. There are other options to tap into Stable Diffusion’s AI image generation powers, and you may not even need to download anything. Here’s one of our favorite alternatives:
Step 1: Head to the Hugging Face AI generator. Hugging Face uses Stable Diffusion to power its image generation, so you’ll get similar results to the download. Your options aren’t quite as advanced, but they’re very good, and all you need is a reliable internet connection.
Step 2: Type in your prompt (currently, advanced options are not available, so skip this section). When ready, select Generate image.
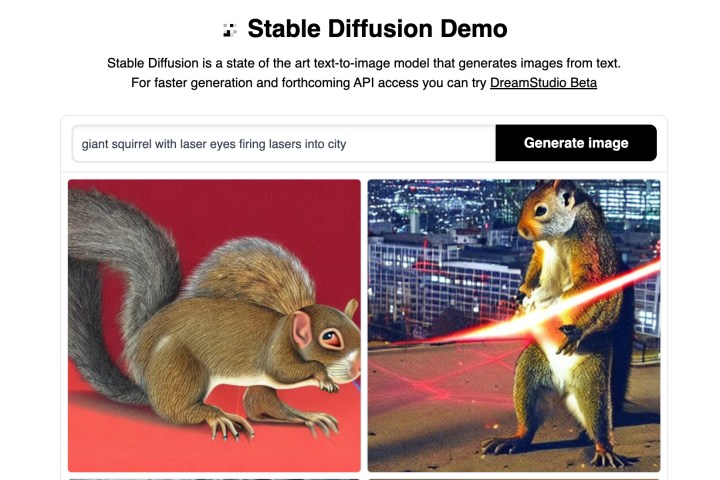
Step 3: The AI will generate four(ish) different images based on your prompt. If one of the images was just what you were looking for, you can select it for download and copying. You can also continue to generate images until you find something that you like.
Alternative 2: Use a Photoshop plugin
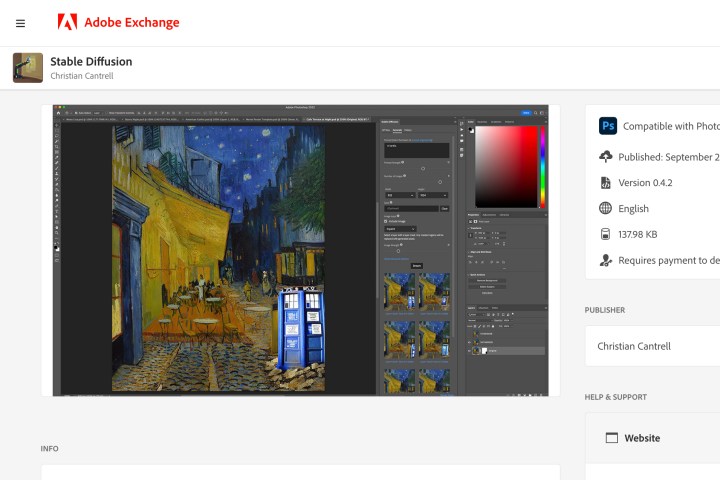
On the other hand, if you frequently use Photoshop, there’s an additional option you can try. Christian Cantrell has developed a plugin to add Stable Diffusion to Photoshop: You can find and download it here.
The advantage to this approach is that you don’t need a second app to get your image generation powers. Also, you have access to all the advanced options that Stable Diffusion can support, and editing tools are immediately available for tweaking the image however you want.
However, it is a third-party app that, at this time, is still very new. That means it may introduce bugs and cause other difficulties. Make sure you have the latest version of Photoshop before you try to download it, and be prepared to disable the plugin if problems appear.
Editors' Recommendations
- How to convert FLAC to MP3 on Mac, Windows, and web
- How to cancel your ChatGPT Plus subscription
- How to forget a network on a Mac
- These 6 tweaks take MacBooks from great to nearly perfect
- Don’t download the latest macOS Ventura update just yet