There are plenty of ways to “cut the cord” these days with services like Netflix, Hulu, and the like. Whether ridding yourself of cable costs is your goal or you simply want more entertainment choices, the Apple TV app is a convenient option for Mac users.
You can rent or buy movies, use streaming services and TV providers, watch originals on Apple TV+, and subscribe to channels like Showtime, AMC+, and more. Let’s walk through how to use the TV app on MacOS so you can expand your show and movie viewing options.

Navigate the TV app on Mac
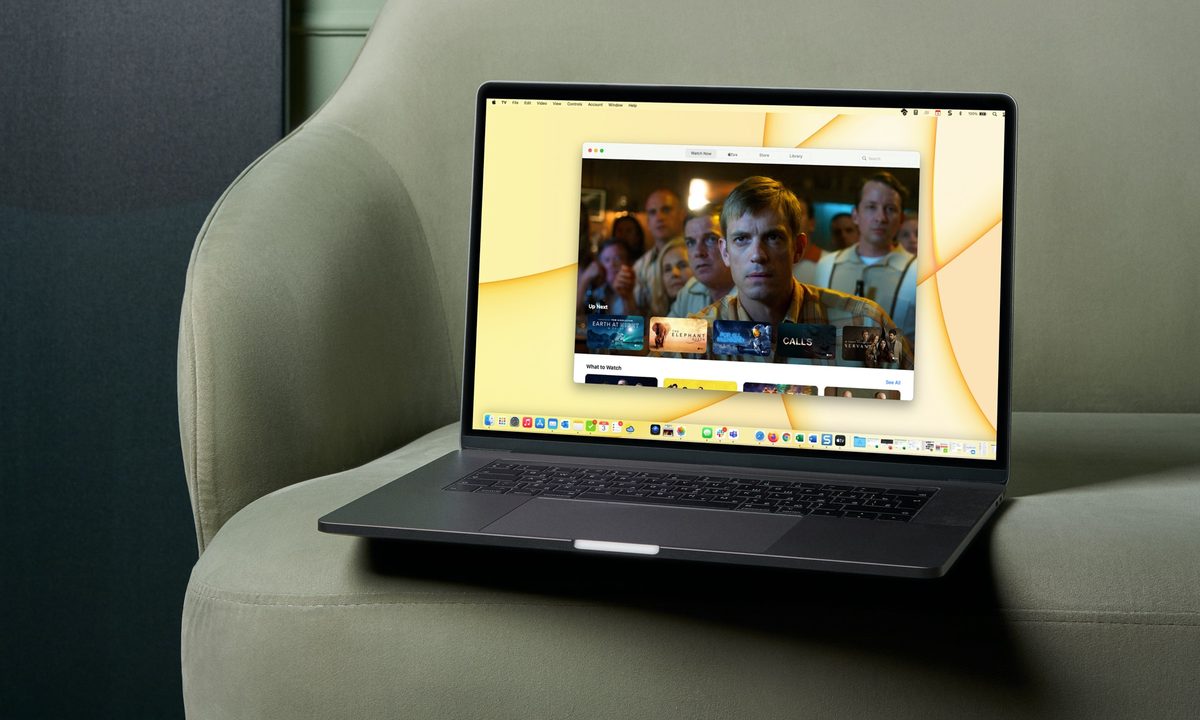
Apple made the TV app on Mac easy to navigate so you can focus more on what you want to watch rather than how to get there. You’ll see four tabs in the top toolbar: Watch Now, Apple TV+, Store, and Library along with a Search box.
Watch Now: At the top of this section, you’ll see your Up Next queue for all those shows you plan to watch (more details below). You can then browse categories like What to Watch, Channels, New Shows and Movies, Popular Shows, and more.
Apple TV+: If you subscribe to Apple TV+, this is the spot you’ll head for content like Originals, Mysteries, Comedies, Family, Films, and other genres and categories.
Store: You can rent or buy movies in the Store section of the app. The options here are grouped by genre and price.
Library: Similar to the Music app on Mac, your TV app Library holds onto your items. You’ll see your shows, movies, rentals, downloaded items, and recently added shows. The sidebar on the left side has collapsible sections for Library, Devices, Genres, and Playlists for easy navigation.
If you’re looking for something in particular, enter a keyword, title, or phrase into the Search box on the top right.

Watch a show in the TV app
Select any show, series, or movie to get full details. You’ll see a description, the genre, rating, cast and crew, release date, available languages, and accessibility options, along with episodes, bonus content, and trailers as applicable.
Step 1: To watch, select the Play or Play Episode button at the top of the detail screen.
As you watch, the playback controls are hidden by default to give you a nice full view.
Step 2: Move your cursor over the viewing window to display the controls.
From left to right, you have buttons for volume, AirPlay, rewind, pause/play, forward, captions, and Picture in Picture.
Step 3: To put the window into full-screen mode, select View > Enter Full Screen from the menu bar.
Do the same to return the window to its original size — View > Exit Full Screen.
Step 4: When you finish watching, select the red X on the top left of the window to close it.

Manage your Up Next queue
Up Next is a queue under the Watch Now tab that holds the shows and movies you want to watch. You can add items to Up Next for quick and easy access when you’re ready to watch and remove shows you finish.
Step 1: To add a show to Up Next, either pick the three dots on the main page and select Add to Up Next or pick the Add to Up Next button at the top of the show detail screen.
Step 2: To see your Up Next shows, view the top of the Watch Now section.
Step 3: To remove a show from Up Next, visit the Watch Now tab. Pick the three dots in the corner of the show and select Remove from Up Next or deselect the In Up Next button on the show detail screen.

Rent or buy a movie
If you’re interested in renting or buying a movie, you have plenty of options.
Step 1: Head to the Store section of the TV app.
Toward the bottom of the main screen, you’ll see some discounted shows and options to browse by genre.
Step 2: You can view the cost of the movie at the top of the movie detail screen. Select Buy or Rent and then choose which option you’d like in the subsequent pop-up window.
Step 3: Alternatively, select the individual Buy or Rent button.
For rentals, you have 30 days to start watching. Once you do, you can watch the show as many times as you like within 48 hours. You can also download the show to one device and stream it on another during the rental period. For example, if you download and start watching a movie on your Mac desktop, you can finish watching it on your iPad.
Purchases in the TV app on Mac work just like those in the App Store, Books app, and Music app, and options depend on your settings.

Subscribe to Apple TV+ or a channel
You can head to the Apple TV+ section of the TV app to subscribe to the service.
The TV app also offers many channels you can subscribe to such as Showtime, Starz, AMC+, Epix, Paramount+, Acorn TV, and many more. Visit the Watch Now section of the app and scroll down to the Channel area. Select a channel to view the subscription price, any free trial offerings, and available shows.

Adjust your TV app settings
You can also control your streaming options, media file location, and manage your library settings.
Step 1: Go to TV > Preferences in the menu bar.
Step 2: You have four tabs to control your TV app settings: General, Playback, Files, and Advanced.
- General: Select options to check for available downloads, automatically download Movies or TV Shows, and control your list size.
- Playback: Choose the streaming quality, download format, download audio languages, and to display your viewing history.
- Files: Manage your media file location, folder organization, and automatically delete watched shows.
- Advanced: Pair a remote, reset dialog warnings or TV Store cache, and clear your play history.
Step 3: After making changes in the TV app Preferences window, select OK to save those updates.
Now that you’ve got the basics, it’s time to watch something new in the TV app on Mac! Before you do, be sure to check out the Apple One subscription plans that include additional apps like Apple Music, iCloud+, and Apple Arcade.