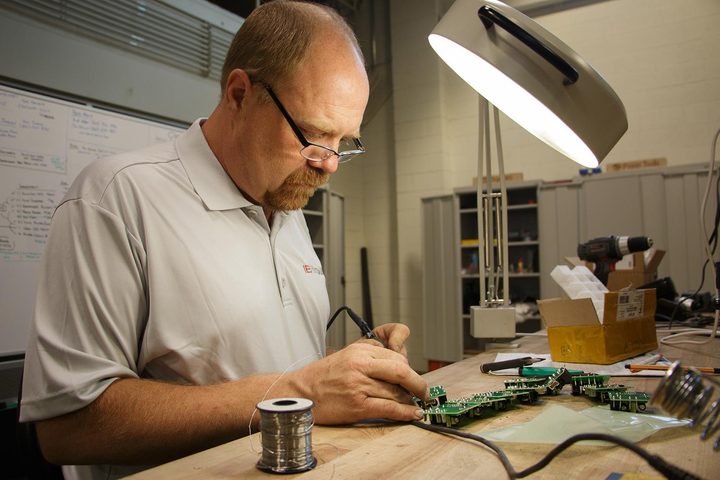
Soldering is an important skill for anybody who wants to put together circuit boards, play around with Arduino setups, or work on almost any type of electrical project. When first beginning, however, the mere prospect of soldering something can be daunting. Fortunately, you don’t need to take an entire class to learn how to solder effectively — you just need the right guide to getting started!
Step 1: Acquire the right materials for the job
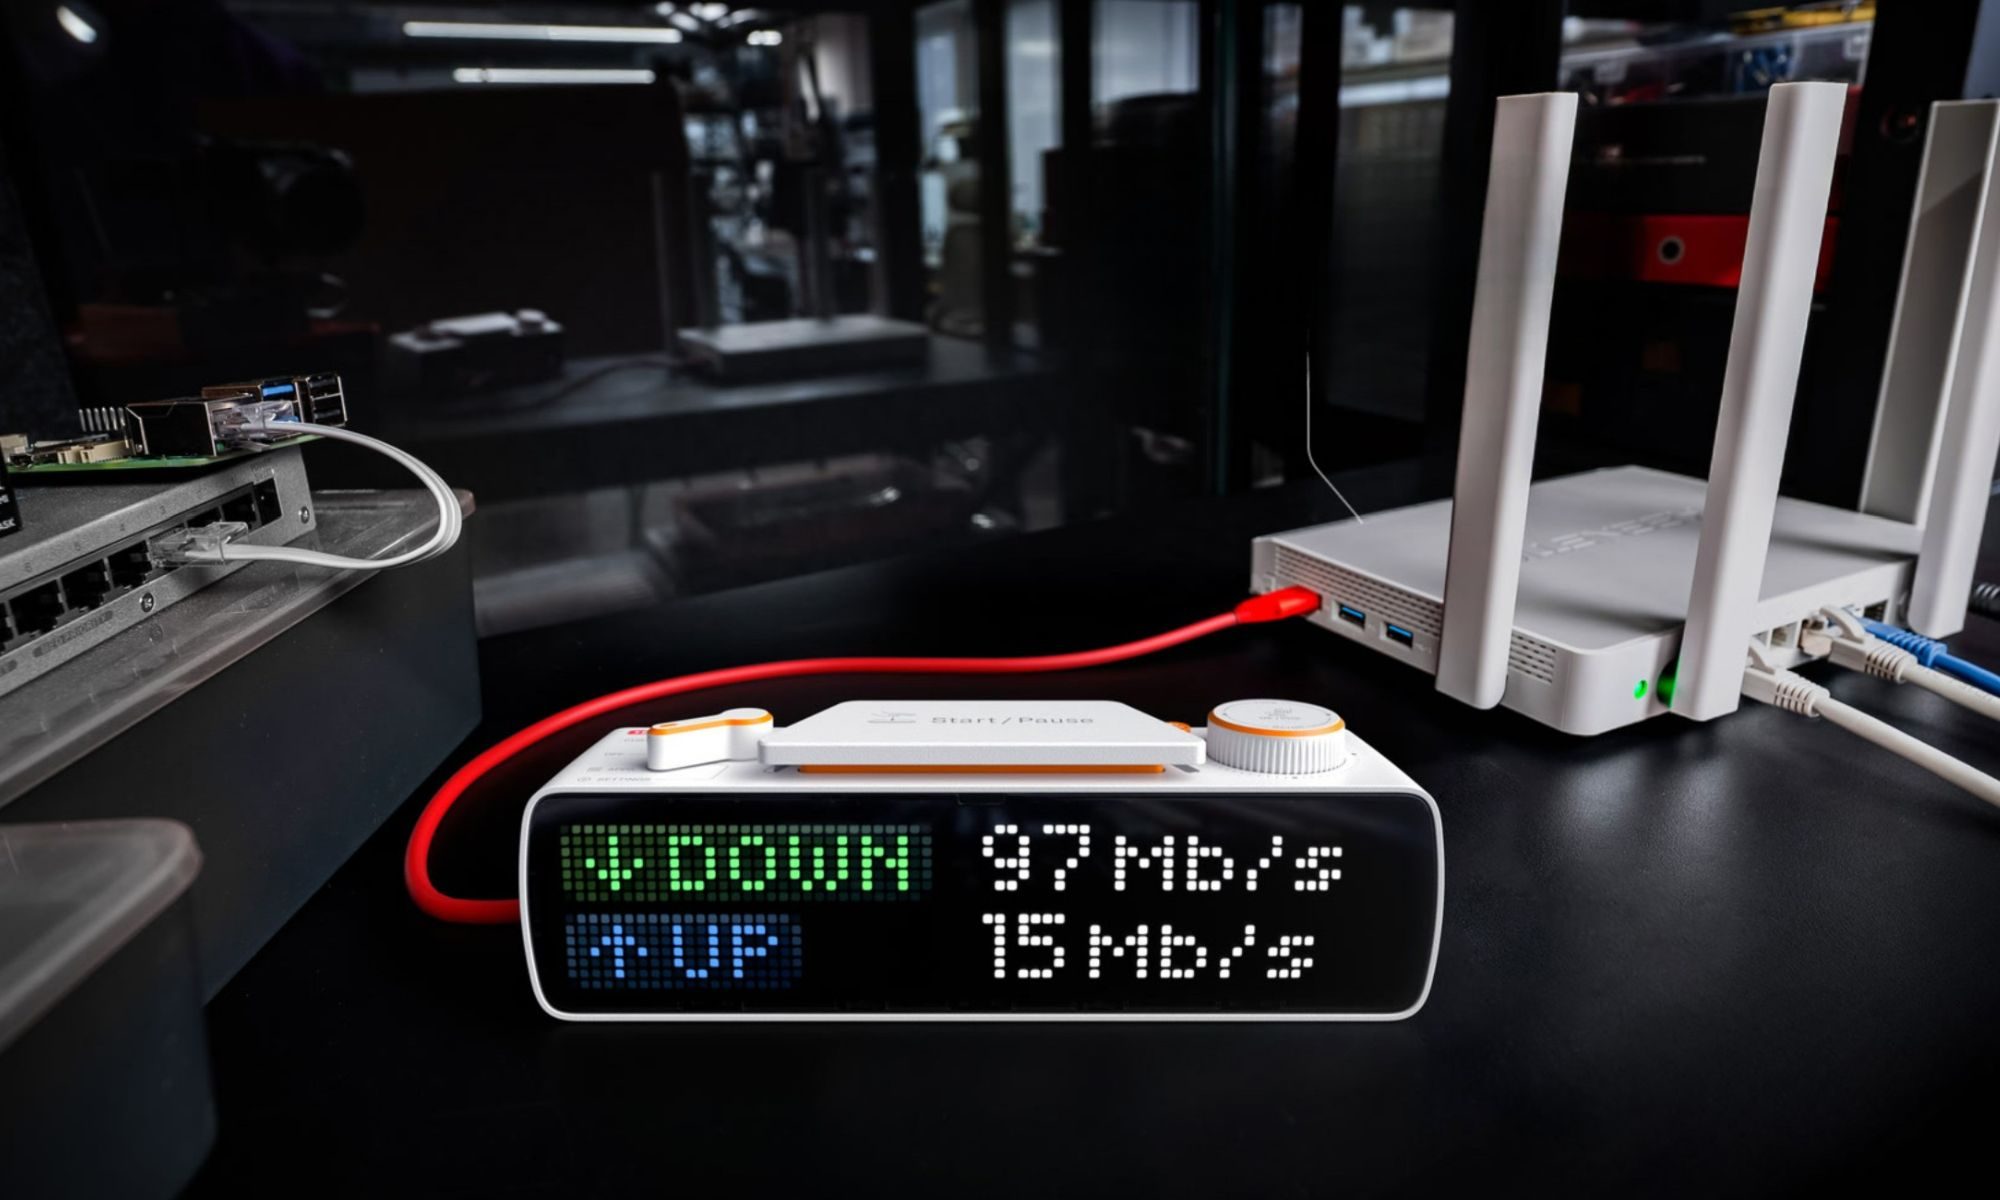
The three materials you really need to get started are a soldering iron, solder, and a soldering tip. For each of these, there are a lot of different options available and it’s easy for beginners to get lost. As a general rule, match your materials to the specific project you have in mind. Soldering wires together, for example, is different then soldering circuit board connections, and thus requires different resources.
As a general rule, it’s worthwhile to pay more for a high-quality soldering iron that comes with an adjustable temperature feature. For smaller projectors, a 15- or 30-watt iron is fine. For larger projects — think building out a customized soundboard or entertainment system — you should probably choose an iron with 40 to 50 watts, which increases the power and speed of the iron. Portability is also typically important for hobbyists, so keep an eye on power requirements and ease of use when buying.
As for solder, there are different types of wire for different purposes. They have different compositions and different melting temperatures, so pay close attention to specifications. Most solder is made out of a combination of tin and lead. A wire that’s 60 percent tin and 40 percent lead — or half and half — is usually suitable for more computer electronic work. Lead-free solder is better for the environment, but it also heats and melts differently, so it requires more experience to utilize. You should also pay attention to the flux, or the core material in the soldering wire that evaporates and forms an oxygen barrier. Stick with rosin as a flux when starting out — other fluxes have specific utilities for certain types of wire or metals, and probably aren’t necessary for basic soldering.
Finally, the soldering tip: The bevel tip is common for basic small-electronic soldering, and should probably be your first choice. Chisel tips are used more frequently for wires and larger components, while conical tips are used for very precise work that requires experience and a steady hand. Other tips, ones for even more specialized tasks, also exist.
Step 2: Ensure the utmost safety
We stress taking things slow and setting up safety precautions, especially when first experimenting with soldering projects. Always keep in mind that you are dealing with a lot of heat — around several hundred degrees Fahrenheit, typically — as well as melted metal and toxic fumes. Safety steps are absolutely necessary, and you will definitely want to wear safety glasses and protective clothing that you don’t mind getting singed.
First, carefully read your soldering iron instructions and know what to avoid. This includes never touching the iron to a live wire of any kind. You should also always keep track of where your iron is — never just “set it down.” Always return it to the charging base when it’s not in your hands. Otherwise, accidental fires can occur. When finished with the iron, always unplug it, even if you plan on coming back later.
Finally, the fumes produced by soldering are toxic, as is the melted lead in common solder wire. Work in a well-ventilated area, wear a breathing mask if you have to get in close for long periods of time, and always thoroughly wash your hands when you are finished.
Step 3: Prepare your components
Also, set up anything else you might need in advance. A few pliers, towels, cloths, wet sponges and trays — and first aid for burns — can be immensely helpful at various stages of soldering.
Step 4: Heat up your soldering iron
Plug in your solder iron and get ready to pay close attention to these next three steps, which you will repeat every time you start soldering.
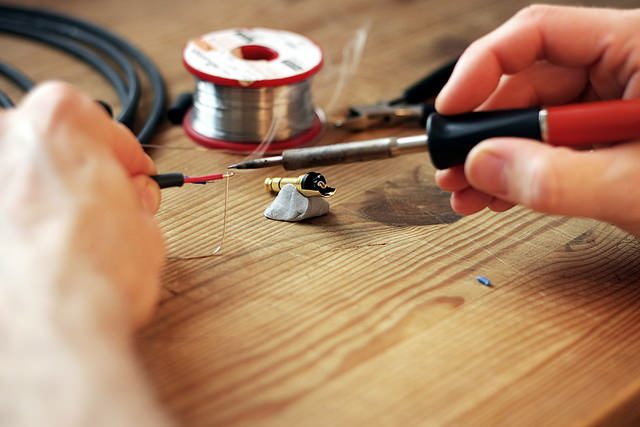
- Cleaning: Your soldering iron tip needs to be spotless — literally. Any dirt or residue on the tip will cause some nasty oxidation and impede the process. New tips, of course, will suffer less from this issue, but always keep a damp cloth or sponge close so you can frequently clean the tip when you need a quick break.
- Tinning: Most solder tips need to be “tinned.” When the tip heats up, take a bit of solder and coat the tip — not a big glob, but enough to shellac it. This will both show you how quickly solder melts and provide a gleaming coat that makes the soldering process much smoother and easier to control. Do this only when you are ready to begin soldering right afterward, and get ready to re-tin the tip whenever necessary.
- Wetting: Wetting is a test to see how well you’ve done the cleaning and tinning steps. Wetting refers to the process of creating a simple bridge of molten metal between the tip and the component, using some more solder. This is the first step of a successful solder, but it’s also a good idea to try out wetting to make sure your tinning worked well and that your tip is functioning as it should. Just find a safe surface and tap out some dots of solder to experiment with wetting. You’re looking for good surface tension that allows you to apply solder very precisely (more on this in a bit).
Step 5: Solder your components
- When heated, and tinned, lightly set the soldering tip at an angle against the spot you want to solder — this helps keep your hand steady and avoids unnecessary scorching, plus it’s just good technique for most tips. Don’t drive the tip against the surface or try to get as much of it in contact as possible. When ready, gently feed the solder wire into the little angle you have created to wet the connection and create a silvery bridge of melted solder. Don’t jam the wire in or try to crush it, either. The temperatures we’re dealing with are so hot that the wire will effortlessly melt, but use too much force and you’ll just end up with burnt clumps.
- Once the solder has melted properly, lightly direct it to the appropriate contact points, feeding in more solder if necessary. Once you have enough solder, lift away the wire first, use the tip to make sure the solder is fully liquefied and directed to the right spot, and then take the tip away a second later. The word “dab” perfectly describes what you want to do (as long as we’re not talking about the dance). A good bead of solder only takes several seconds to apply, so aim for this time when practicing — but remember that precision is more important than speed.
- The solder will cool down after several seconds, on its own. Don’t touch it or blow on it. A good connection will cool into a smooth, shiny mound of metal. A bad connection will look darker, more opaque, and is often pitted or blobby. Obviously this look varies based on what you are working on, but you get the idea of what to look out for. You can also resolder a connection to correct it, but only for a couple tries before the whole spot is a mess.
- You’re going to get tired while holding the wire, the iron, and yourself in careful position, especially at first. Don’t be afraid to take breaks — just remember to clean any tinning solder from your tip before resting, and tin again when restarting.
Step 6: Practice, practice, practice

Get extra solder, spare wire, and junk components or training boards to practice with. We really can’t stress this step enough, because beginners will make mistakes. That’s fine, but you don’t want to be making mistakes on valuable wires, circuits, or surfaces. So take a big chunk of time and practice. Don’t even plan on starting to work with real components until the second day, if possible. This is your time to get the feel for your soldering iron, solder, and the tip you’re using. You may get globs of solder everywhere, or mess up and burn components, or go too slowly for a good weld… which is to be expected at first. Give it time before getting serious.
Step 7: Use accessories if necessary
A number of accessories exist for soldering projects. Many of these products can make soldering easier, or help manage inexperience as you learn what you’re doing. Some people love certain accessories, and some find them entirely useless. However, it’s important to know that they are if you want to try them out.
Popular products include tinner, wick, and flux pens. Tinner is sort of a cleaner and polish for solder tips that help you when cleaning and tinning. Wick is a type of specialized wire that helps you remove bad solder bits and replace them. A flux pen lets you add more flux to specific parts for better appearance or connections. Other more general accessories for circuit projects may also come in handy.