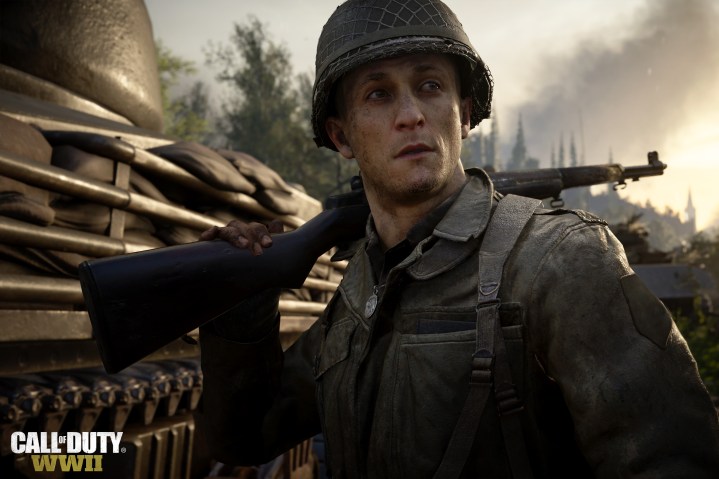
Call of Duty’s single-player campaign modes have never been especially difficult. You move from one building to the next, shooting waves of enemies who die in just a few hits, while you soak up theirs (at least on standard difficulty). If you find yourself in danger, you can just wait behind a wall while your health automatically regenerates. None of that applies to Call of Duty: WWII. In taking the series back to its World War II roots, Sledgehammer crafted a campaign that must be approached with focus and caution. Here is what you need to know to make your way across the Rhine and defeat the Nazi threat.
Make the most of health packs
The most obvious change you find in the campaign (but not the multiplayer) of Call of Duty: WWII is the inclusion of health packs. Instead of simply waiting for your health to build back up after taking damage, you must use consumable health packs, which can be found scattered throughout levels and are also available from squadmate Robert Zussman. Particularly when you’re facing enemies with Panzerschrecks or other explosives, your health can go down in a hurry, so it’s crucial that you keep an eye on it and use a health pack when you find a moment to breathe.
You can carry a maximum of four health packs at any one time, and they are “one-and-done” items, meaning that if you use one to replenish a tiny sliver of your health, you will be using the entire health pack. A health pack can restore about half of your total health, if you find yourself running particularly low, so it’s best to wait to use them until you’re really in danger. If you do accidentally use one, however, don’t bother reloading your last checkpoint, as nearly every area has at least one lying around somewhere.
Pick the best weapon, regardless of ammo

Past Call of Duty games, particularly Call of Duty 2, followed a similar pattern with weapons in each level: You’d start off with an awesome gun such as the BAR or M1 Garand but eventually, you would run out of ammo and would need to switch to the guns found on dead German soldiers. In Call of Duty: WWII, you’re still free to do that if you wish, but it’s no longer the best option.
In addition to the ammo crates scattered throughout each level, squadmate Joseph Turner can fully replenish your ammunition for any weapon by pressing the direction pad when he’s close. This means that even if you find an awesome assault rifle like the STG-44 with only half a magazine of ammunition, it’s still a good idea to pick it up. If you don’t currently have a means of refilling its supply, you’re usually only a minute or two away from the next ammunition crate.
Slow down and focus
Call of Duty: WWII moves at a slower pace than recent games in the series, in part because you don’t have access to the same advanced technology of Infinite Warfare and Black Ops III characters, but the game’s campaign missions are also clearly designed for more methodical and tactical play. Rushing at enemies is very rarely the right move, as you will be cut down almost immediately. Instead, it’s a better idea to move forward with your squad and take cover as soon as you see a group of enemies. Once you’ve picked everyone off, the whole group can advance to the next location, and it’s always very clear when you’re supposed to do so. Enemies will turn and run, and they occasionally even surrender.
Taking out targets from far away can pose a challenge for those used to more mobile combat, but Sledgehammer included an ability to make things a little easier — “focus.” By pressing and holding the left stick while aiming down your sights, you are able to slow down time and line up a sweet headshot on enemy soldiers. This can be used on sniper rifles for taking out enemies from a far distance, but it is also quite useful with standard rifles like the M1 Garand. With only eight shots in a clip, you need to make them count, and the focus ability recharges quickly enough to make use of it regularly.
You aren’t safe standing there

Playing methodically does not mean staying in the same position for the duration of a battle, however. As you shoot targets on one side of the map, you’re almost guaranteed to get flanked by a couple of Germans on the other side, who come equipped with everything from submachine guns to grenades and even flamethrowers. Just moving between a few pieces of cover and paying attention to all areas of the screen will keep you from getting surprised, and you’ll be saving some of your health packs for later encounters.
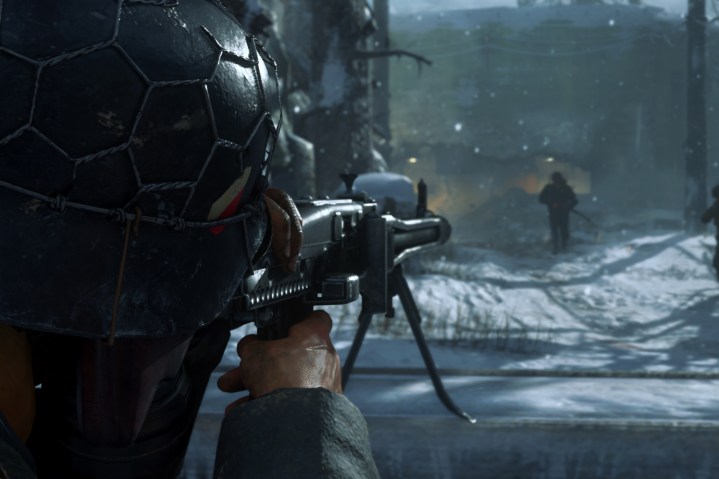
One area where you’re particularly unsafe is behind a machine gun turret. Early on, a campaign mission tasks you with manning a vehicle’s turret to fend off a huge number of Germans firing in the street, but many of them are armed with explosives and Panzerschreck launchers that will kill you in a single hit. You’re a huge target while behind the gun, and it’s often best to use it for only as long as it takes to kill a bunched-up group of enemies before you abandon it and re-position.
Keep track of your squad
In addition to Zussman, who offers health packs, and Turner, who offers extra ammunition, the other members of your squad provide their own special abilities in the campaign. The gruff Sergeant Pierson has the ability to spot all nearby enemies, making their outline appear through walls, and it’s particularly handy when you’re sniping targets hiding behind cover. Drew Stiles, meanwhile, can resupply both types of grenades that you carry, while Frank Aiello can give you a targeting smoke device to signal an artillery strike.
All of these will come in handy at some point during a mission, but they recharge over time based on kills you rack up and the “heroic actions” you perform, such as capturing a surrendering enemy instead of shooting him. Make sure you don’t waste an artillery strike unless you really need it because you will need it.
More important, however, is keeping track who is in your squad at any given moment. There will be sections of the campaign where Zussman and Turner will be unavailable, for instance, and they aren’t replaced by another soldier with their same abilities. This means that you’ll need to get a little stingier with your shots or health packs, but you shouldn’t drastically change how you play the game. With Zussman gone, focus more on your environment to find health packs, and know that the character who left almost always returns by the next stage of the mission.
Editors' Recommendations
- Is Call of Duty: Modern Warfare 3 cross-platform?
- Call of Duty: Warzone is finally coming to mobile in March
- The best weapons in Call of Duty: Modern Warfare 3
- The best field upgrades for Modern Warfare 3 Zombies
- Modern Warfare 3 Zombies: Mercenary Convoy guide


