
Elden Ring is not a sequel to the Dark Souls series, which itself is only loosely connected. However, between Elden Ring, the Dark Souls games, and even Demon’s Souls and Bloodborne, there is one constant we’ve been able to count on to show up. We’re not talking about mechanics, or the Moonlight Greatsword, but a man — a man who, time and time again, has followed his nature as a cowardly, greedy betrayer and kicked us into the most deadly traps he can lure us into. That man is, of course, the infamous Patches.
Patches was expected by most people to show up in Elden Ring. After all, he has become something of a mascot for FromSoftware at this point. It wasn’t long before people first found him in the game, but they were left with a rather unsatisfying end to his interactions. As it turns out, we hadn’t seen everything Patches had in store for us just yet, and only with the 1.04 patch to Elden Ring was his questline finally completed. If you want to get your sweet revenge on the devious Patches for all the tricks he’s pulled on you, here’s how you can complete his questline in
See more
- How to complete Dung Eater’s quest in Elden Ring
- How to complete Fia’s questline in Elden Ring
- How to get every ending in Elden Ring
First Patches encounter

Patches isn’t welcome at the Roundtable Hold. We like to think that’s because everyone else there knows better than to trust him, but whatever the reason is, it means that you will need to hunt down this grimy man out in the open world. Thankfully, you can go straight to him almost immediately after starting the game. He’s hiding out in the Murkwater Cave, which you can find if you follow the river to the north that terminates into Agheel Lake, keeping an eye on the eastern side for the entrance.
As you explore the cave, Patches will, as he is so inclined to do, ambush you. Fight him, but he will surrender before you can finish the job. Well, you could choose to kill him here and end his quest early, but where’s the fun in that? Let him live and he will offer to sell you some goods while he’s in the cave, including Margit’s Shackle, which can be a major help against said boss in Stormveil if you’re struggling.
If you do opt to kill him, however, you will get his Bell Bearing to buy his gear anyway, plus his unique spear and armor.
For now, choose to forgive and forget, and move on to open the newly appeared chest. Of course, this is a trapped chest that will whisk you away to Mistwood Ruins. If you go back to Murkwater Cave, Patches will have vanished and moved on to the next stage in his quest.
Find Patches at Liurnia

Patches will take his show on the road to Liurnia next. He will be sitting by a campfire at the Scenic Isle and have added a few new items to his stock you can buy. You can also speak to him about a couple of other NPC quests, plus learn about a secret way to get into Volcano Manor, though certainly not a recommended one. It is, naturally, a near deathtrap. Otherwise, there’s not much else to gain from Patches here.
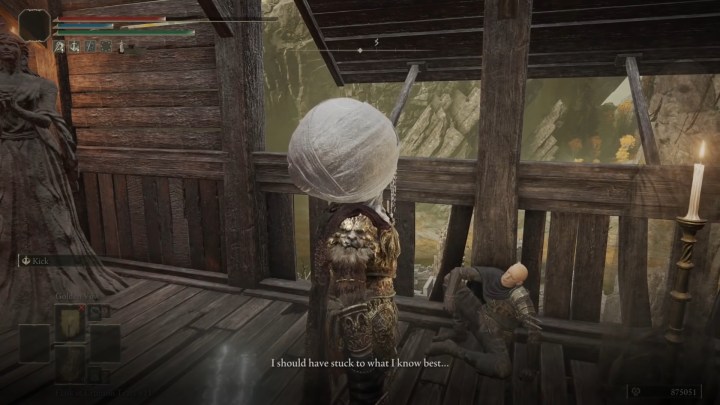
Patches pulling his usual tricks on Mt. Gelmir

Just based on the fact that you’re up on the cliffs of a mountain, anyone who knows Patches should have a pretty good idea what’s about to happen. You can spot Patches just to the north of the First Mt. Gelmir Campsite Site of Grace hiding in a bush next to a path of glowing rocks. If you miss him in the bush and just follow the glowing rocks, which you very well might since they lead you straight to an item, don’t worry. Talking to him first just has him assure you, for real, that he’s not up to anything devious. Of course, as soon as you walk near the edge of the cliff, Patches will pull his signature move and kick you over the edge. He will also give you a warning to stay out of Volcano Manor.
Along with the very deadly Basilisk enemies, which can inflict curses on you in a matter of seconds if you’re not careful, there are some decent items to loot down here while you’re there. Either after you kill the Basilisks and teleport out, or die, head back to Patches and accept his totally-sincere-this-time apology, plus get another warning to not go to Volcano Manor. I wonder where we should head next?
Reunite at Volcano Manor

It’s not easy to get to, but make your way inside Volcano Manor and start the Tanith questline by speaking to Tanith and agreeing to become one of her assassins. Patches will be chilling in the entryway, once again offering to sell you some new items. You can also ask to hear more about him personally if you want.
He’ll stay put until you complete the first assassination request for Tanith. Once done, go back and talk to Patches again, and he will give you a letter for an assassination he wants done. While he certainly doesn’t deserve any favors from you at this point, indulge him and carry out his request to kill Great Horned Tragoth. Once you do, talk to him again and inform him the deed is done, for which he will reward you with the Magma Whip Candlestick weapon.
To move Patches’ quest forward, you next need to fully complete the Tanith quest started earlier by doing all the assassinations and then beating the boss Praetor Rykard. Once that’s all done, everyone, including Patches, will vacate the Volcano Manor.
Death at the Shaded Castle?
It is very easy to miss Patches’ next location on the small bridge in the Shaded Castle, a small keep to the north of Altus Plateau. The bridge he’s lying on is actually the one leading to the boss of the area, so you can easily tunnel vision on that and miss him. If you’ve beaten the boss, just use the Castellan’s Hall Site of Grace to get to him in no time, or make your way up to him via the Shaded Castle Inner Gate Site of Grace. He’s kind of tucked away near one of the cluster of statues, apparently on his last legs.
When you speak to Patches, he will give you the Dancer’s Castanets that you can give to Tanith, and then appears to die. This, prior to patch 1.04, was where his story came to a somewhat anticlimactic end.
Conclude his quest where it all began

Now, if you go all the way back to the beginning, to where Patches first tried to take you out with his own hands in Murkwater Cave, you will hit a boss fog wall blocking your way into the room. Traverse the mist, but no boss will be there — only a treasure chest. Of course, this is obviously a trap, but go ahead and open it to draw Patches out for another fight. He was expecting new prey, not you, and will almost immediately surrender this time. You’ll now learn the iconic Patches’ Crouch gesture.
Leave and return here to get Patches to once again start selling his goods, now complete with everything he’s ever had, or will have, to offer. If you attack him now to get him angry, but let him nearly kill you, you can also learn the Grovel for Mercy gesture.
However, now is the time you can, without regret, finish off Patches if you so desire. He will drop his Bell Bearing so you won’t miss out on any of the items he has to sell, plus get that spear and Leather Armor set you can’t find anywhere else.
Editors' Recommendations
- Xbox, PlayStation, and PC: Is Elden Ring cross-platform?
- All companions in Baldur’s Gate 3 and how to get them
- How to get the Finishing Touches achievement in Hogwarts Legacy
- Elden Ring: Shadow of the Erdtree finally arrives this June
- Helldivers 2: all Boosters and how to get them


