
Another year, another successful run of DLC for Call of Duty. Apocalypse, the fourth and final map pack for Treyarch’s Black Ops 2, is officially here to demand your time and attention. There’s nothing unusual about this pack: for $15 (or nothing, if you pre-paid via a Season Pass), you get four multiplayer maps and a new co-op Zombies adventure called “Origins.” If you’re reading this, then you’re looking for an edge. Something to help you score a better K/D ratio. Something to carry you past round three of a Zombies match. Something to stem that nagging urge you’re feeling to turn your Black Ops 2 disc into an angrily flung Frisbee.
We can help you with all of those things. Or the first two, at least. Suppressing the desire to hurl a game disc in anger is every Call of Duty player’s basic rite of passage. Besides which, this guide does you no good if you’re busy crying over shards of shattered plastic. It’s cool. Maybe play something that’s a little bit more your speed.
(Editor’s Note: Ryan here. For whatever reason, Apocalypse appeals to my particular type of play. I don’t claim to be a great CoD player, but the new maps are designed in a way I really like, so I added a few tips that worked for me. Lets us know in the comment section if you have any tips of your own.)
The Maps
Ryan: Depending on the game mode, your equipment loadout is going to make a huge difference, especially your killstreaks. Domination, Capture the Flag, Search and Destroy, or any mode with a locked point you can defend will be perfect for a Guardian or a turret. The raised platforms Adam mentioned, or the multiple walls that protect the back of either weapon, make it difficult to destroy either weapon without an EMP. Regardless of the game mode, you need to keep moving – leaving traps in narrow areas can also be a great way to piss off the opposing team. The open nature of the map means there are very few safe areas to avoid grenades, and a persistent killstreak like a stealth helicopter can be devastating (if one is called in on you, switch over to a class with a rocket launcher, asap.)
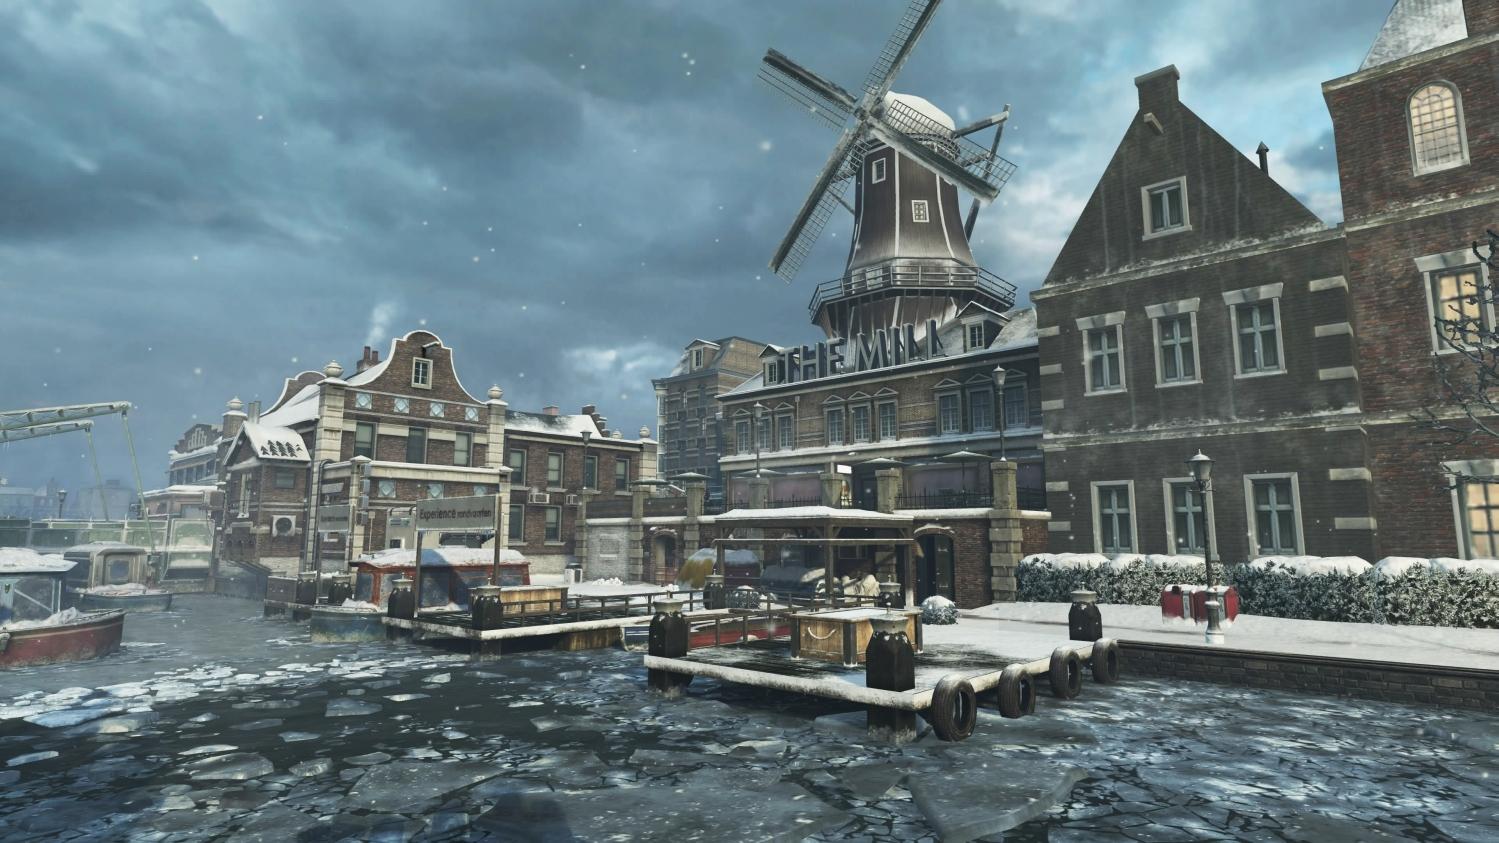
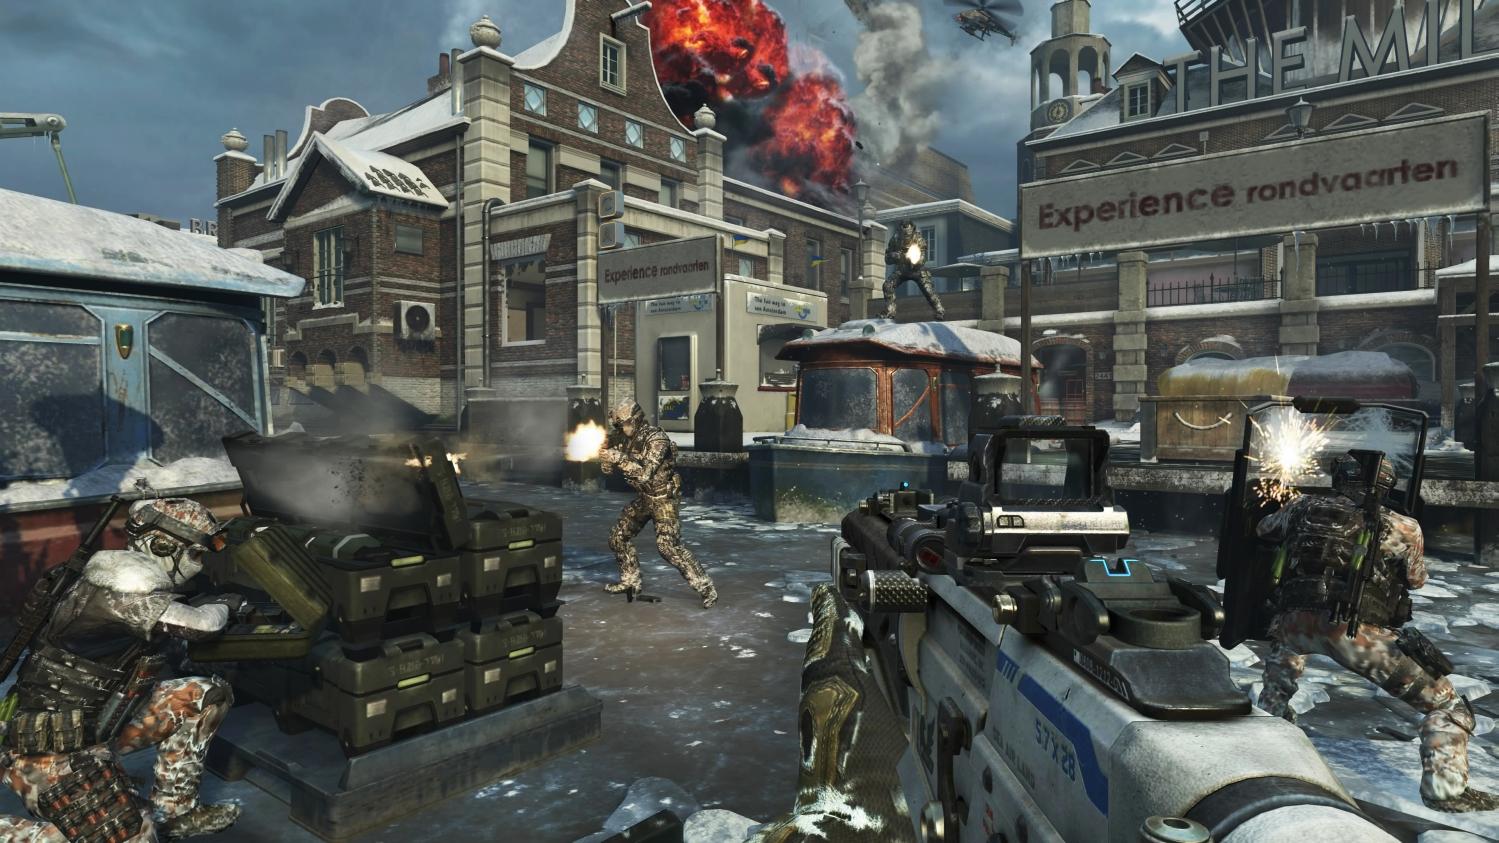
Ryan: Learn where the open windows are. There are a lot of buildings in Frost, and many of them have multiple ways. One facing the canal is especially useful if you are trying to assault the “C” domination point. Speaking of domination, practice throwing grenades (but not semtex) at “B” on the main bridge from the side. The area is relatively enclosed, so if you see someone taking B a well placed grenade thrown from the relative safety of the footbridge, for example, can ruin someone’s best plans. Frost offers a lot of options on how you want to play. A shotgun or even a good handgun can be effective as long as you stay away from the few open areas, but an assault rifle can help to create choke points on the bridges and pathways.
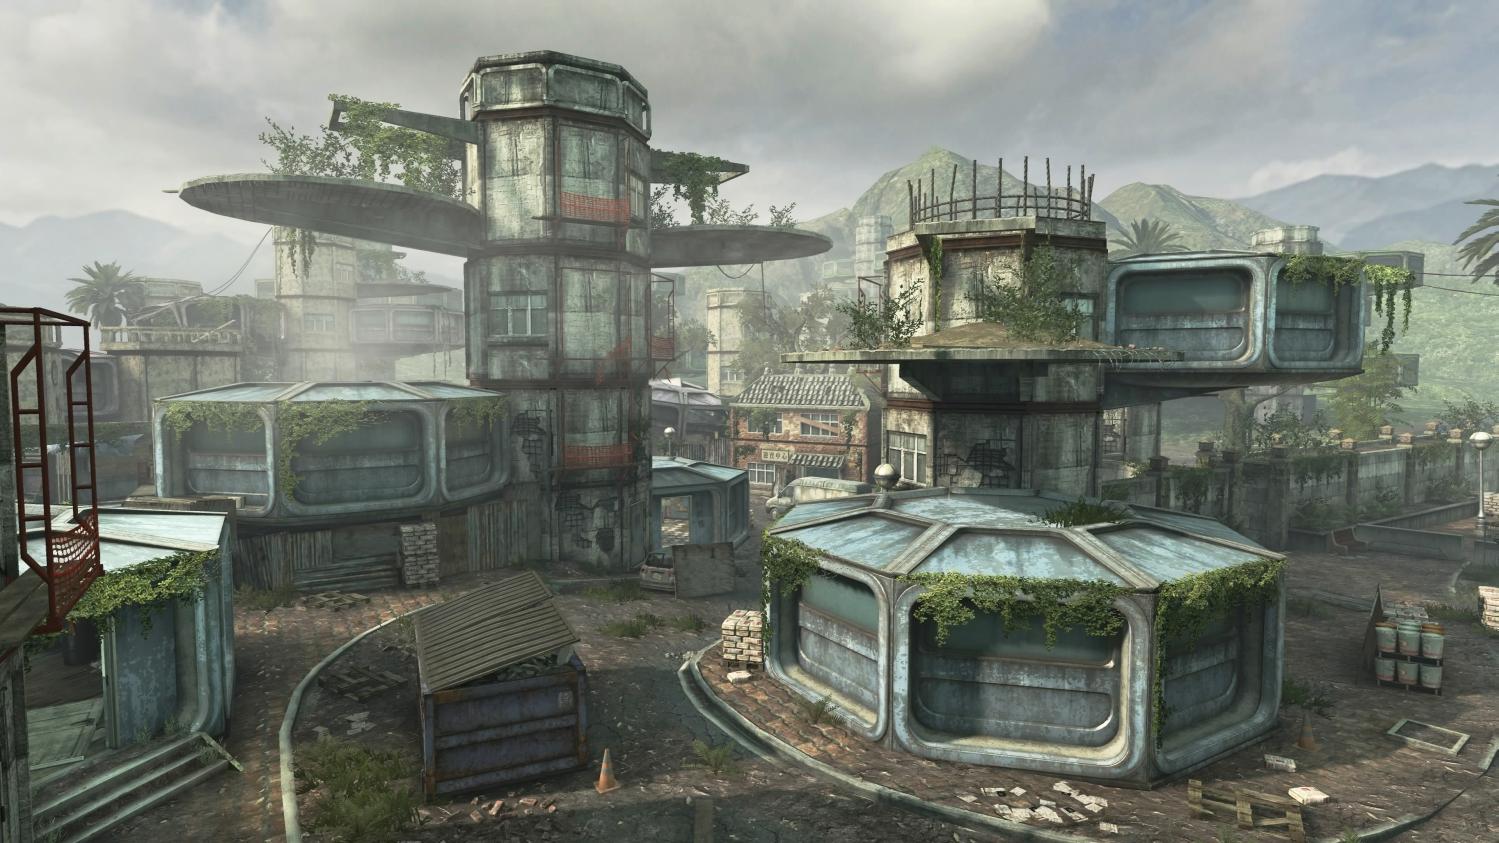
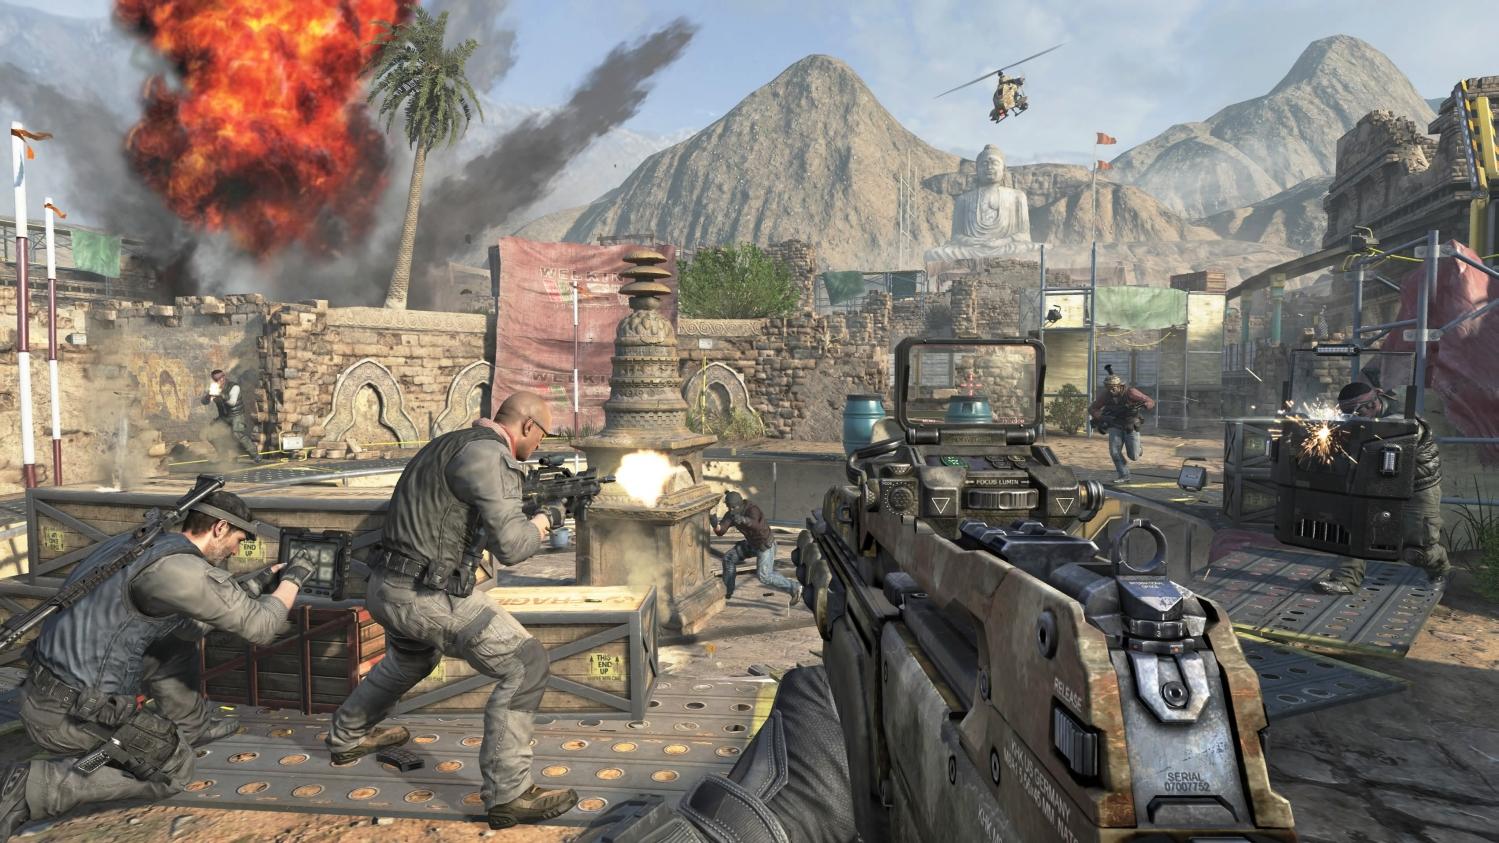
Ryan: I had a lot of success with the AN-94 assault rifle equipped with a hybrid scope. There are a few choke points on the map, including the enclosed section with only two access points that connects the “C” to “A” areas (based on domination placement). There is a small tunnel players need to run through to get to A, which can be held with relative ease – as long as you have a weapon that can keep you out of range of the inevitable barrage of grenades. For cutting through the center of the map, stick to the pods and watch your flank. Silenced weapons can also be extremely annoying here. Unless they are being used by your team, in which case they are awesome. For objective based games, bring smoke.

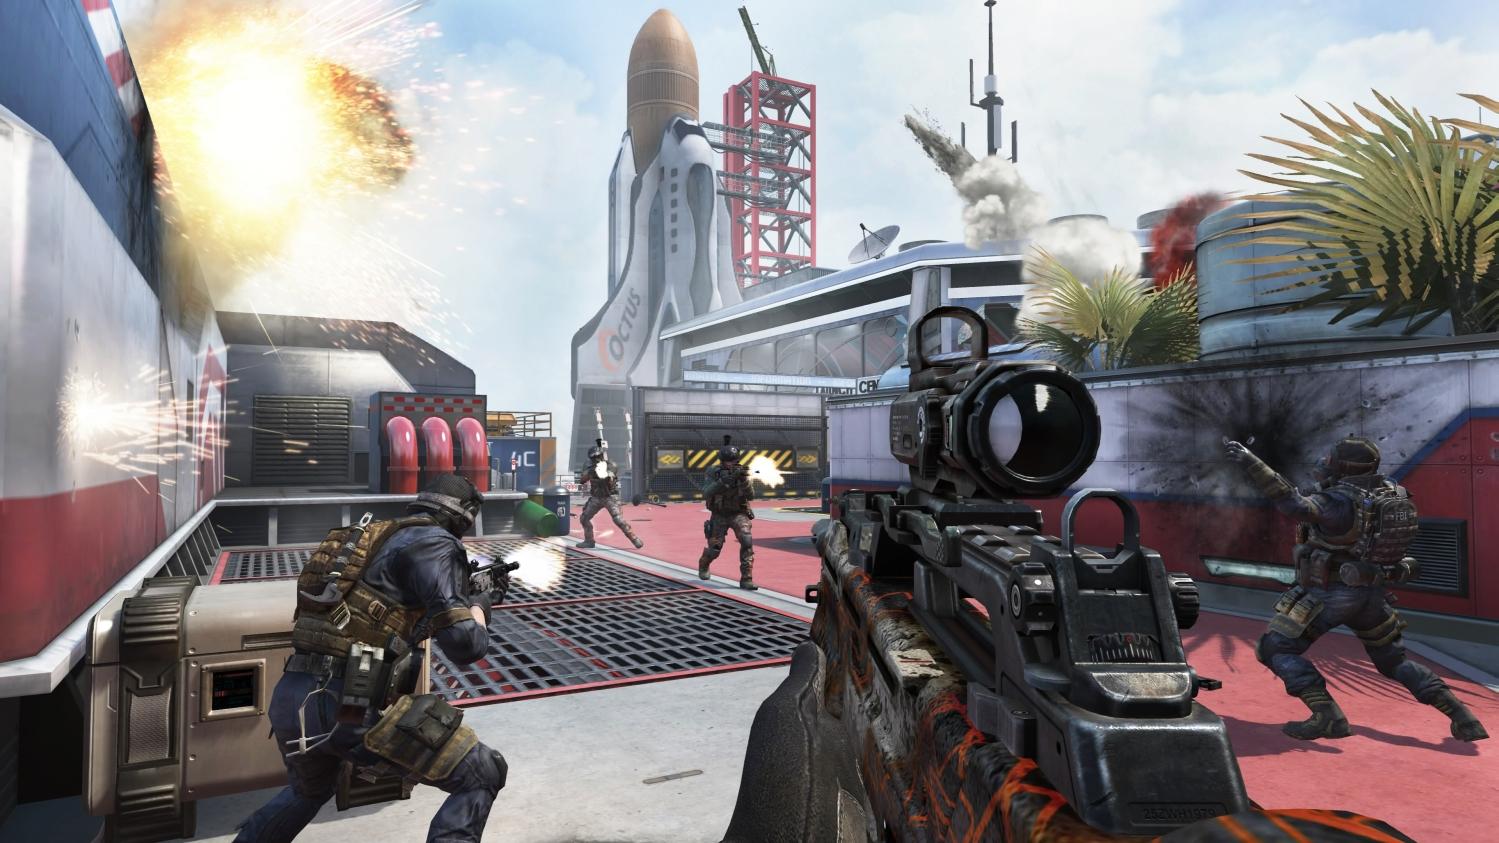
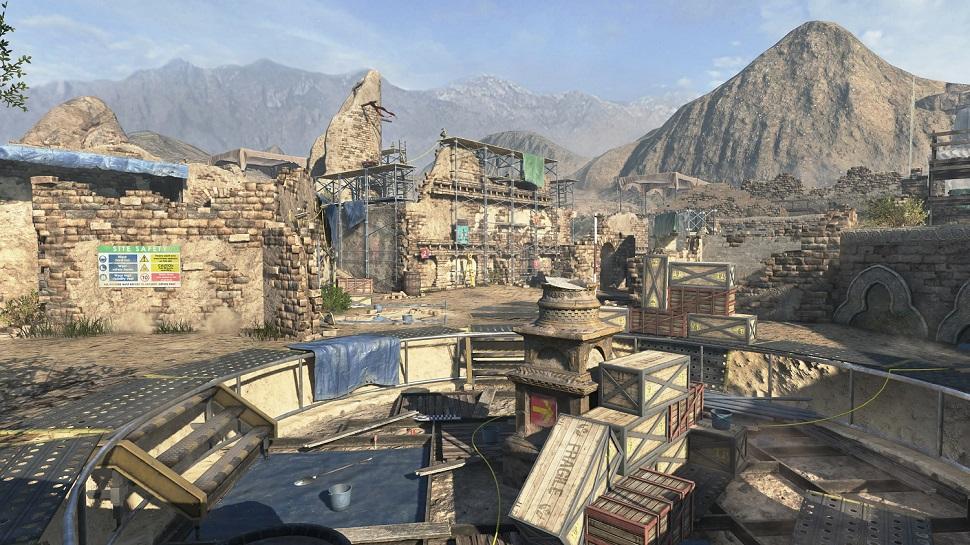
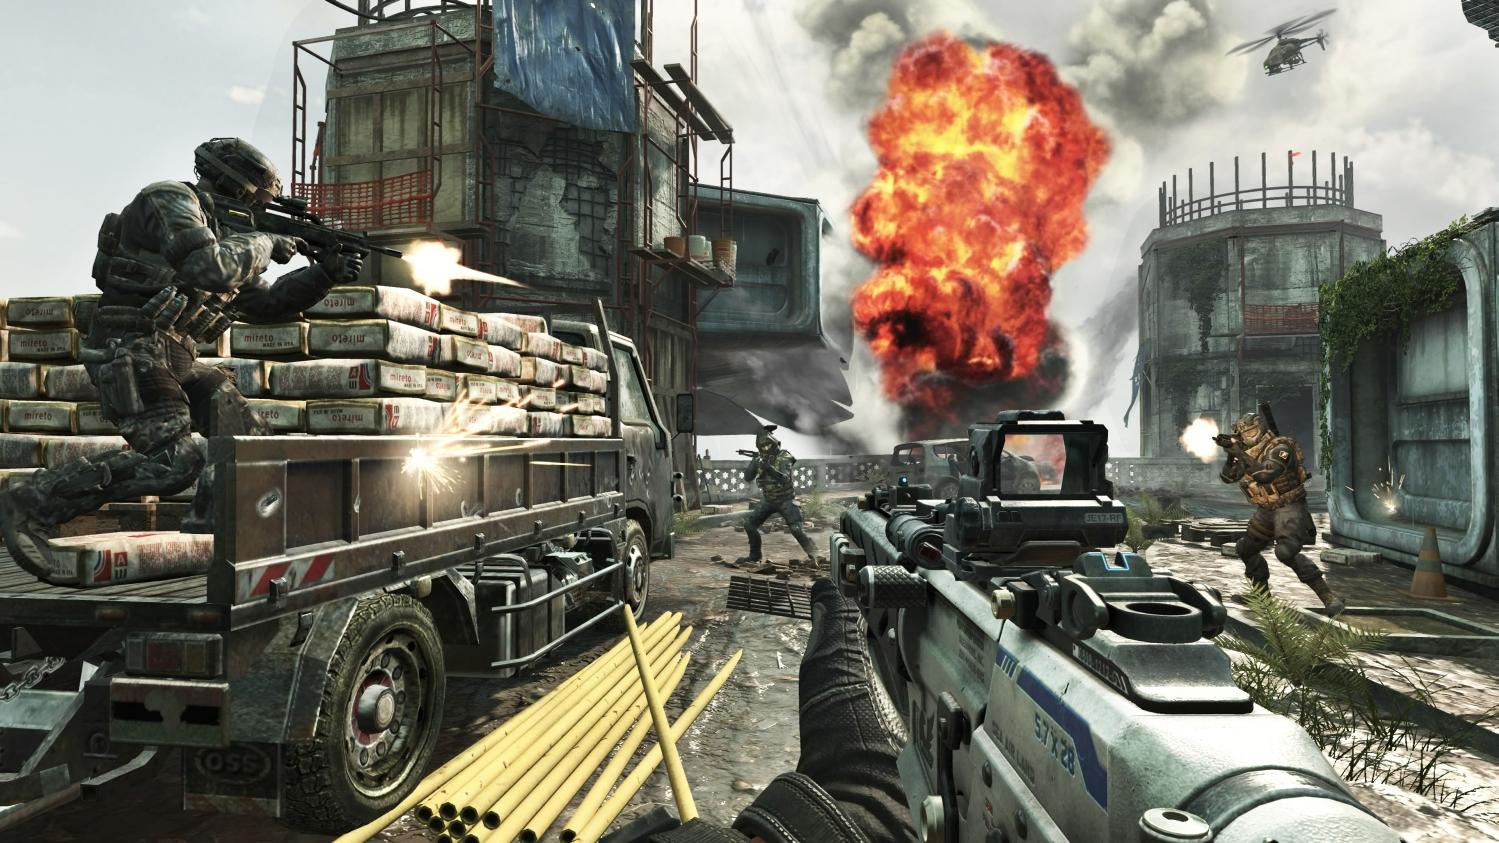
Ryan: I preferred an assault rifle here too, because the balconies and overlooks will eventually be occupied and you can often hit enemies from a distance before they have a chance to orientate if you are expecting them. Regardless of your weapon, you must keep moving. If you get a few kills in the same position, run for your life – it isn’t that hard to toss a grenade from almost anywhere on the map. Speaking of, flack jackets, smoke, and trophy systems are a huge help if you are trying to defend a position or capture a domination point. The arena in the launch center is a great place to cut through if you want to try to sneak around and flank, as surprisingly few people bother to look there. The center, on the other hand, can be a death trap, but if you are quick enough to make it through you can occasionally catch people unaware who aren’t expecting anyone to be that crazy.
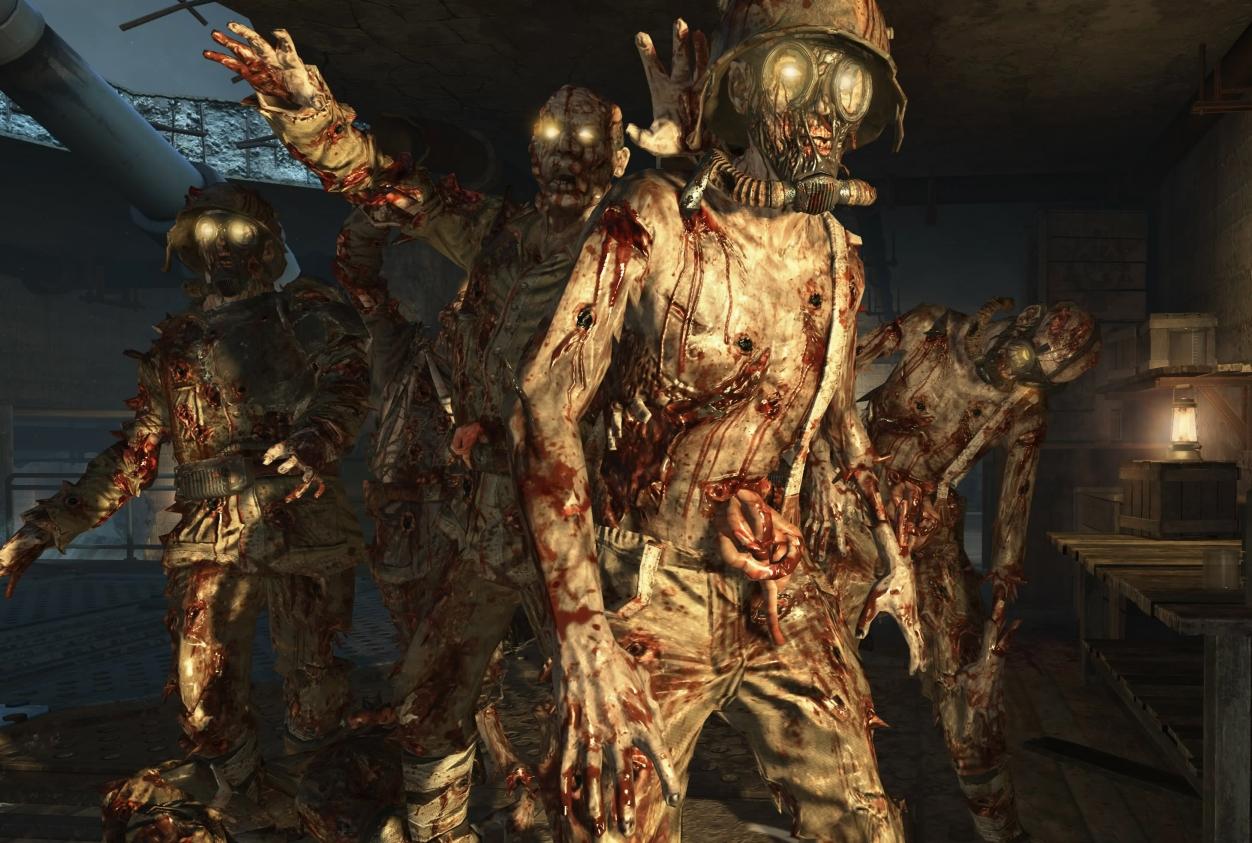
Zombies
Moreso than our previous looks at the Zombies maps, this one is a beginner’s guide. With so many bits and pieces that are entirely new, you’ll need to have a good understanding of what’s going on in Origins before you even think about trying to tackle the Easter egg or assembling the four Wonder Weapons that connect to it.
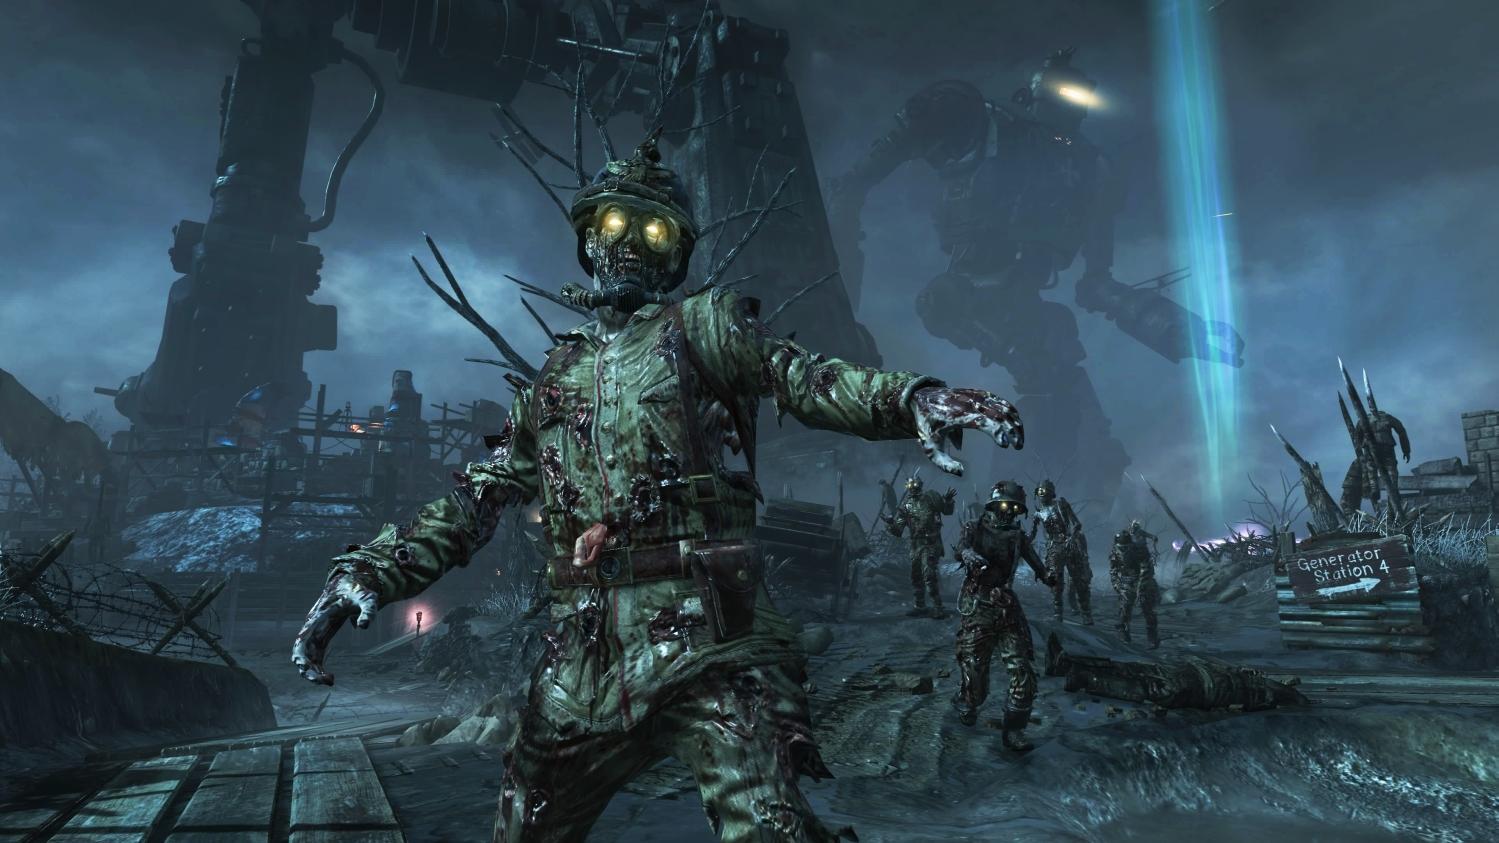
Generators cost points to power up, and the price is 200 points per each player in the game, which is all paid out by one person. Once someone spends the points to switch on the generator, at least one player must remain on the metal grating that surrounds it while a horde of zombies – some dressed in armor reminiscent of the Crusades – rushes in. A meter at the bottom of the screen fills up as the generator charges, and it fills more quickly when multiple players are present. If the player that spent points to activate the generator can stay on the grating for the entire charging process, their points are refunded. Once a generator is active, any powered items nearby – Perk-a-Cola machines and the Mystery Box – can be used.
One final note on generators: survive for long enough in a match and those “Templar zombies” (the ones in Crusader armor) start appearing randomly and stealing the power from a generator. When this happens, a stylized circular icon appears as an indicator of where the thieving zombie is. Hunt it down and kill it before it escapes to restore the inactive generator. Fail to do so and you’ll have to charge it up again, just like you did the first time.
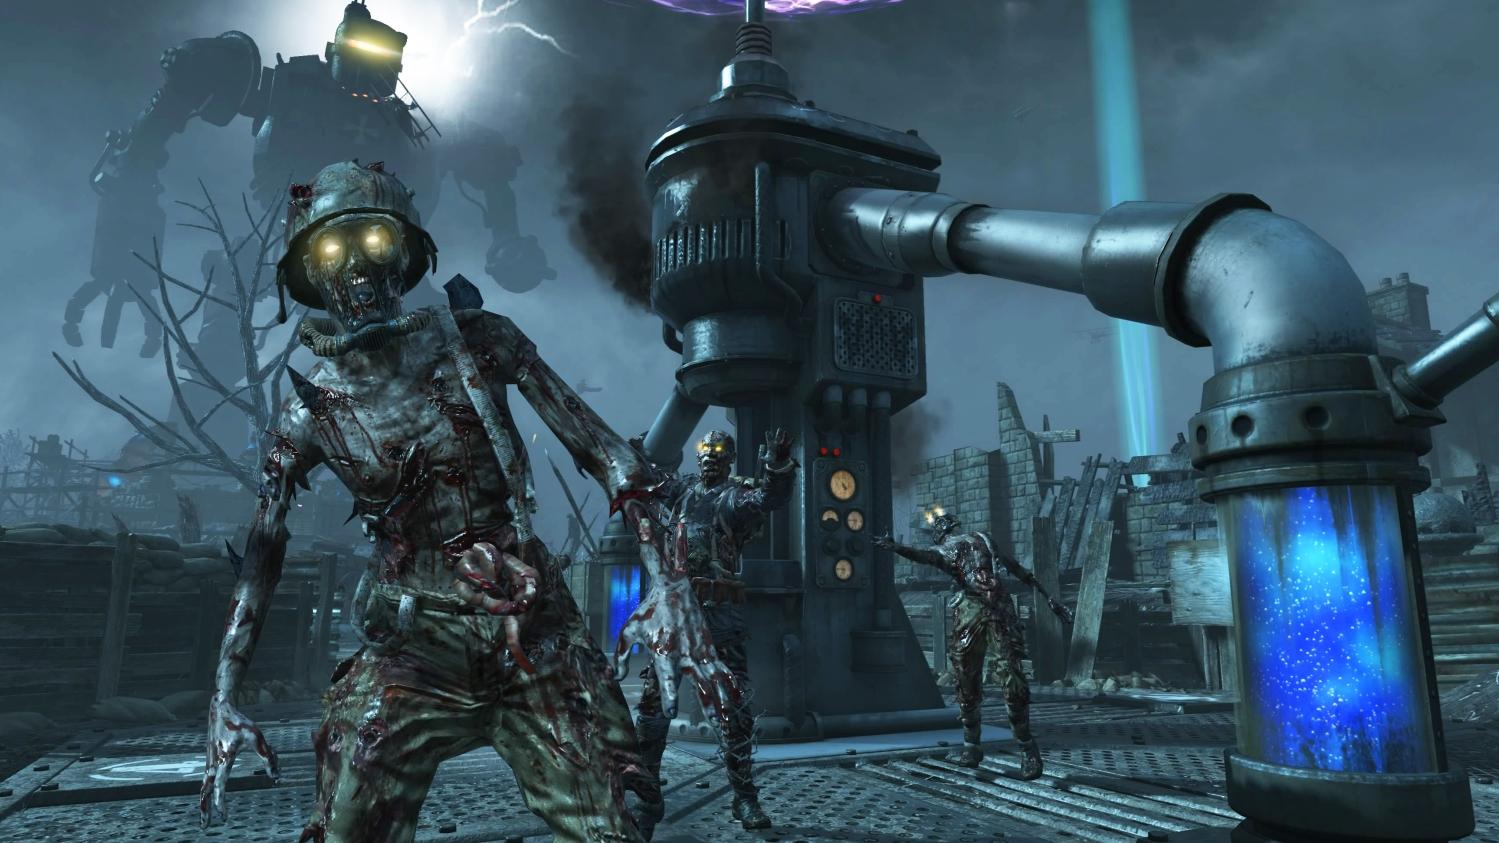
Much like the Mystery Box, Der Wunderfizz machines are randomly activated and available for a limited number of uses. You can tell when one is active by the lightning arcing into it from high up in the sky.
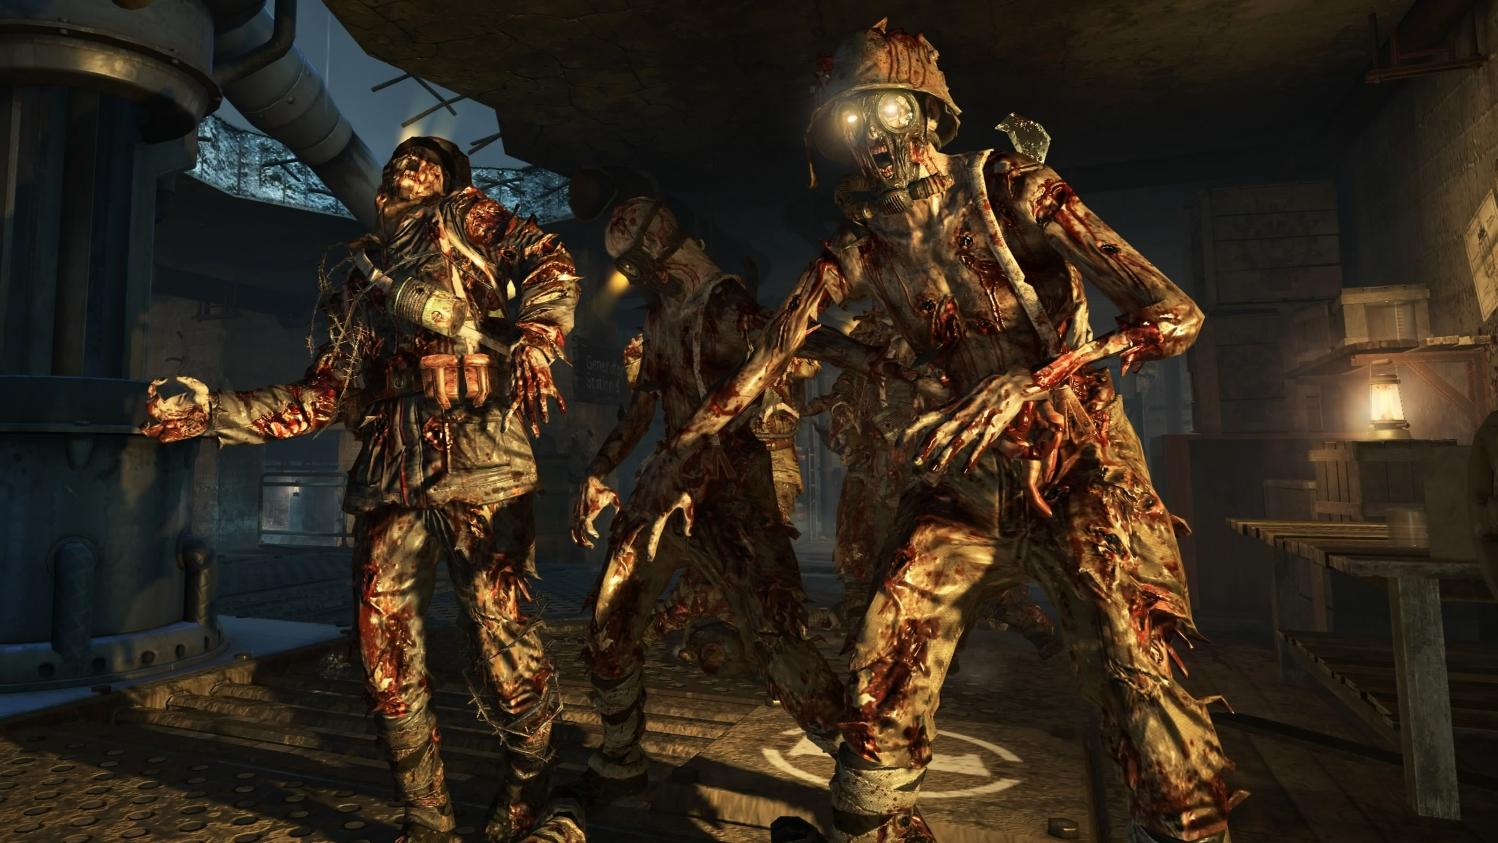
Shovels: There are four shovels scattered around the map. Two are found in the starting room, hanging on hooks set into the wall. Once a player grabs a shovel, it’s held onto for the rest of the match, even if said player dies and respawns in the next round. Once you’ve got a shovel, you can use it to dig up the small mounds of dirt and bones that are scattered around the map. Doing so unearths a variety of items, anything from a weapon or a pickup to a zombie. Sometimes you might even find – and immediately run away from – a live grenade. The Shovel is necessary for assembling the Ice Staff, one of the new Wonder Weapons. Simply dig whenever it starts snowing, and there’s a chance that one of the three staff pieces will appear.
New pickups: There are two new pick-ups to be found in Origins. Blood Money only appears when you dig it up using a shovel; collecting it earns you a random number of points. The other pick-up, Zombie Blood, is a random drop from downed zombies. The player that collects it can move faster and won’t be attacked by zombies for a full 30 seconds. Their outward appearance also takes the form of a zombie while the power-up effects are active.
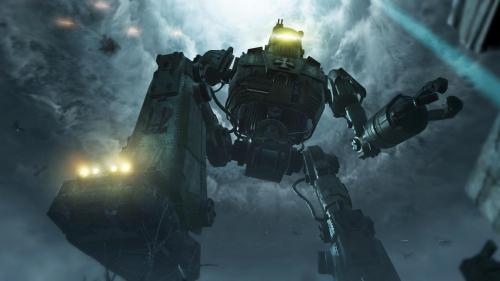
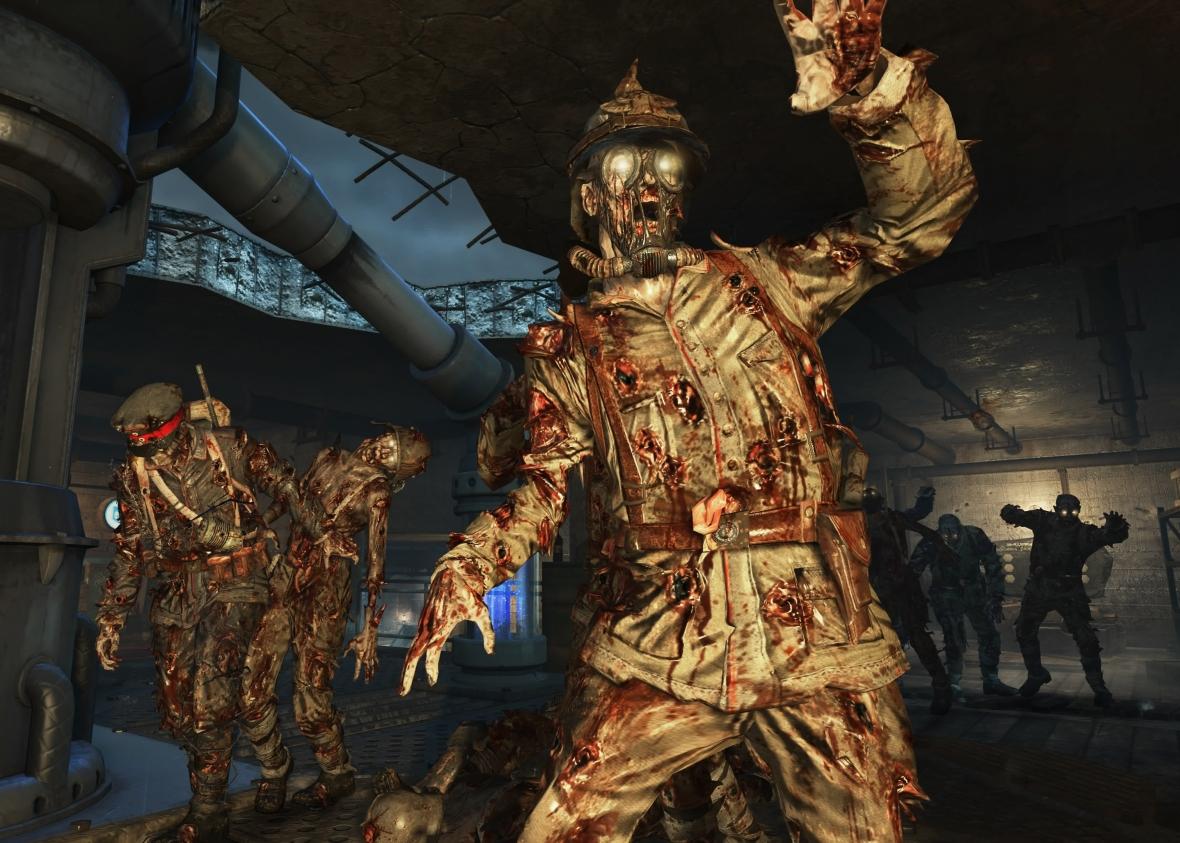
Panzer Soldat: Eff this guy. Seriously. These armored special zombies randomly spawn in starting at round 8. You can’t miss them. They’re huge, they spit fire out of front-mounted flamethrowers, and they have a claw that they can use to grab a distant player with. They’ve also got a devastating melee attack that is a one-hit kill (or a two-hit kill if you’ve got the Jugger-Nog perk). The trick to bringing down a Panzer Soldat is headshots. That’s easier said than done when you’ve got this rampaging monstrosity spitting flames into your face, but it’s what you’ve got to do.
The best bet for bringing down a Panzer Soldat is to lead him to the tank and scramble up on top of it. He can’t hit you while you’re up there, so he’ll just stop and sort of stand there like an idiot. At that point, have one player introduce his face to a swarm of bullets while the rest of the players worry about zombie crowd control. Note as well that the Panzer Solder is susceptible to one-hit kills if you’ve got an Insta-Kill active, but only if you manage to score a headshot.
Buildables: Buildables return in Origins. The four Wonder Weapons – staves of Ice, Fire, Air, and Lightning – all must be assembled, by finding the three parts for each, along with a gramophone and staff-specific record (both located near the Excavation Site). The Zombie Shield returns with a slightly different look, and its three parts appear in random locations. Finally there’s the Maxis Drone, which is basically a Dragonfire drone that’s powered by the brain of Maxis. You can always find the brain jar in the starting spawn area; the other two parts appear in several different, completely random locations.
Ryan: I find that shooting the zombies before they kill you is an effective strategy. Pew pew pew… (Yeah, I got nuthin’)
Chime in with your own tips and tricks for surviving the Apocalypse DLC. Know how to quickly assemble a Wonder Weapon? Got a surefire way to crush your opponents in Pod? Tell is in the comments below.
Editors' Recommendations
- Call of Duty: Modern Warfare 3 Zombies: how to complete Bad Signal
- Call of Duty: Modern Warfare III has seemingly leaked thanks to Monster
- You can get Call of Duty and Alan Wake with PS Plus in July
- Call of Duty: Warzone 2.0’s new update just nerfed the game’s best weapons
- 6 months after launch, is Call of Duty: Warzone 2.0 worth playing?

