

Summer is fast approaching (or already here, depending on when you read this), which means it’s time to pull your bike down from its dusty garage rack and get back in the saddle. With warm weather comes riding your bike to work again and shedding those pesky winter pounds and now that daylight savings have passed, we’re in for longer sunlit hours to help fuel those after-work excursions.
For mountain bikers, it’s prime time to start planning weekend expeditions on the trail, as well. Due in large part to the fact your bike’s been sitting sedentary during the long winter months, it will likely require some quality TLC before it’s ready to hit the streets. Here are some tips on how to tune up your road or mountain bike — just in time for spring.
And if you’re looking to buy a new set of wheels this year, check out our picks for the best ebikes and mountain bikes on the market.
Step 1: Give it a proper cleaning
If you want your bike running efficiently, you’re going to need to de-grease and clean the parts collecting dust for the past few months. Start with the chain — there are many chain-specific cleaners on the market and most double as excellent degreasers. The most important thing you’re going to need is a bit of elbow grease.
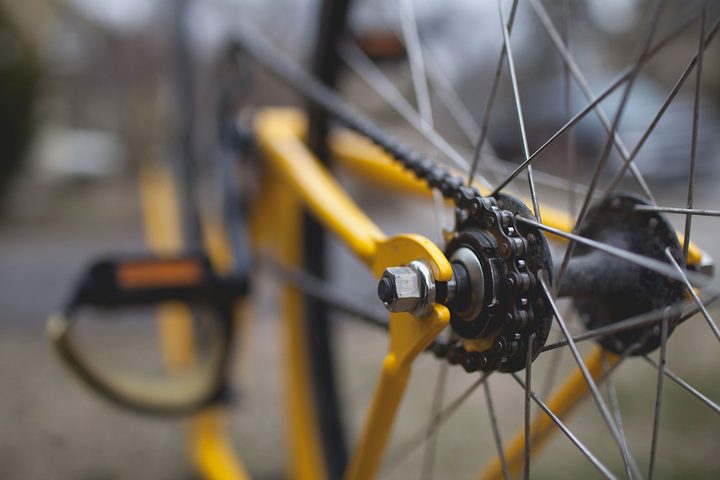
There are several ways to clean the chain but the easiest way is to remove it completely and soak it overnight. In the morning, take an old toothbrush and a towel and be sure to clean each individual roller. Before reattaching it, be sure to clean the cassette, as well. Alternatively, you can cover the chain in lube and, while holding the lower segment, pedal backward while using a towel to remove dirt and grime from individual nooks and crannies. No matter how you go about it, you’ll need to remove the chain for the next step.
To clean the cassette, first remove the bike’s rear wheel and apply lube to the cassette. Now, clean it similarly to how you cleaned the chain. Be sure to work your way through individual cogs and spacers, using a towel or an old toothbrush to remove grease. When you’re done cleaning the cassette, it’s time to reinstall it — and the rear wheel — and to re-grease the chain. Apply approximately one small drop per cog while shifting through your gears, then let it sit for five minutes to allow the lube to penetrate. Wipe off any excess lube with a rag.
Once you’re done with the chain and the cassette, it’s time to clean the rest of your bike. Focus your attention on the frame, derailleurs, and pedals. Want to change out your pedals this year? Here are some of the best mountain bike pedals you can buy. A helpful tip? Remove the seat post, clean it, then apply a small amount of bicycle grease before reattaching it.
Step 2: Brake inspection
Brakes serve as your primary stopping mechanism, so we can’t overstate how important it is to have them fully functioning. Start by checking your brake pads for excessive use and evaluating your cables for stretching. Disc brakes have pads that wear down over time, so analyze them to make sure they don’t need replacing. Remove the wheel and inspect the area where the rotor spins. If the pads seem glazed, it might be helpful to remove them from the calipers and gently apply a piece of sandpaper to return some texture. If the pads measure less than three millimeters including their metal holder, they need to be replaced.
Check the rotors for any dirt and debris and clean them with rubbing alcohol, then lightly scuff them with sandpaper as you did the brake pads. Now, evaluate how straight they are — ideally, they should be rubbing each brake pad evenly. Make sure the bolts that attach the rotor to the wheel are snug, as well.
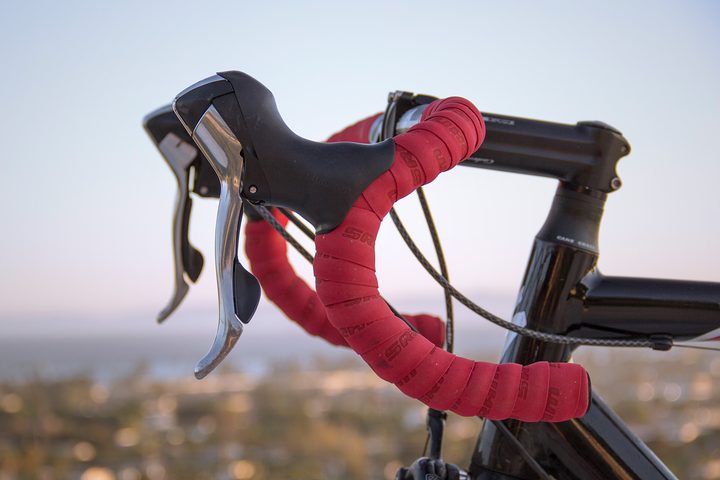
You’ll now want to ensure your brakes are aligned properly. Squeeze each brake lever on your handlebars and watch as the pads hit the rim. Do they strike the wheels at the same time? If not, they’re going to need an adjustment. Loosen the five millimeter bolt securing the brake caliper to the frame, then make adjustments until they’re even. Finally, retighten the bolt.
Alternatively, you can adjust the brakes using the brake tension screw located on one of the brake lever arms. Use a wrench to fine-tune each brake pad’s position. Do you want your breaks to react more quickly? You’re going to need to remove slack from the cable. Roll out the barrel adjuster at the end of the lever to add tension to the cable.
Extra brake inspection tips
Consider cleaning and lubricating the brake levers and checking to see if you need to bleed your brakes. If you have hydraulic disc brakes and the levers feel spongy when squeezed, there may be air bubbles in the line. You’ll need to bleed your breaks in order to remove air and to allow the brakes to function efficiently. You can bleed the brakes yourself or take the bike to a maintenance shop if you’re not comfortable performing the process. It’s also important to inspect all hydraulic hoses and fittings for possible leaks, as this could indicate a bigger brake system issue.
Step 3: Check tires and wheels
Inspect your tires for signs of wear, including splits, cracks, or tears. If there isn’t much tread remaining, you may consider purchasing new tires for the season. Casings often wear out before tires, so do a thorough inspection of the sidewalls, as well. If your brakes were out of alignment, they may have damaged the tires, so take your time working through each section with a flashlight. Tires are fairly inexpensive to replace and the saying holds true: Prevention is the best medicine. There are also special inserts available for purchase which help reduce the risk of a flat tire.
Once you’re done investigating your tires, it’s important to check your wheels. Look over your spokes to make sure they’re in good condition and give them a squeeze to ensure stability. Check for hairline cracks as they could pose a bigger problem down the line.
Step 4: Evaluate shifting
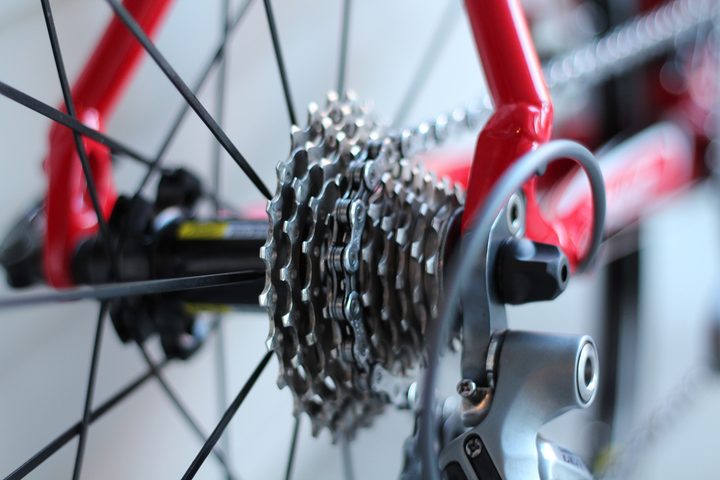
It’s imperative your bike changes gears easily and doesn’t have any hiccups in the shifting system. The primary issue you’re looking for is loose chain tension. Here’s how to test for this: Set your bike on a stand and shift to the smallest cog. Now, turn the barrel adjuster on the rear derailleur one-half turn clockwise before rotating your pedals, shifting one gear. The chain should jump to the next cog but if it doesn’t, you’ll need to execute another half turn.
Note: If your chain is jumping two cogs as opposed to one, you’re going to want to back it down a half turn. This process might require a little trial and error, but it will be worth having a smoothly shifting bike when you’re finished.
Step 5: Lubrication
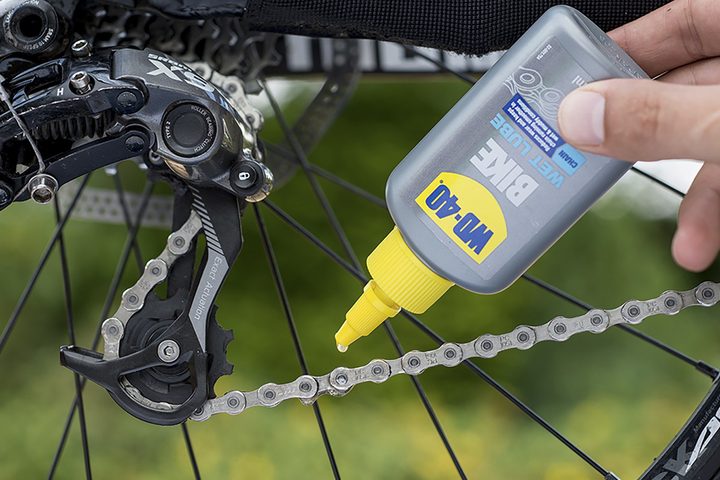
After a thorough cleaning, tweaking, and evaluation of your bike, it’s time to lubricate the rest of the components of the drivetrain before your first ride. Lubrication prevents the build-up of dirt and grime and allows your bike to run smoothly for a longer period of time. You’ve already lubricated the chain, so now it’s time to lubricate the moving parts on the derailleur, the pivot point on the brake levers, and any exposed cable wires.
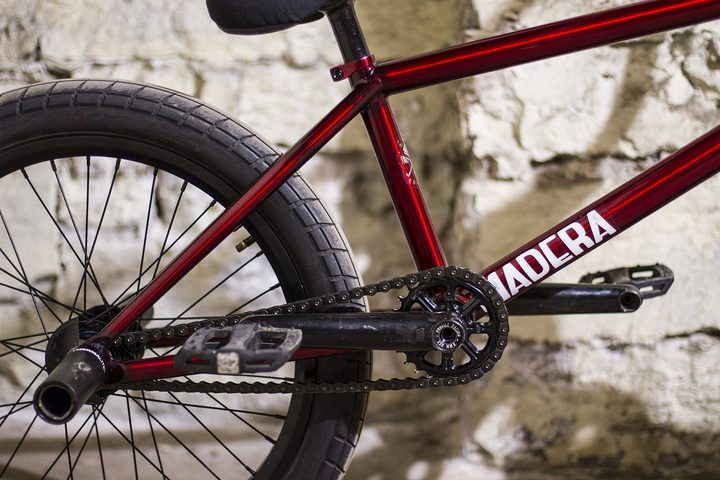
Mountain bike specific tips
Mountain bikes have more moving parts to worry about, including front and rear suspension components. You’ll need to inspect your suspension for wear, tear, and abrasions, and also clean dirt from fork seals. Check seals for cracks or fluid build-up, as this may indicate the need for repair or replacement. Cycle the fork and rear suspension before evaluating your sag settings and then increase or decrease air pressure until the bike is riding how you prefer. Suspension tuning is one of the more complicated elements of a bike tune-up and if you’re concerned about a major system flaw, you might want to take it in for professional maintenance.
The essential pre-ride checklist
- Test your brakes: Make sure your brake levers are functioning properly and the pads strike the wheels evenly.
- Check your tires: It’s a good idea to perform a once-over of your tires every time you set out on a ride to make sure they’re properly inflated. It’s also smart to carry a portable pump with you in case of a flat.
- Rattle check: This might seem elementary but letting your bike fall a few inches off the ground and listening for any unusual sounds can help you find loose parts or eliminate problems.
- Wheel check: Spin each wheel to make sure there’s no wobbling and that the brakes are securely attached. Make sure each quick release lever is securely tightened. Also, be sure to check the headset, which is located at the front of the bike serving as the connection between the forks and the frame. Tighten the headset if you hear clicking while applying the brakes and tilting the bike forwards or backward.


