
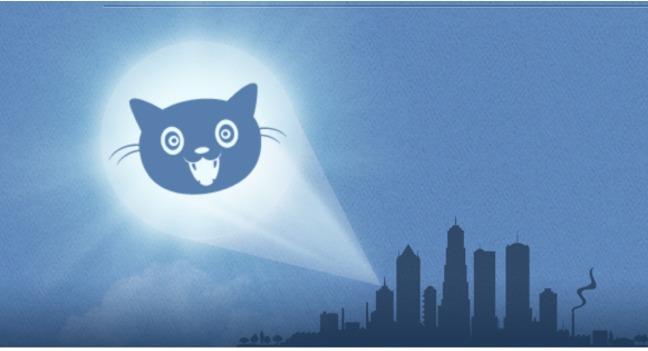
Want to help protect the Internet from ignorant or downright dangerous politicians? Now you can, with the help of the Internet Defense League’s (IDL) newly launched “cat signal.” What the heck is a “cat signal,” you ask? Read on…
Inspired by both Batman and the Internet’s love of felines, the cat signal is a bit of code created by the IDL that anyone can embed on their website. Anytime a piece of legislation, trade agreement, or other government action that poses a threat to the open Internet rears its ugly head, the cat signal will activate, alerting legions of Web users that the time for action has arrived.
The IDL — which was founded by nonprofit Fight for the Future (FFTF) and is supported by organizations like Reddit, Mozilla, WordPress, and the Electronic Frontier Foundation (to name just a few), as well as members of Congress, including Rep. Darrell Issa (R-CA), and Senators Jerry Moran (R-KS) and Ron Wyden (D-OR) — seeks to establish a movement of Internet users that will help fight for the Web, just as 24 million of you did during the battle against the Stop Online Piracy Act (SOPA) and the PROTECT IP Act (PIPA) early this year.
If you ask me, the cat signal is a fantastic idea: having to keep up with the slew of bills that could change the Internet as we know is a full-time job, and many Web users who would otherwise help fight the good fight are already worn out by the process. With the cat signal, you’ll know when it’s really time to act. So here’s a quick guide for installing the cat signal code on your blog.
Step 1: Sign up
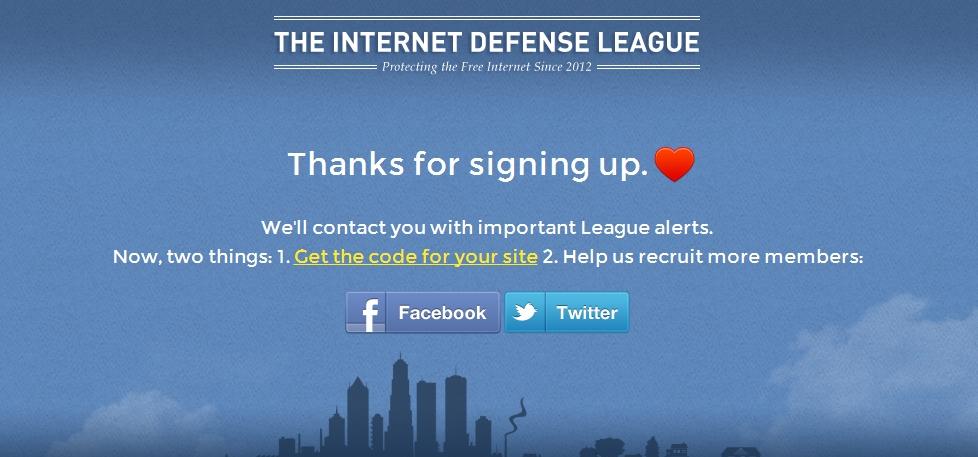
Before you can get the code, you’ll need to become a member of the IDL. To do this, just head over to InternetDefenseLeague.org, and sign up. You’ll either need to enter in your website and email address, or authorize the IDL Twitter app, which will both sign you up as a member and give the IDL permission to periodically send out tweets through your account. (You can choose how often it may do this.)
Step 2: Grab the code
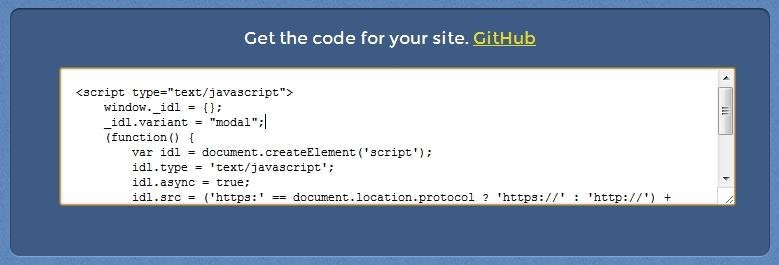
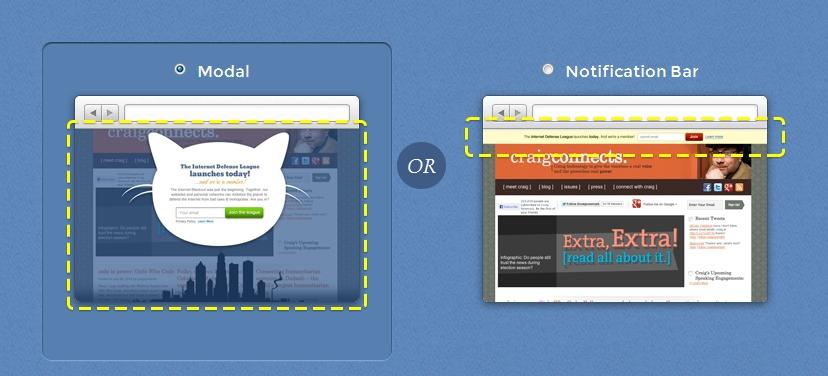
Once you’ve signed up, you’ll have access to the code via the IDL website. Click the “Get the code for your site” link, and you’ll be given a number of options. The first choice is whether you want the “modal” cat signal, which will display a notice over top of your entire website, or simply a notification bar-style cat signal, which is less obtrusive for your site’s visitors, but also easier to ignore (and thus less effective). You can also choose whether you want your cat signal to activate every time the IDL launches a new campaign, or whether you want to manually activate it every time a new campaign goes live.
Side note: The IDL also offers a number of “badges” that you can install on your blog, which will tell people that you’re member even when the cat signal is not active. You have six different designs to choose from, some big an prominent, others small and less noticeable. I’ll be installing one of these as well, though it does not affect the functionality of the cat signal whatsoever.
Step 3: Install
For this test, I’m going to go with the full-screen modal option, and allow the IDL to activate my cat signal anytime a new campaign launches. (The instructions for installation are the same regardless of which options you choose.) I’ll also be using my personal Tumblr blog for this test, but the cat signal should work with any website.
First, select all the code that appears in the text box at the top of the page, and copy it by right-clicking on the selected text and choosing “copy.”
Next, go to Tumblr.com (log in, if necessary), and select the blog you want to install the cat signal on. Click on “Customize theme,” which appears in the top right corner. Then click the “edit HTML” button, which appears near the top, on the left side of the window.

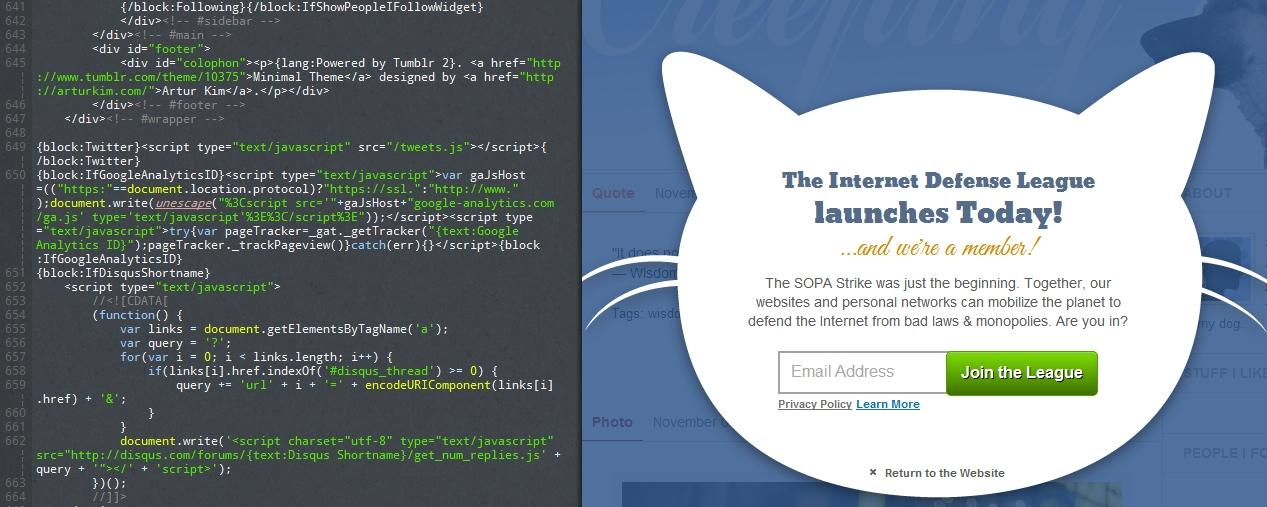
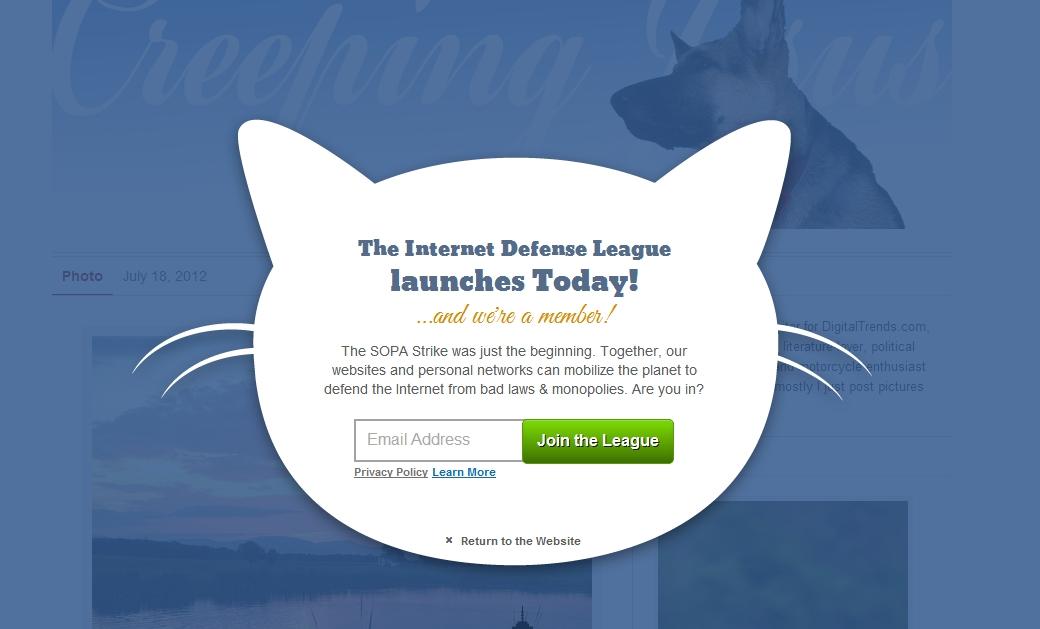
A box showing all the CSS code of your Tumblr blog will open. Scroll down to the bottom of the page. You should see a line of script that reads “</body>”. With your mouse, set the cursor to the line just above “</body>”, and hit “enter” to make a new line. Paste the cat signal code there, and hit the “update preview” button at the top of the window. If you see the cat signal pop up, you’re good. Click save, and visit your homepage to make sure everything is in working order. If you chose the modal cat signal design, it should look something like this:
Optional step: Installling your badge
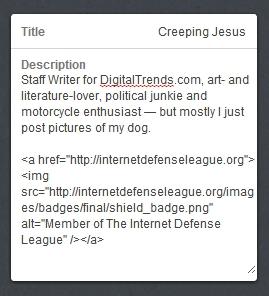
As mentioned, this part is totally optional. But while we’re here, we might as well go for it. First, go back to the IDL page where you got the cat signal code, and pick out which badge you’d like. I’m going with the “Shield Badge” option. Next, copy the code for your badge, and head back over to Tumblr. Click “Customize theme” again. Now, here’s where things may differ, depending on which badge you choose. I decided that I wanted my badge to appear beneath my bio/description on my blog (my blog is called Creeping Jesus), so rather than open the HTML editor, I simply pasted the badge code directly into the description box. You can choose to put your badge elsewhere, but you’ll have to play around with the placement of the code so your badge appears as you want it to.
Warning: If you do this, make sure to copy/paste/save your original blog code in a separate text document, so you can revert back to it if things go awry.
Now you’re all set to go forth as a hero of the Internet. Godspeed.


