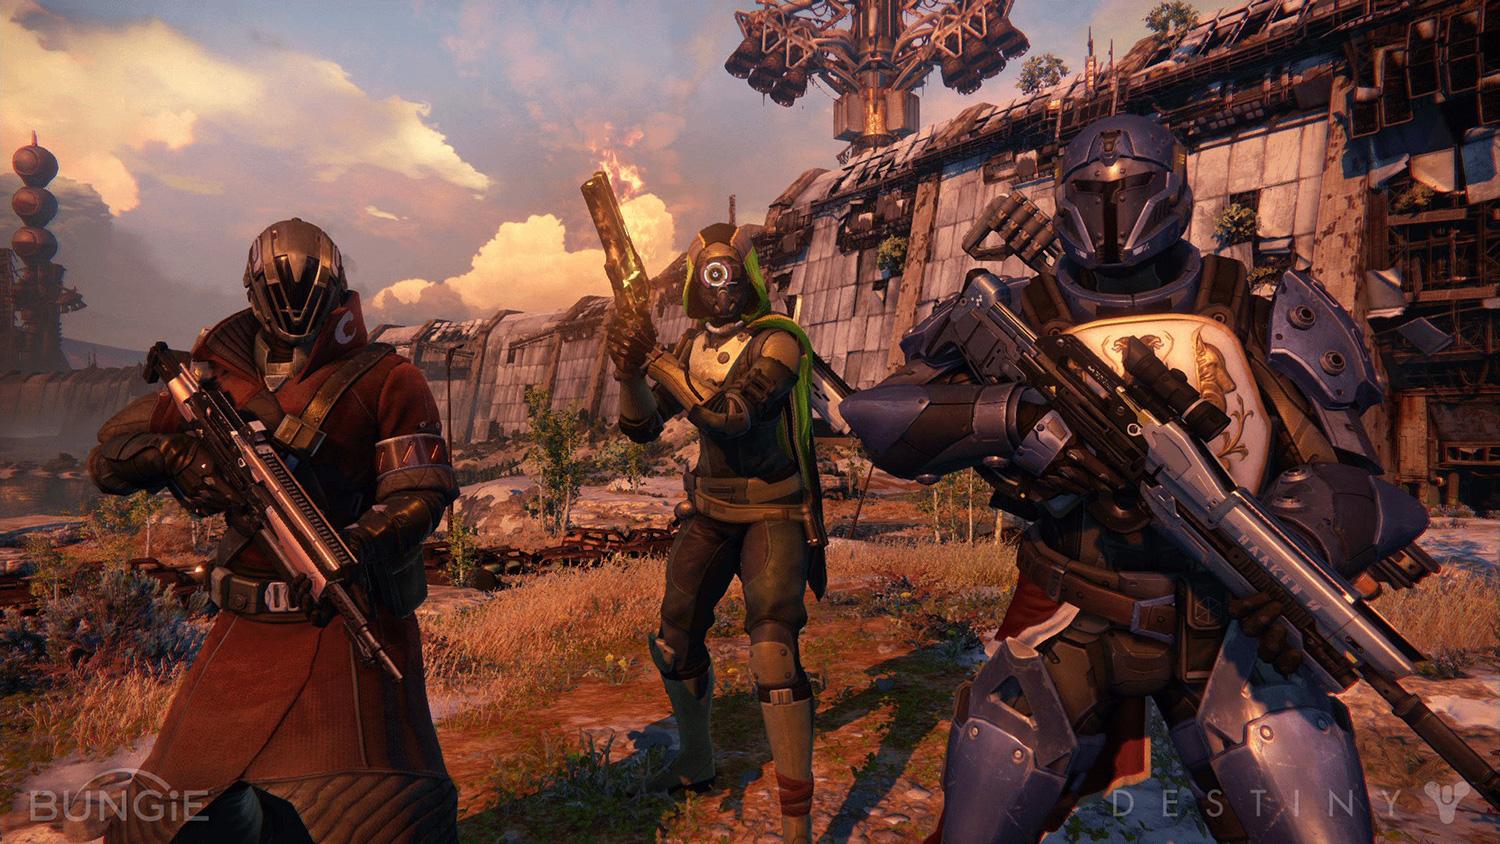
Destiny welcomes players in with a machine gun and a gauntlet of enemies to point it at. There’s very little preamble or tutorializing. You just follow the path in front of you until a gun appears in your hand, then shoot. Really, that’s an accurate summation of the game’s opening hours for most players. Bungie’s talents as a shootersmith are on full display, with the same “30 seconds of fun” mentality that informed the design of the Halo games playing out again and again in Destiny on an endless loop.
Eventually, you start to wonder about things. What is all this Spinmetal you’re collecting? Why do you not always get a new ability unlock whenever you gain an experience level? Are Weapon Parts useful, and where do you go to craft things with them?
Destiny is as bad about explaining things as it is good about giving you satisfying shooter gameplay. Fortunately for you, we’ve put 100-plus hours into the final game now, and we’ve got a good handle on how most of these systems work. Read on for a brief rundown of it all, along with some handy tips that’ll help you get the most out of your alien-blasting good times.
If you’ve already got a good handle on Destiny‘s systems, just click here for some advanced tips you may not know about.
Related: Take control of the Crucible with our Destiny multiplayer guide.
The basics
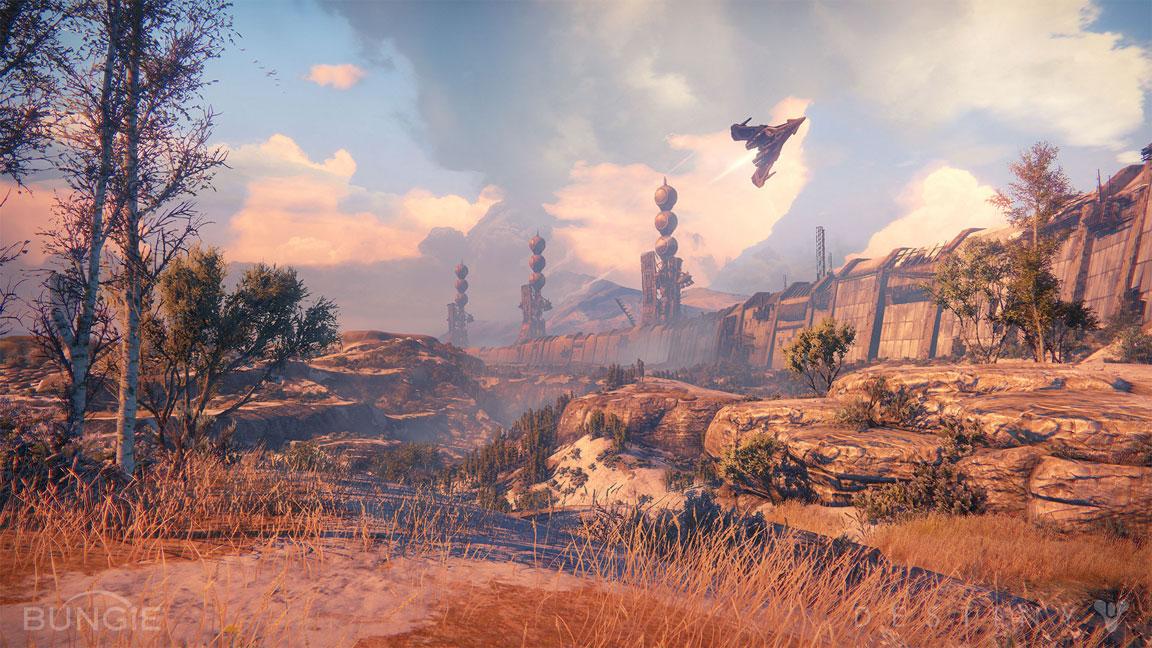
Each planet you can visit in Destiny amounts to a new mission area, with all of that planet’s story missions sending players off to visit different locations in a vast open world that can also be accessed and freely explored in Patrol mode. Story missions are more structured affairs, but they’re joined by Patrols and Strikes, which offer different ways to play.
The more you use a subclass and its skills, the quicker new unlocks open up.
Strikes: Strikes are multi-part missions with a focus on cooperative play. They’re like story missions on steroids, with bigger, badder enemies, large bosses, and a level of challenge that’s specifically designed to test three-player fireteams. You can’t tackle these solo; try to start one without friends in your fireteam and the game tosses you into a matchmaking lobby. The time investment is greater with a Strike, but so too are the potential rewards.
Crucible mode: There’s also Crucible, which is Destiny‘s player-vs-player mode. Early on, you’ll only have access to the basic point capture mode, Control. There are three locations on the map that either team can take control of by standing close to it. The team that holds the most points for the longest period of time wins. If you’re familiar with Call of Duty’s Domination mode, Crucible’s Control mode is that. Exactly that. Once you play a full Control match, the next mode unlocks; play that once to unlock the third mode, then play the third mode to unlock the fourth.
Fireteams: The social glue that holds all of this together is found in Destiny‘s fireteams. These are squads of Guardians — that’s what the game’s playable characters are called — that take on challenges together. Cooperative play in Destiny is limited to just three Guardians in story missions, Patrols, and Strikes, but competitive play fireteams and raid fireteams max out at six. You send invites from either the pause menu or by approaching a non-fireteam member and clicking R3, then following the button prompt to open a pop-up options menu. It’s a simple, familiar interface.
Leveling up and how it works
Destiny features a traditional leveling system, with earned experience points pushing you toward the next level, and the next, and so on until you reach the level 20 cap. That’s separate from how class skills operate, however.
Each class, Hunter, Titan, and Warlock, has two different subclasses, the second of which unlocks once you hit level 15. After you’ve got both unlocked, subclasses work in much the same way that gear does; you equip the one you want, and whichever one is equipped is the one you’ve got access to, both in terms of using its skills and unlocking new ones. The more you use a subclass and its skills, the quicker new unlocks open up.
The skill tree in Destiny can be a little hard to read at first. Here’s a look at the Hunter’s Gunslinger subclass, the one that’s unlocked by default:
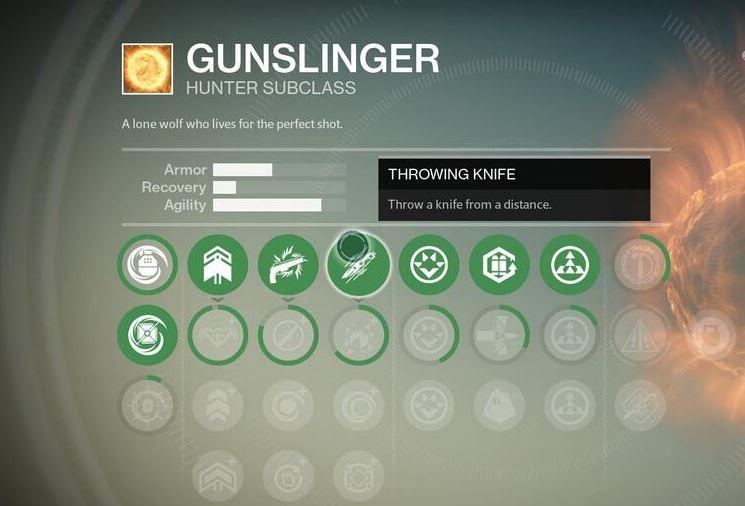
The layout doesn’t make this clear, but each of the eight columns across the screen actually relate to a set of connected skills or passive boosts. So the column all the way over on the left side is all grenades, the one just to the right of it concerns the Hunter’s jumping abilities, and so on.
There’s a choice attached to some of these. With grenades, you’ve got three different types to choose from (once they’re all unlocked), and the filled-in circle represents the one you’ve got equipped. You can swap to different grenades, class ability boosts, and other unlocks by opening up this screen and selecting them once they’ve been unlocked.
Weapons and armor work the same way. Common “white” rarity items don’t level up at all, but gear that has a green rarity or higher levels up over time, with use, in the same way that subclass skills do. Some of the better weapons use the same sort of column-style setup that the subclasses do for selectable unlocks. So you might have multiple scope attachments to choose from; simply pop into the weapon’s upgrade screen to select the one you want once they’re unlocked.
Related: Destiny offers lots of fun, but it struggles to escape from Halo’s shadow
It looks confusing at first because of the way the interface is laid out, but once you get a handle on the fact that each column of skill/unlock bubbles is connected, everything clicks.
Money, money, money (Glimmer)
Glimmer is the primary form of currency in Destiny. You get it for doing any number of things: Gunning down enemies, completing certain tasks, dismantling old gear, and the like. Standard RPG stuff. You can spend it however you like in the Tower, Destiny‘s social hub. New gear, speeder bikes, ship skins, and more are all there to be had. It’s all very straightforward.
There are also Crucible Marks and Vanguard Marks. Both factor into Destiny‘s endgame play, so they’re not much of a concern early on. You can start earning these, in the Crucible and co-op/solo play, respectively, once you hit level 18, and then spend your earnings to purchase the game’s most powerful weapons.
There are other endgame concerns as well, such as the ability to ally with factions (and earn faction-specific gear), but that’s outside the purview of this guide. All we’ll say here on factions is that you shouldn’t bother investing much time in building your faction reputation if you don’t plan do play much PvP in Crucible. Faction rewards all require Crucible marks, even though you can earn faction rep through non-PvP activities like Strikes and bounties. Faction rep replaces Vanguard rep gains when you wear a particular faction’s class item, so just be aware.
If you want to start setting yourself up for endgame play early, just be diligent about taking on bounties in the Tower and completing them. You can only have up to 10 bounties equipped at a time, and each one is specific to either Vanguard (blue icons, solo/co-op play only) or Crucible (red icons, competitive multiplayer only) challenges, but you can abandon claimed bounties at any time.
Tackling bounties helps get you set for hour 20 and beyond in Destiny, but there are also hefty XP rewards attached to them. Stack up on a bunch of easy ones like “Kill 100 enemies without dying” and “Complete six Patrol missons on [INSERT PLANET]” and you can really level up quickly. They also refresh every single day; the truly committed Destiny players carve out an hour or two every day to just knock out all the bounties.
Tips for the pros
Subclasses for all: Here’s a fun one. As soon as you hit level 15 with one of your characters in Destiny, the second subclass unlocks for ALL of them. So if you get to 15 with your Hunter and then start a brand new Titan the next day, you can equip the Titan’s second subclass right off the bat from the inventory screen.
Let’s say it again, just to be completely clear: The first character of yours to reach level 15 unlocks the second subclasses for all of your other characters, whether or not you rolled them already.
That said, class doesn’t mean a whole lot in the early and middle game. Sure, the choices you make dictate your how you jump and your special abilities, but all of the pre-level 20 play for these classes boils down to roughly the same patterns of combat. It’s a good idea to look at each subclass and figure out early on how you’d like to develop your character(s), but don’t stress about it too much. The endgame is where this stuff really starts to feel different, and where you’re better equipped to quickly level up previously ignored class abilities.
This goes for the weapons you use as well. Just go for the most powerful gear you can until the endgame. Sure, you might like that Hand Cannon, but the Auto Rifle you just picked up has more than double the stopping power. That’s the one you’ll want to use, until you can replace it with something even more powerful.
Crafting-lite: The crafting system in Destiny is very simple in comparison to similar systems in other MMORPGs, but it’s there. When you break down green rarity or better weapons and armor, you get weapon and armor-specific crafting components. Later, as you unlock blue rarity gear and better, you’ll notice that certain upgrades cost both Glimmer and some number of these crafting material to unlock.
In truth, your best bet before hitting the level cap is to just dismantle any old weapons that you’ve outgrown. You can always stash a few special items in the Vault (at the Tower) to share among your other characters, but all of the pre-level 20 gear is quickly outgrown and replaced. And remember: The more green-or-rarer gear you break down, the more crafting materials you save up.
Bounties, Patrol missions, and you: Bounties and Patrol missions serve very different purposes in Destiny, but there’s one common tie between them: You’re sometimes saddled with crap that’s not worth the time investment. That’s okay! There’s no requirement that you complete any of these once you accept them.
To cancel a Bounty you don’t want to pursue, hit the Start button and scroll over to the Inventory screen. You’ll see your active Bounties displayed at the bottom. Highlight the one you don’t want and follow the button prompt that pops up to cancel it.
Same thing with Patrol mssions. Some involve a lot of traipsing. Watch for Kill missions (diamond icon bracketed by four arrows, kind of resembles crosshairs) or Item missions (triangular icon), as both of these are easy to complete from any location on a given planet. Assassination missions (star icon with a circle surrounding it) are a little more involved, but they earn you more rep (25 Vanguard rep, vs. 10 for other Patrol missions), so they’re often worth it.
This isn’t a hard-and-fast rule. Other Patrol missions have value as well, especially on planets like the Moon and Mars, both of which can easily be circumnavigated without leaving your speeder bike. Though beware of any mission that sends you down into the Hellmouth on the moon; the time it takes to get down there then get out often isn’t worth the effort, even for Assassination missions.
Patrol missions can be abandoned at any time. Simply bring up your Ghost and press & hold the button next to the “Abandon Objective” prompt in the bottom-left corner of the screen.
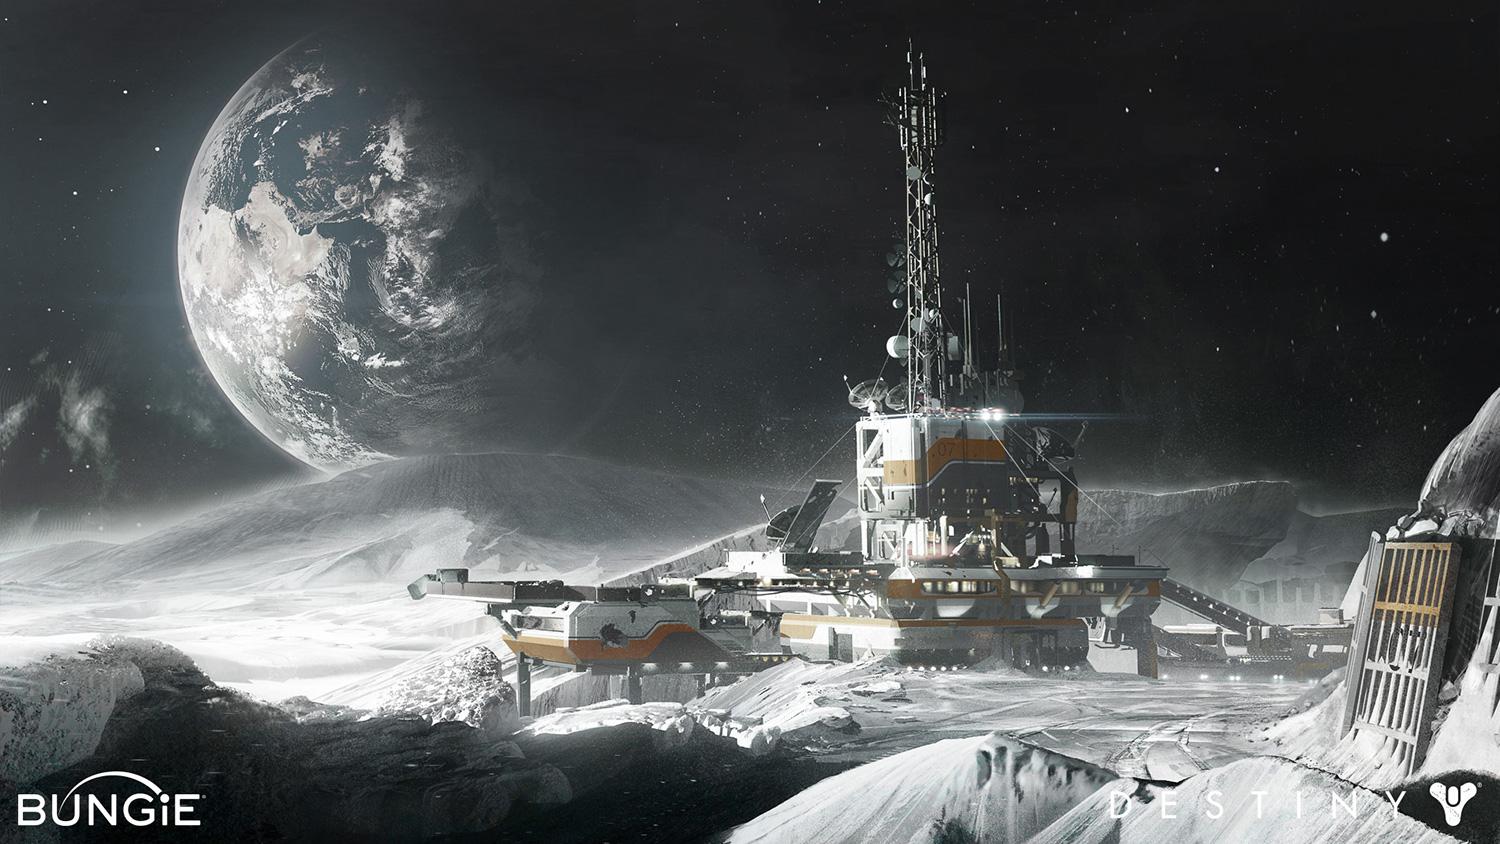
Harvest moon (and Earth and Mars and Venus): Each planet you’re able to visit in Destiny has its own collectible resource: Spinmetal on Earth, Helium Filaments on the Moon, Spirit Bloom on Venus, and Relic Iron on Mars. Much like Crucible/Vanguard Marks, these are more of an endgame concern, though it’s best to harvest them whenever you see them.
These crafting materials don’t play much of a role in the early portions of the game. You can spend them on rare gear upgrades if you like, but the gear turnover prior to level 20 often doesn’t justify the investment. It’s better to just grab them when you see them and hoard them for use in the endgame.
It’s possible to purchase bundles of 20 of a particular material by spending 10 Vanguard and Crucible marks at their associated Quartermaster vendor in the Tower, but again, that’s not something you really need to consider until the endgame.
Phat loot: Destiny is an RPG, so of course there’s loot. You can find new gear in loot chests, which most often appear in or just outside of the spawn caves scattered throughout each planet. Just look while you’re playing for little boxes with glowing green lights on them. Chests (and collected crafting materials) disappear about a minute after they’re collected, so make sure to communicate with your fireteam if you’re farming as a group.
You also get loot when a downed enemy drops it (look for glowing orbs that pop out of their corpses) or when it’s a quest reward. Most of the time, the gear you grab is a known quantity; check your inventory and highlight it to see its stats. Sometimes, however, you end up with an Encrypted Engram — particularly later in the game — which amounts to an unidentified piece of gear.
Getting a new toy ID’ed is as simple as heading to the Tower and visiting the Cryptarch (ahead and to the right of where you spawn in). He’ll have a green objective marker over his head whenever you have gear to decrypt. Don’t be too hasty though, since encrypted gear levels up with you.
Say you find an Encrypted Engram for a primary weapon at level 5, but you stash it in the Vault and promptly forget about it until you’re at level 15. If you go and get it identified then, you’ll find that it has stats appropriate to your current level. There’s something to be said for holding off on ID’ing anything prior to level 20 and just stashing it all in the Vault. It’ll be like Christmas (or whichever gift-giving holiday you celebrate) once you hit the endgame!
That’s it, for now. If you think we missed anything, or have a new pro tip we should add, reply in the comments below.
Editors' Recommendations
- Destiny 2: The Final Shape’s new subclass combines light and dark
- Destiny 2 studio Bungie hit by layoffs, internal game delays
- Destiny 2: Lightfall fails to deliver its Avengers: Infinity War moment
- Call of Duty: Modern Warfare II tips and tricks for multiplayer
- Destiny 2 Halloween event: details and rewards