Slime Rancher 2 is a relaxing game that’s meant to be played at your own pace. There’s no rush to complete any time-sensitive objectives, and you’ll get the most out of the experience by going with the flow and learning its nuances over time. However, Slime Rancher 2 doesn’t offer a very robust tutorial — making some of its esoteric systems difficult to understand.
If you’re looking to speed up your quest to become the best rancher on Rainbow Island, here are a few beginner tips for Slime Rancher 2. These range from basic concepts that are easy to miss at first (such as building a Farm) to learning how to manage the tumultuous Plort market.
Further reading
- Slime Rancher 2: release date, trailers, gameplay, and more
- The best games on Xbox Game Pass for 2022 (right now)
- The best Xbox Series X games for 2022
Go slow
The moment you load up Slime Rancher 2, you’ll have tons of Slimes, Plorts, and upgradeable gadgets at your disposal. And while it can be tempting to dip your toes into everything, that could be a costly mistake. Instead of spreading yourself thin and capturing every available Slime, try to focus your energy on gathering one or two types of Slimes along with the food needed to feed them. It’s one thing to have a ton of Slimes in your Conservatory, but it’s another thing entirely to be able to control them. In other words, quality is better than quantity when starting your journey.
Check your messages
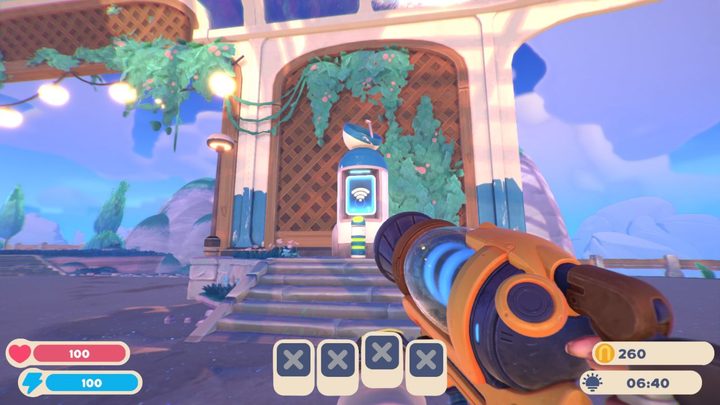
It’s easy to miss, but Slime Rancher 2 features a useful message system. When heading out of your Conservatory, you’ll notice a small kiosk right before stepping outside. This is where your colleagues can interact with you and send messages — many of which impart essential knowledge for your journey. Be sure to check it whenever you see an exclamation mark at this kiosk, as it means there’s something new for you to enjoy.
Build a Farm
There’s nothing quite like corralling hundreds of Slimes and having them greet you every morning before heading out on an adventure. But it takes hours of gameplay to get to that point — and getting there requires the development of Farms in your Conservatory. You’ll still want to head out and collect fruits and veggies, but creating a Farm at home gives you easy (and quick) access to food to feed your Slimes, which in turn leads to Plorts that can be used to earn Newbucks. Farms make it easy to keep your Slimes happy, and happy Slimes produce more money and are less likely to become restless and run away.
Keep an eye on the market
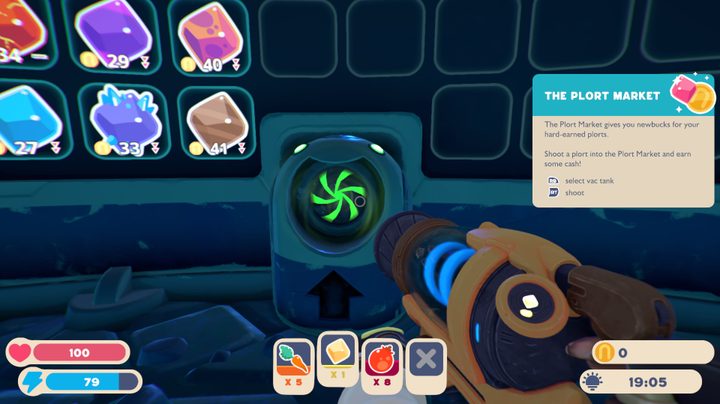
If you’re looking to build a thriving ranch, you’re going to need a lot of Newbucks. That means selling Plorts should always be at the top of your mind. Unlike most games, however, the cost of Plorts changes daily based on what you sold the day before. This means Plorts you sell a lot of will slowly decline in value, while Plorts that aren’t sold will go up in value. Be sure to keep a close eye on the market, as this will tell you exactly how many Newbucks you’ll get for each Plort. These marketplace values can be found on a gigantic board right behind your home.
An easy way to manage the market is by simply changing up the Plorts you deposit each day. Focus on Pink Plorts one day, Tabby Plorts the next, and mix in any other available Plorts to avoid diluting the market. Also, don’t be afraid to hold on to Plorts until their value climbs over the next few days.
Plan your trips wisely
Early in Slime Rancher 2, you’ll discover that much of your time will be spent heading out into the wild to gather resources or capture Slimes. It’s in your best interest to take a few moments to plan out what you hope to accomplish on these trips — otherwise, you’ll quickly become overwhelmed by resources (and with limited inventory space, it can be difficult to figure out what to bring home). If you want to keep things simple, consider breaking down your trips into either a food run for your captured Slimes, an expedition to capture new Slimes, or a Plort collecting trip.
Feed wild Slimes
Feeding captured Slimes and collecting Plorts is what you’re working toward, but early in the game, you might not have the gear at home to properly house all those Slimes. Because of this, it’s important to remember that you can still make tons of cash from wild Slimes. Simply throw food toward them, and they’ll eat it and produce Plorts just as captured Slimes do. This can be a great way to load up on Plorts and earn Newbucks without having to spend money to upgrade your Conservatory.
Build and upgrade gear
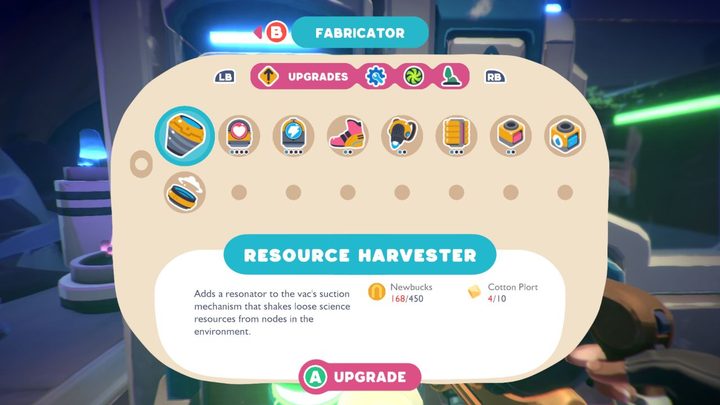
Speaking of upgrading your Conservatory, it’s important that you’re investing your money wisely. New players will find great returns on their investment when establishing a few Farms and upgrading one or two corrals (as opposed to building tons of corrals with few upgrades). Specially, we’d recommend springing for the High Walls upgrade for your corrals to help keep Slimes contained, along with the Air Net when you’re able to afford it.
Serve up a favorite dish
Slimes produce extra Plorts when fed their favorite food. Information about Slimes and their preferred dishes can be found in the Slimepedia — so be sure to check it out as soon as you discover a new Slime. You can access your Slimepedia at any time by pressing the Pause button. Select the Slimepedia button, scroll to the Slime submenu, and there you’ll find a list of all Slimes you’ve discovered.
Largo Slimes are vital

When a Slime is fed a Plort, it will turn into a Largo Slime. These are valuable, upgraded Slimes that offer traits of both their base Slimes. This means they’ll eat food from both diets and drop Plorts of both Slimes. Use this to your advantage by merging rare Slimes with common Slimes. For example, a standard Tabby Slime will only eat meat. However, if you feed it a Pink Plort, it’ll take on the diet of Pink Slimes — letting you feed it fruit or veggies (which are readily available in most locations). Once fed, Largo Slimes will produce a Plort for both its Slime types, essentially doubling your profit.
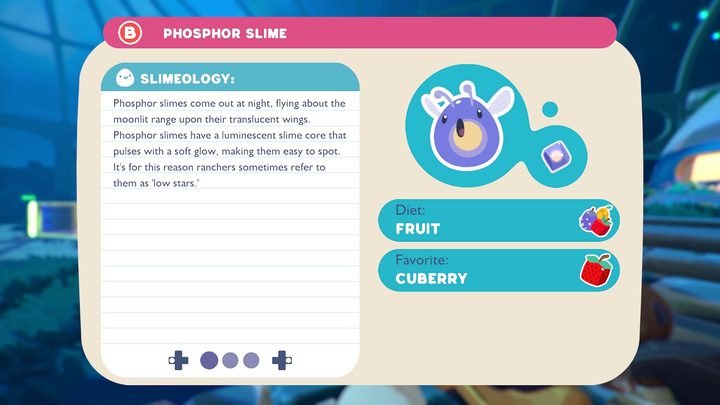
Phosphorous Slimes are worth the effort

They only come out at night (and require the Solar Shield coral upgrade to keep at your Conservatory), but searching for the elusive Slimes and upgrading your gear is more than worth the effort. Their Plorts are arguably the best way for new players to earn cash, and snatching up a couple will go a long way toward building up your home base.
Tarr Slimes can be defeated with water
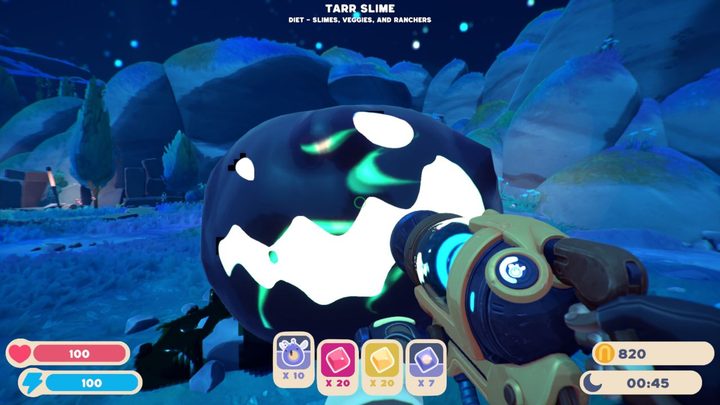
Sucking up Tarr Slimes and flinging them far away is one of your only defenses early in Slime Rancher 2. But eventually, you’ll unlock a variety of water-based gadgets — and since Tarr Slimes are vulnerable to water, consider purchasing one of these weapons as soon as possible. Also, keep in mind that Tarr Slimes are formed when a Largo Slime eats a third Plort. It can be hard to prevent this from happening, but you can reduce the likelihood by sucking up any Plorts sitting around your corrals.
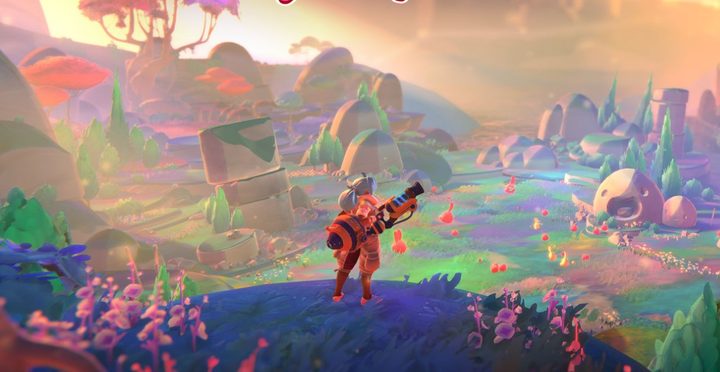
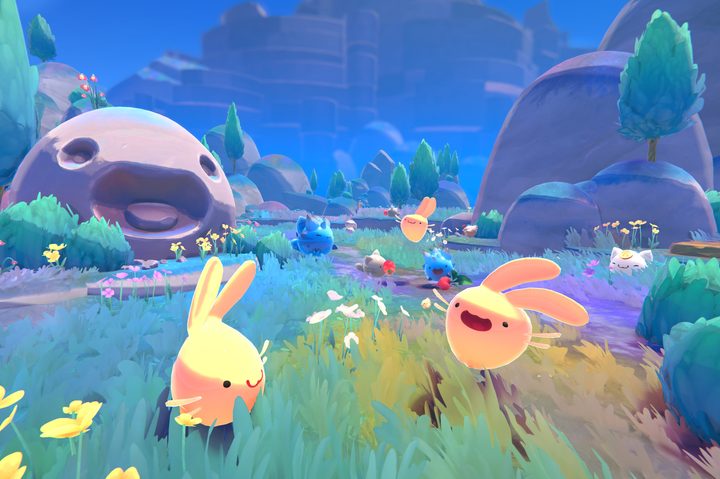
Explore as much as possible
Exploration is a huge part of Slime Rancher 2, so be sure to take time out of your busy day to get outside your Conservatory. Things change based on the time of day, making it important to revisit locations when the sun goes down.