Pairing your AirPods or AirPods Pro with a powerful MacBook is an experience like no other. Not only will you be able to enjoy features like Apple’s Spatial Audio, but you’ll be able to take advantage of multipoint connectivity between your computer and an iPhone or iPad. Of course, there’s also Apple’s intuitive dashboard controls, too, which you can assess right on your desktop screen. In order to dive into any of these capabilities though, you’ll need to get your Apple earbuds connected to your computer.
Fortunately, this is one of the easiest processes in the world of ecosystem devices. We’re not going to leave you stranded either, which is why we’ve assembled this step-by-step guide to getting your Apple audio paired to your Apple computer.
For AirPods already paired with an iPhone
Using AirPods on a Mac that are already paired with an iPhone is easy. Just make sure both the iPhone and the Mac are signed in to iCloud using the same Apple ID. But if your iPhone gets used by multiple people or you need a different account for your Mac at work, this option may not be possible.
Step 1: Turn the AirPods on, and pop them into your ears.
Step 2: On your Mac, click the Control Center icon located on the Menu Bar — it’s next to the Spotlight Search icon on Big Sur or later, and next to the Wi-Fi icon on Catalina.
Step 3: Select the AirPods listed on the drop-down menu. They typically appear as [Your Name]’s AirPods. A chime plays when the AirPods connect.
No other setup is needed! If the AirPods do not show up in the Control Center menu, however, move on to the next section.
For brand-new AirPods on MacOS
The first time you connect to AirPods on your Mac, you may notice it has more steps, taking a bit more time to set up. Still, the steps are easy to follow and relatively foolproof.
Step 1: Open System Preferences by either clicking the Gear icon on the Dock or by clicking the Apple logo in the top-left, then clicking System Preferences.
Step 2: Click Bluetooth, and verify that it’s turned on.
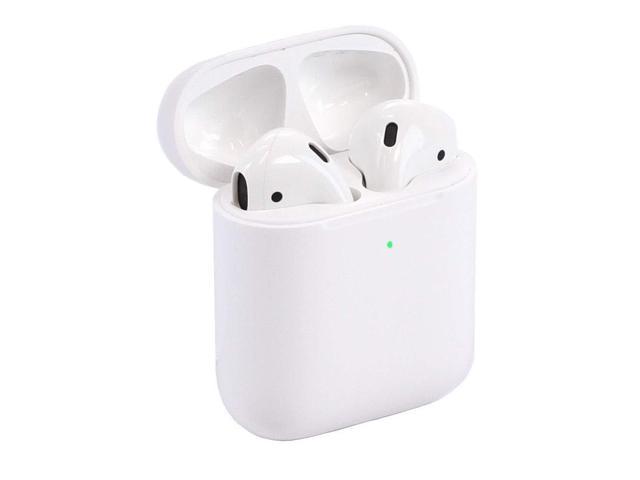
Step 3: Move to the AirPods, and place them in the charging case. Make sure the lid remains open, as shown below.

Step 4: On the back of the AirPod case, find the Setup button. Select and hold this button until the status LED flashes white. The AirPods are now in pairing mode.
Step 5: On the Mac, locate the Bluetooth menu. Under Devices, find the AirPods listed under Nearby Devices. Click the Connect button.
Editors' Recommendations
- Best laptop deals: Save on the Dell XPS 14, MacBook Pro 16 and more
- How to allow pop-ups on a Mac
- How to check the storage space on your Mac
- How to delete messages on your Mac
- This laptop beats the MacBook Air in every way but one


