Just like File Explorer on Windows, Finder on Mac is your go-to spot for files, folders, and apps. To make it easier to find what you need, the Finder sidebar is the handiest of tools.
You can modify the sidebar to include your favorite items, locations such as external storage, iCloud Drive, and tags you access regularly. Whether you’re new to macOS or simply haven’t taken the time to do so, we’ll show you how to customize the Finder sidebar on Mac.
Hide, show, and resize the sidebar
To take advantage of the sidebar in Finder, you must first display it if you don’t see it. From there, you can resize it or hide it again if needed.
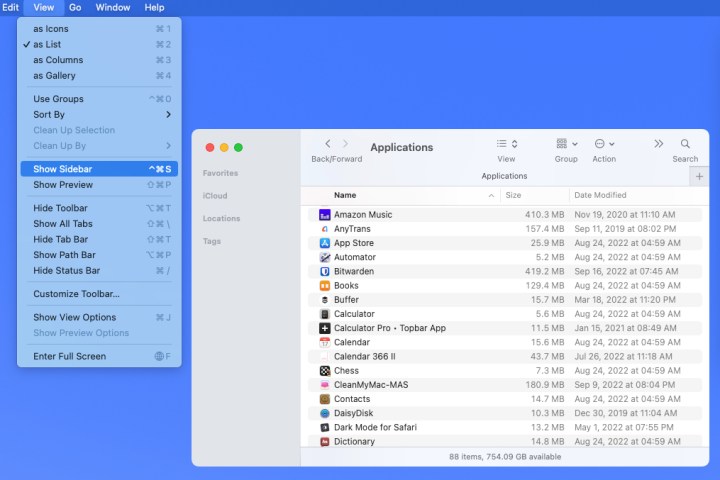
Step 1: To show the sidebar, open Finder and select View > Show sidebar. You’ll then see the sidebar on the left side of the Finder window.
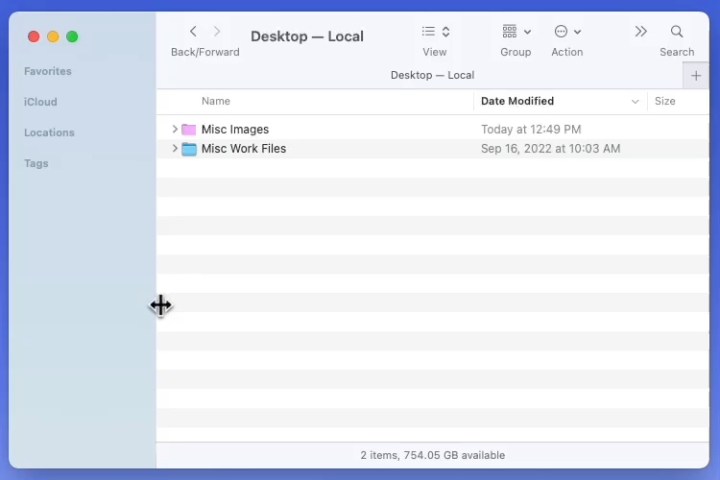
Step 2: To resize the sidebar, place your cursor on the divider on the right side of the sidebar. When your cursor changes to a double-sided arrow, drag left or right to resize the sidebar.
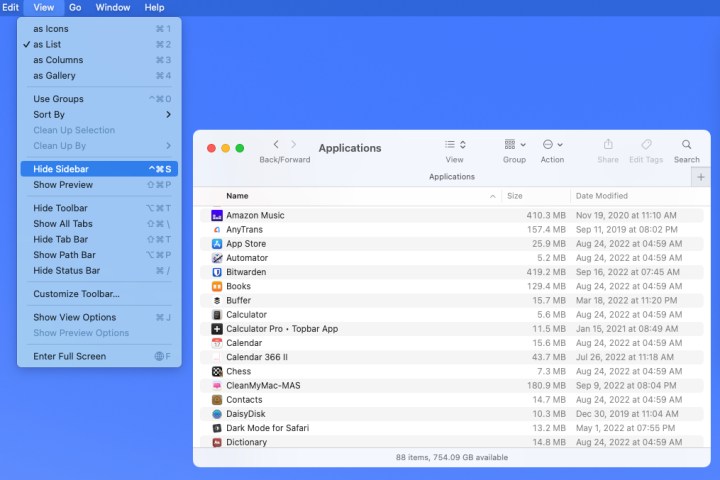
Step 3: To hide the sidebar at any time, return to View in the menu bar and choose Hide sidebar.
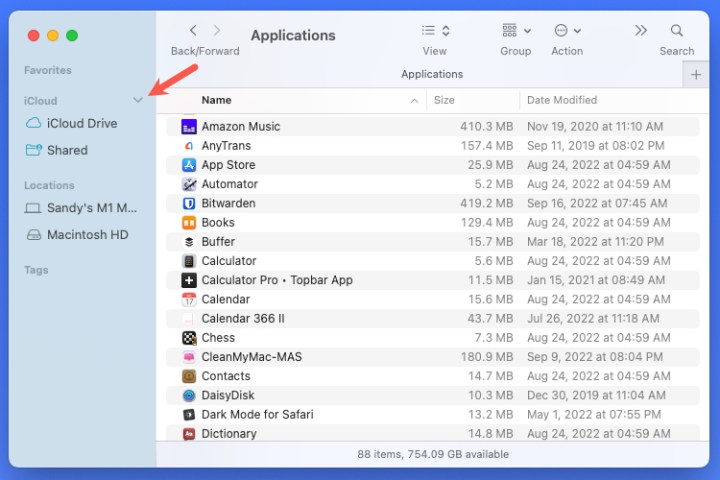
Choose what displays in the sidebar
As mentioned earlier, you can choose what displays in the Finder sidebar. This is a good time to think about the locations, tags, or favorite items you use most. Once you place them in the sidebar, they’re always there for you to open with a click.
Step 1: With Finder active, select Finder > Preferences in the menu bar.
Step 2: When the window opens, head to the Sidebar tab.
Step 3: You’ll then see four categories of items to display in the sidebar, including Favorites, iCloud, Locations, and Tags.
Check the boxes for those items within the categories you want to display. You must choose at least one item from a category for that category to show up in the sidebar.
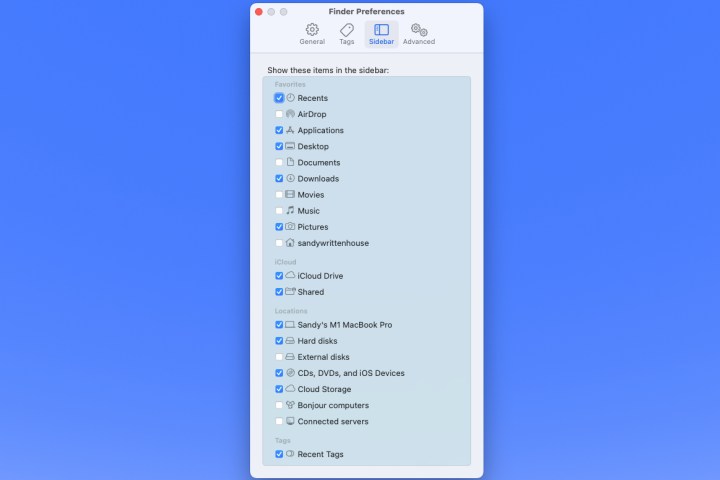
Step 4: Use the X on the top left of the Finder preferences window to close it when you finish.
You’ll then see those items you’ve chosen appear in the collapsible sections in the sidebar. Use the Arrow on the right side to expand or collapse a section.
Add, rearrange, or remove items from the sidebar
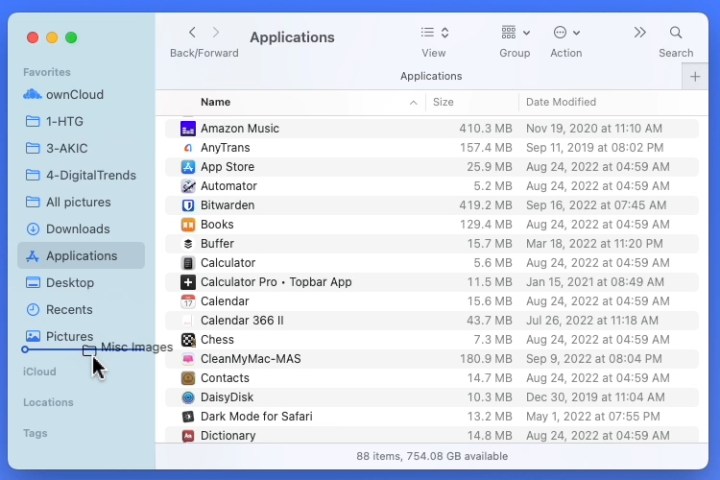
Along with choosing the items you want in Finder Preferences, you can add other files, folders, apps, and disks you use often to your sidebar.
When you drag one of these items into the sidebar, you’ll put it in the Favorites section at the top. So, expand that section to get started.
Step 1: To add a folder or disk to the sidebar, drag the item into the Favorites section. Be careful to only release the item when it appears as a line between the other items.
If you see a folder in the Favorites section highlight instead of seeing the line, then the item will be placed into that folder instead of in the sidebar.
Step 2: To add a file to the sidebar, hold your Command key as you drag it into the Favorites section. Again, be sure to only release when you see the line for the item’s location.
This creates a shortcut to the file, so the file still resides in its original location.

Step 3: To add an app to the sidebar, hold your Command key as you drag the app icon into the Favorites section. When you see the line indicating its location in the list, release the app and then the Command key.
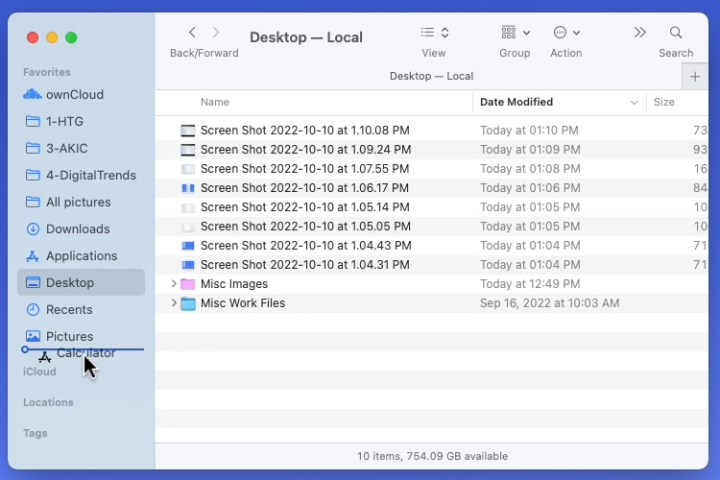
Step 4: To rearrange items in the sidebar, simply select, drag, and drop an item where you want it. You can do this for items in all four categories.
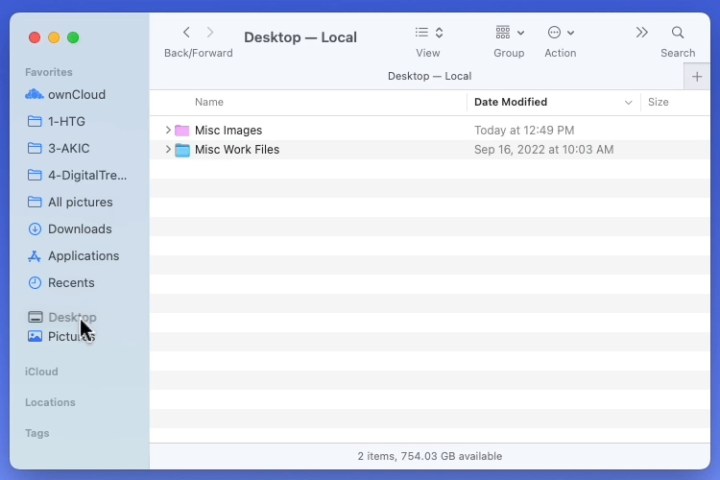
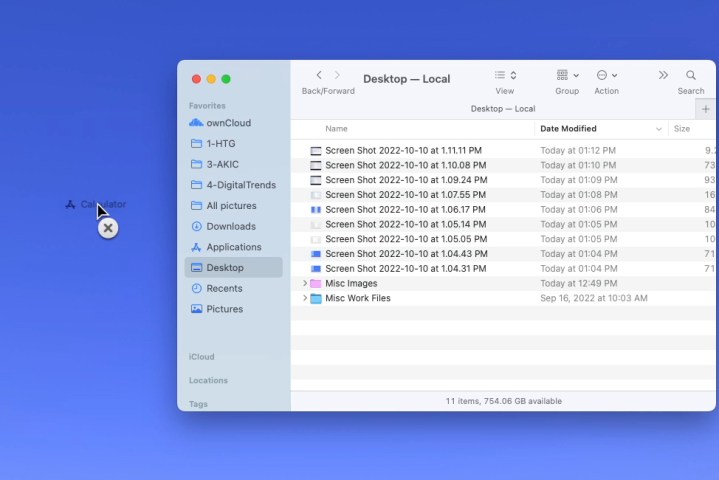
Step 5: To remove a folder, disk, file, or app from the sidebar, select the item and drag it out of the sidebar.
When you see the X appear next to the item, release. This does not place the item on your desktop or delete it from your Mac; it merely removes it from the sidebar.
Making good use of that convenient Finder sidebar can save you time when tracking down items you use the most.
For more, take a look at other tips and tricks for your Mac.
Editors' Recommendations
- 4 high-end features Windows laptops still have over MacBooks
- How to connect an iPhone to a Mac with or without a cable
- How long do MacBooks last? Here’s when you’ll need to buy again
- How to play Fortnite on a Mac: all methods, explained
- Here are 5 macOS 15 features that I can’t wait to see