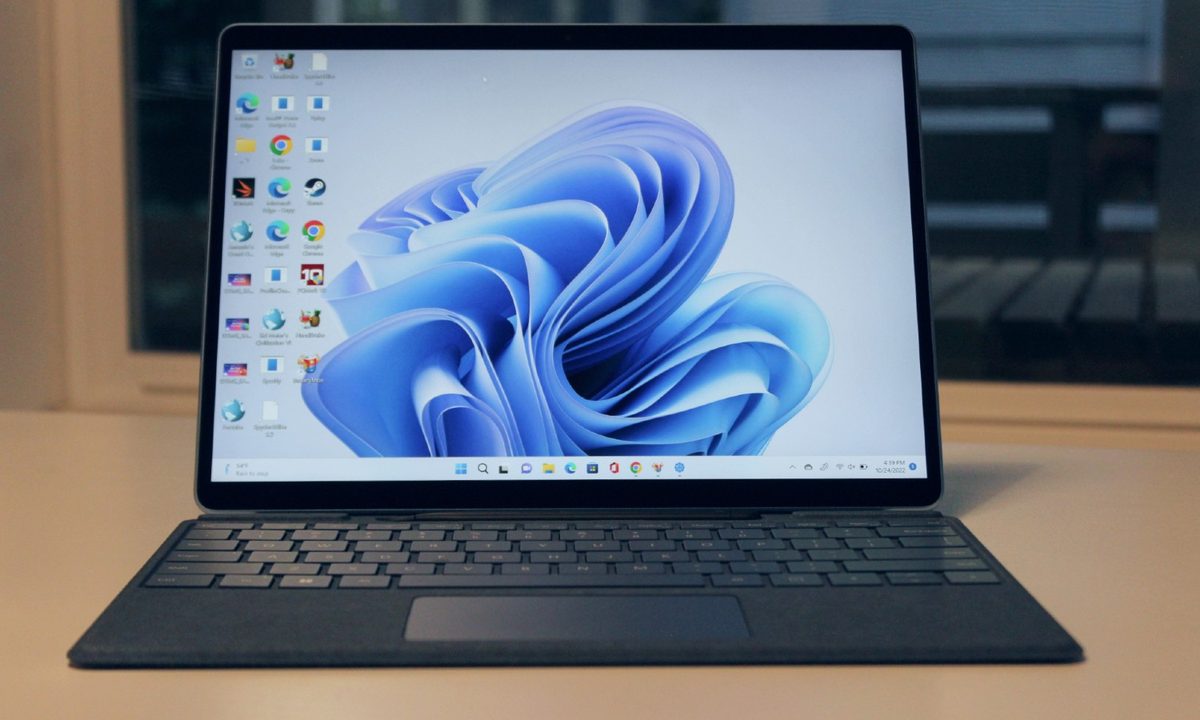
In daily use of Windows 11 or Windows 10, you might notice that a lot of the things you do are repetitive. As soon as you turn on your PC, you might end up launching a specific app like a web browser. You might even be launching programs in tandem, like Slack, Teams, and Microsoft Office.
If you're hoping to be more productive and save time, automating these tasks to happen on their own without a mouse click or a keyboard as soon as your PC boots up is something to consider.
You don't have to just automate productivity-related tasks, either. You can automate system tasks like shutting down your Windows 11 PC at a specific time of day to save power. We'll cover two tools that can help you do this: the native Task Scheduler tool in Windows, as well as Microsoft's Power Automate app. Both should help make your life easier.

How to automate tasks using Task Scheduler
The top way to automate tasks in Windows is by using the Task Scheduler. With this system tool, you can create scripts that turn on at a specific time on your PC. There's a script available for pretty much anything you can think of. Just be warned, this tool can seem a little daunting to use since the interface isn't quite as intuitive. But don't worry, we'll guide you through the steps right here for launching a program upon boot-up of a PC.
Step 1: Open the Windows Start Menu and search for Task Scheduler, then select on the top result.
Step 2: In the open window, under Actions in the sidebar, choose the Create Basic Task option. You can give the task a name or a description if you like.

Step 3: Select Next and choose when you want the task to run. You can pick daily, weekly, monthly, one time, when the computer starts, when I log on, or when a specific event is logged. For our case, we are choosing the When i log on option since we'll be launching apps.

Step 4: Pick the action you'd like. We chose the Start a program option and then navigated to where the program is saved. That's typically in the Program Files folder. Click Open to confirm.

Step 5: Choose Next to view the summary page, as seen below. You can save it by selecting Finish

Step 6: At any time, you can select the Task Scheduler Library section in the sidebar to see all the tasks you've created or that are running. Simply select the task, then Delete to remove it if you're no longer pleased. Or choose Disable to disable the task.

How to automate tasks using Power Automate
As a second option, you can use Power Automate to automate tasks in Windows. This is a tool you can download from Microsoft. Power Automate works just like Task Scheduler in that you can create scripts, some of which can be more complex.
Step 1: Head to Microsoft's website and download Power Automate.
Step 2: Launch the installer, and follow the steps on your screen. Sign in with a Microsoft Account.
Step 3: Once the app is installed, choose Examples at the top of the application. You'll see various examples for how to use Power Automate. We suggest looking at the Desktop Automation option for tips on how to get started. You can customize these tasks to your liking and save them as new ones.
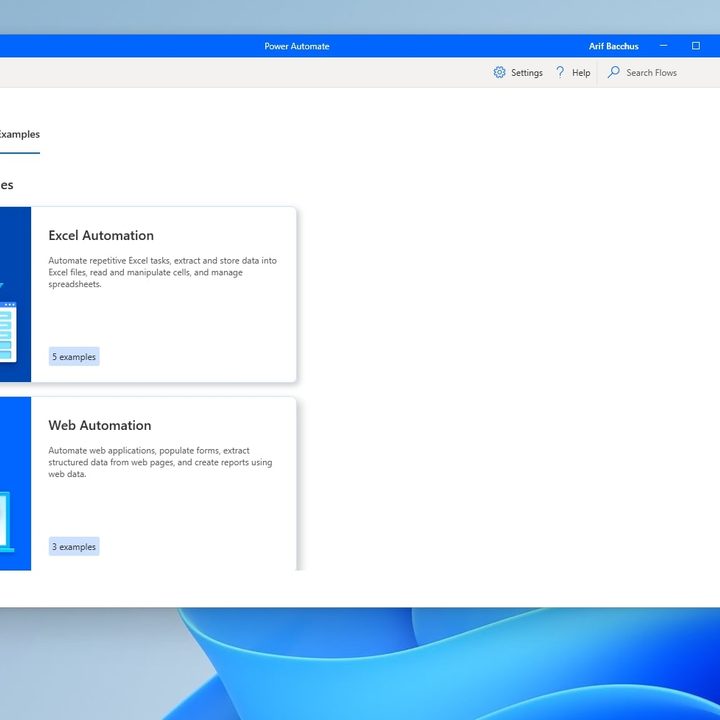
Step 4: You can select the Pencil icon next to any example task to get started with creating an automation. It will open in a new window. In our example, we're choosing the Open a folder option.
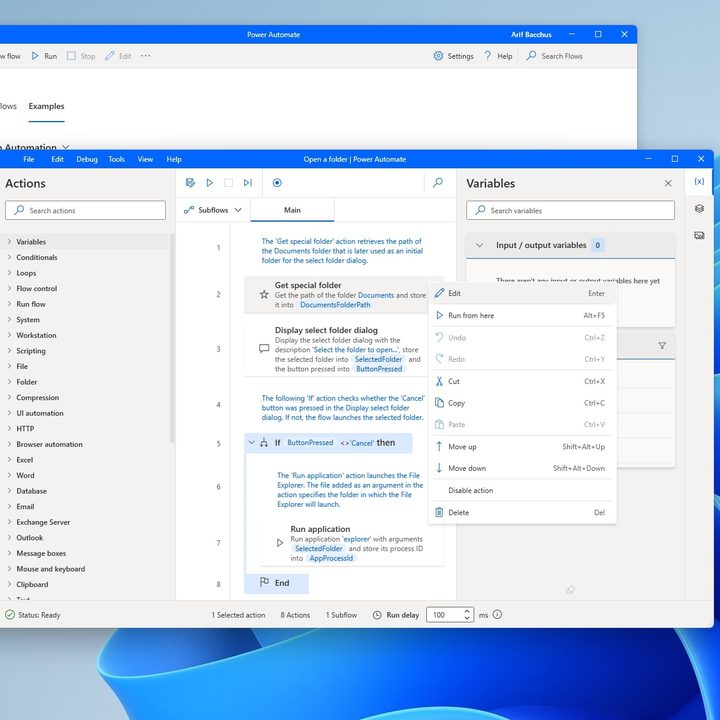
Step 5: Click the downward-facing dots next to each step under Main to edit it according to whatever task you want to complete.
Step 6: When you're done editing the task, select the Save as option at the top of the open window to save it.
Step 7: Close the open window. You'll see your tasks under My flows in the main Power Automate app.
Even though Task Scheduler and Power Automate are two of the easiest ways to automate tasks on Windows, there are other options. Both of these options are free, but you also can consider some paid apps that help you build macros, like Simple Macro Recorder. There's also JitBit Macro Recorder.
Aside from automating application launches, these tools can help with other tasks, such as automating taking a screenshot in Windows 11.