Weekend Workshop: How to build an uber hip DIY turntable wall clock

weekend workshop diy turntable clock 040216
Image used with permission by copyright holder
Need something to keep you busy this weekend? Look no further. The Weekend Workshop is our weekly column where we showcase a badass DIY project that you can complete with minimal skills and expertise. We’ve dug through all the online tutorials on the Web, and gone the extra mile to pinpoint projects that are equal parts easy, affordable, and fun. So put on your work pants, grab your tool belt, and head to the garage — it’s time to start building!

Be it the hipster movement or an affinity for antique goods, but turntable record players have no doubt burst back onto the music scene over the past several years. While streaming music services like Spotify and Apple Music have made listening to music as easy as picking up a smartphone, a large group of audio aficionados have turned back time in favor of vinyl records and old-school turntables.

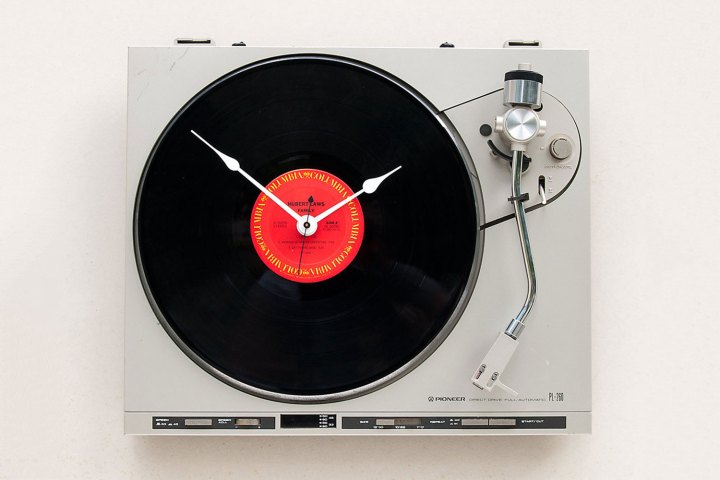
But what if instead of using that old record player to pump out your favorite tunes, you instead fashioned it into an uber-hip wall clock? Well, this is exactly what a savvy DIYer just accomplished and what’s perhaps most impressive, is that anyone that’s even slightly skillful with a set of tools can pull off this very same feat in just a few hours. According to a comprehensive walkthrough posted to Instructables, a user known as Baptar devised a way to make and old turntable tell time by simply installing a clock mechanism, attaching a few clock hands, and connecting it to a couple batteries.

To help you get a jump on constructing one of these delightfully retro wall clocks, we’ve sifted through Baptar’s walkthrough to find the exact list of required accessories needed for the build. It’s recommended you find a turntable of a similar style to the one used in the walkthrough as the necessary cuts and fittings will be largely the same as what baptar explains. As for the vinyl record you choose to fixate in the player? Go wild with it, this part is completely up to you. Here’s everything you’ll need to get started:

Tools:

  • Grinder
  • Power drill

Materials: 

  • Set of clock hands or needles
  • Turntable
  • Vinyl record (can be any color you desire)
  • Clock mechanism
  • Strong iron wire
  • Nuts
  • Screws
  • Alkaline battery (1.5V)
  • Battery (9V)
  • LED light

Once you’ve gathered all the required tools and materials, it’s now time to start in on building your very own turntable clock. Simply follow the clearly laid out walkthrough posted to Instructables by Baptar and before you know it, you’ll be rocking the hippest clock in your neighborhood. Happy building!

The entire step-by-step walkthrough on building this vintage vinyl turntable clock can be found here.

Rick Stella
Former Digital Trends Contributor
Rick became enamored with technology the moment his parents got him an original NES for Christmas in 1991. And as they say…
How to reset the Nanoleaf Skylight
The Nanoleaf Skylight lighting up a room various shades of purple.

The Nanoleaf Skylight is a unique piece of hardware. Unlike most Nanoleaf products that are quick to install or easy to move and replace, the Skylight is designed as a permanent fixture in your home. Instead of simply plugging it into an electrical outlet, you'll need to hardwire it onto your ceiling – and once it's in place, you'll want it to stay there for years.

However, like all electronics, it's possible for your Nanoleaf Skylight to start acting up. And since there's no easy way to get the entire unit down from your ceiling, you might be wondering how you can quickly solve the problem. Thankfully, Nanoleaf designed a simple way for you to reset the Nanoleaf Skylight without the need to disassemble the entire setup.

Read more
Roborock S8 MaxV Ultra vs. Narwal Freo X Ultra: Which is the best premium robot vacuum?
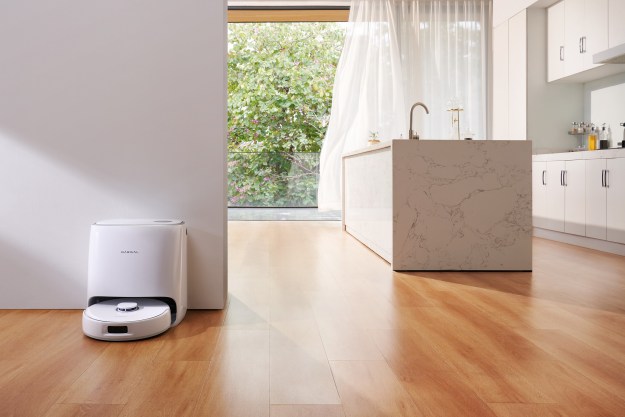
Narwal Freo X Ultra with dock in home

Few robot vacuums and mops are as well-rounded as the Roborock S8 MaxV Ultra and Narwal Freo X Ultra. The two premium robots will vacuum and mop entirely on their own, before returning to their docks to automatically clean their mopheads and empty their dustbins. That sort of functionality doesn't come cheap, with both products carrying hefty price tags that'll put a big dent in your budget.

Because they're so expensive, you'll want to pay close attention to the differences between these two robot vacuums. Both are great additions to any household, but one might be a better fit for your needs than the other.

Read more
Roborock S8 MaxV Ultra vs. Roborock S8 Max Ultra: Which is the better robot vacuum?
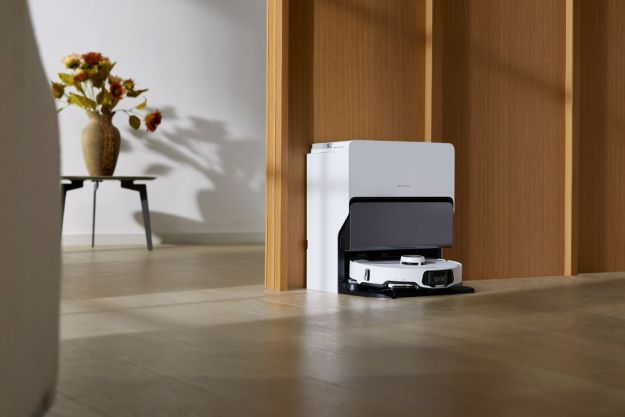
The Roborock S8 MaxV Ultra placed in its dock.

The Roborock S8 MaxV Ultra and Roborock S8 Max Ultra are two of the newest additions to the Roborock family. Along with having almost identical names, these robot vacuums share much of the same spec sheet -- including the ability to mop and vacuum in a single cycle before automatically emptying their dustbin and cleaning their mops. They're impressive gadgets by all accounts, but since they're wildly expensive, you'll want to carefully compare the Roborock S8 MaxV Ultra and Roborock S8 Max Ultra before adding one to your home.

If you need help, here's a comprehensive look at these two premium robot vacuums, including a comparison of their vacuuming and mops skills, a look at their docking station perks, and a final determination of which is likely best for your needs. Keep in mind that you really can't go wrong with either product -- after all, they're two of the most expensive robots in the category -- but one might be a slightly better fit for your household than the other.
Pricing and availability

Read more