
Thanks to Windows Hello, unlocking and logging in to your Windows 11 devices is easy and secure. From Apple’s FaceID feature found on iPhone, or the fingerprint and face scanners found on Android devices, physical text passwords are slowly becoming a thing of the past.
Confused about how to get your Windows Hello credentials set up? Just follow these simple steps.
Setting up a Windows Hello webcam
Step 1: Check for compatibility

If you’re using Windows 11, the Windows Hello facial recognition, PIN, physical security key, or fingerprint recognition authentication systems are included by default. The same is true for computers with Windows 10 preinstalled. In both cases, you will receive a set up prompt for Windows Hello during the first boot of your device. If you skipped it, you can follow the steps here. Screenshots from Windows 11 and Windows 10 are provided.
You need a Microsoft account for this to work. If you have set up Windows 11 without a Microsoft account, a new account is required.
Microsoft has a list of devices that support Windows Hello, but you can also check your PC for native Windows Hello compatibility by heading to the Start Menu and typing Windows Hello (alternatively use the Windows + I keyboard shortcut then Accounts and Sign-in options). Then click on the Sign in Options result, and launch the settings app. In older versions of Windows, if you see a big Set Up button under where it says Windows Hello, you’re good to go. If it doesn’t provide the option, your device may not support the feature.
If your device doesn’t have one embedded, you can buy an external Windows Hello webcam and hook it up to your computer via USB. You can also buy an external fingerprint reader as another option.
Step 2: Verify your identity

Next up, you’ll want to click on the Set Up button to get started. You’ll receive a prompt that explains what Windows Hello does, and then you’ll want to click Get Started.
Windows 11 will then ask you to verify your identity with your existing password. It could be the password for your Microsoft Account, or a pin that you assigned during the boot of your device. You’ll have to enter that in to let you set up the rest of the login.
Step 3: Scan your face!

Once you verify your identity with the set up prompt, it’s time to scan your face. There’s no need to take off your glasses or change the lighting. Windows Hello is designed to read your face in any conditions, but it is best to make sure you’re in a well-lit room.
Also, be sure to keep your face centered in the frame, and make sure you’re looking directly at your webcam as Windows analyzes your facial features. A box will appear around your face, and fill to show you the progress that the set up has made. You might also notice circles appear around your face, marking its unique features. The process shouldn’t take longer than a minute.
Step 4: Improve recognition, if needed
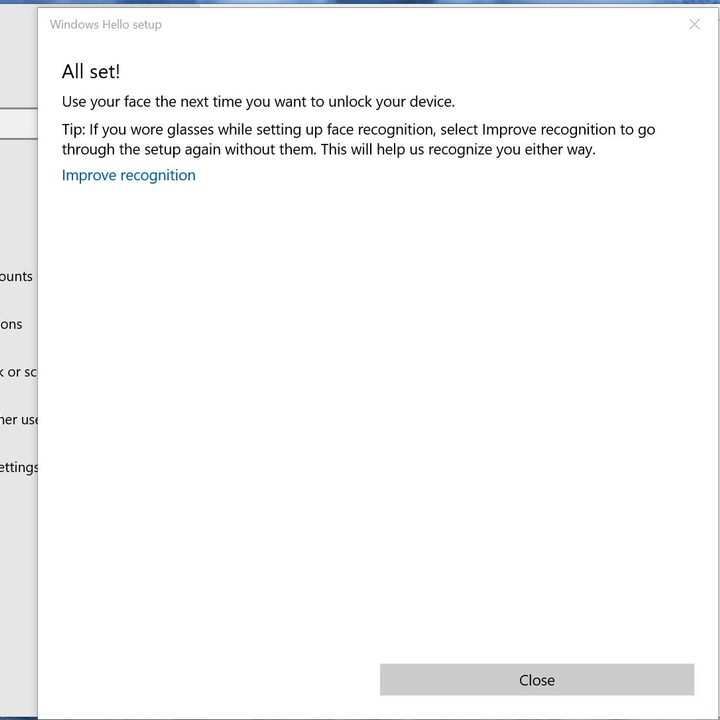
If needed, you can click on the Improve Recognition prompt on the next page to improve the way Windows Hello will recognize your face.
This is best if you’re wearing glasses, have any piercings, or if you opted to wear glasses during the set up. You always can do this later by heading back to Windows Hello settings as we described above, an clicking the Improve Recognition button.
Setting up a Windows Hello fingerprint reader
Step 1: Plug in your USB and install drivers
If your device has an internal fingerprint reader, you can skip to step 2. Otherwise, start here to set it up. First, plug in the fingerprint reader to your computer’s USB port. Allow Windows to install the drivers, and then proceed to the next step. It shouldn’t take longer than 2 minutes.
Step 2: Head to settings to set up the fingerprint reader

Next, you’ll want to head to your Windows 11 settings to set up the fingerprint reader. Just as before, head to the start menu and type Fingerprint.
Then, choose set up fingerprint sign-in from the list of results. You should then be taken to the main settings page, where you can begin the set up.
Step 3: Start swiping your fingers

Once at the settings for Windows Hello, you’ll need to verify your identity with a pin or password. You’ll then be greeted by an explanation of how Windows Hello works. Keep on clicking through, and then click Get Started. You can then swipe your fingers on the reader so Windows 11 can receive your fingerprint data.
On older laptops, you’ll need to swipe your finger on the reader, but on newer laptops, you’ll just have to tap your fingers roughly six times on the sensor. Once done, that’s it! If needed, you can add extra fingers to Windows Hello. The set up will prompt you to do so. Or you can visit the main settings page to add again later.
Benefits of Windows Hello
Once you’ve set up Windows Hello, there will be several benefits. First off, you’ll immediately be able to sign in to your PC, without having to enter a password. Additionally, with Windows 11 and later releases of Windows 10, you also can use Windows Hello to sign in to certain websites, like the Microsoft Account page, or eBay. You can also use passkeys in Windows 11 with Windows Hello.
Finally, there are certain apps which are compatible with Windows Hello, including Dropbox, OneDrive, OneLocker Password Manager, and more. With Windows Hello, you’ll be able to not only secure your PC but also its files and apps. Oh, and if you factory reset Windows, you’ll need to set Windows Hello up again.


