In Deathloop, Bethesda’s latest release, players continue living the same day over and over until they’ve gathered enough information on eight targets in need of assassination. Deathloop combines all the frustration of Dark Souls with the feel of Dishonored and Bioshock while keeping things humorous with witty dialogue exchanges between rival assassins Colt and Julianna. If you’re beginning your Deathloop journey, here are some helpful tips and tricks to get you started.
- Die, die, die
- Auto-aim model: Friction/ironsight snap
- Grind the Wenjie missions to unlock Infusion
- Complete the Julianna Visionary Lead first
- Get all the Slabs
- Get Frank’s gun
- Set invasions to friends only
- Use and upgrade the Nexus Slab
- Must-use character Trinkets
- Ideal loadouts and weapon Trinkets
- How to use weapon trinkets the right way
- Kill visionaries whenever you can
- Hack and take cover
- Turrets have batteries!
- Deathloop preview: A madcap mix of Hitman and Dishonored
- The best PS5 exclusives
- PS5 vs. PS5 Digital Edition
Die, die, die

Above, we mentioned that Deathloop harnesses all the frustration of Dark Souls. That’s because it isn’t a game you’re supposed to survive, at least not for the first few runs. Every time you die, you’ll wake up on the same beach you had before. However, you’ll be armed with anything you learned from the previous loop. Eventually, you’ll start saving your weapons, Trinkets, and Slabs through Infusion, making every subsequent loop much easier.
So don’t be afraid to take risks in the beginning. With no penalty other than wasted time, don’t be scared to run guns blazing into Aleksis’ party on your first night in Updaam. Kick the door in on Charlie Montague’s alien invasion game, or challenge all 15 Wengie clones to a game of shoot-’em-up. While pure gun skill may prevail, you’ll get a decent lay of the land in these areas. Like Dark Souls, enemies will spawn in the same place and follow the same motions. Once you’ve figured out these patterns, it’ll be much easier to sneak your way through and take them all down one by one.
By default, Colt is equipped with the Reprise Slab, allowing him three lives through each loop. Remember, these don’t reset between times of day (morning, noon, afternoon, and night), so if you die twice in the morning, you’re better off dying a third time and restarting the day.
Auto-aim model: Friction/ironsight snap

If you’ve played Red Dead Redemption or Call of Duty Zombies, you’ll know what this is. With friction/ironsight snap turned on, your camera speed slows slightly near potential targets (aim assist). When your crosshairs are near a target, they’ll snap onto the target when you aim down sights. Since Deathloop is a primarily PvE experience, why would you handicap yourself and not play with these settings? To turn this setting on:
- Press Start while exploring Blackreef or at the central hub.
- Selection Options.
- Under Controls, scroll down to Auto Aim Model.
- Toggle Friction/Ironsight Snap on.
This aim-assist setting makes your life so much easier, especially in the early stages of the game when all you have to your name is a jam-happy LIMP-10.
Grind the Wenjie missions to unlock Infusion

The most important thing you can do for yourself in Deathloop is grind until you unlock an arsenal lead called Ubiquity. Ubiquity starts the Wenjie storyline and ends with you unlocking Infusion. Infusion is what allows you to keep your gear between loops. Before Infusion, you’ll be starting each loop with a base LIMP-10, the double jump personal Trinket, and the reprise slab.
Once you unlock Infusion, you can save your favorite weapons, slabs, and trinkets between loops. While speedrunning Deathloop isn’t possible at first, you can grind through the infusion mission pretty quickly. Just be sure to sneak through Wenjie’s lab in the complex and assassinate every Wenjie clone. Thankfully, they’re all marked by a waypoint in groups of three. There isn’t a “main Wenjie,” so you have to kill all 15 to officially “kill her.”
So how does Infusion work in Deathloop? You’ve probably noticed glowing objects scattered around Blackreef. These are full of Residuum — essence left behind between loops. Once you’ve unlocked Infusion, you can suck up Residuum from these objects and collect it from dead visionaries. You’ll use Residuum to infuse items in your inventory to keep them between loops. Of course, the better the item, the more Residuum it costs. You can sacrifice duplicates or things you don’t want for extra Residuum. However, Residuum doesn’t carry over between loops, so make sure you spend it before restarting your day.
To harken back to Dark Souls, Residuum is like your soul count. If Colt dies, you’ll have to return to your body and suck up the Residuum you left behind. Thankfully, you can die again without losing anything, and you’ll have to return to both bodies to reclaim the lost Residuum. However, if you die a third time and restart the loop, all that Residuum is lost. Falling to your death isn’t as unforgiving as it is in Dark Souls. Colt’s body will remain in a safe area several steps before you accidentally jump off a cliff.
Complete the Julianna Visionary Lead first

Now that you’ve unlocked Infusion, the first lead you should complete is Julianna’s. Her questline begins with a mission called Radio Silence. We won’t spoil anything else about these missions. However, we will say they answer several questions you’ll have if you decide to skip this mission initially. Specifically, Radio Silence teaches you how to unlock those Horizon Doors you keep seeing all over Blackreef, the ones with a nearby switch that reads “requires power.”
This lead also dives deep into Colt and Julianna’s relationship and is worth playing first to set the stage for the story yet to unfold. The last thing we’ll say is that you don’t want to learn the correct order of operations for killing the other visionaries before completing Julianna’s lead. Remember, she’s a visionary too.
Get all the Slabs

Slabs are your ticket to incredible powers in Deathloop. Every Visionary, except Wenjie and Frank, has one, and you’ll need to kill those with Slabs to unlock them for yourself. Ideally, you’ve unlocked Infusion before Slab hunting and won’t have to worry about going back for your favorite one between each loop. Before you begin piecing together the right sequence, don’t be afraid to kick in the door on each Visionary and kill them for their Slabs.
If we had to pick the three most important slabs to get first, we’d say Nexus, Shift, and Aether. You’ll claim the Nexus Slab off Harriot’s body in Karl’s Bay. You’ll find the Shift Slab on Charlie’s body if you kill him in Updaam or on Fristad Rock. You can also find a Shift Slab on Julianna’s body when she invades you for the first time. When being invaded by other players, or the A.I.-controlled Julianna, you’ll find whatever slabs they show up using.
Egor carries the Aether Slab, which allows its user to turn invisible for a short period of time. Aether is great for sneaking through guarded areas or hiding from Julianna when she’s closing in. You’ll find Egor at night by his lab at The Complex. These three Slabs can get you through the entire game, so find and upgrade them first.
Get Frank’s gun

While Frank doesn’t have a Slab, he does carry one of the best weapons in the game. Constancy Automatic is a machine pistol/submachine gun that allows you to fire and reload simultaneously. While it’s an odd mechanic to get used to, it’ll save you when cornered by several enemies or a human-controlled Julianna.
Every version of Frank’s gun comes with the reload perk. However, you’ll find different iterations with each passing loop. The one pictured above is the best we’ve found. Paired with the Hailfire trinket, the increased fire rate combined with the damage buff makes this a Julianna killing machine. We say Julianna because the other Visionaries have pretty basic health. They can all be killed with one headshot, except for Fia if she triggers her Havoc Slab.
Set invasions to friends only
Deathloop’s multiplayer mechanic leaves a lot to be desired. Most of the time, invaders are more annoying than they are fun since you’ll have to hack the tunnel jammer whether you kill Julianna or not. While killing Julianna in the early stages of Deathloop helps unlock Slabs and upgrades, there’s nothing more to gain once you have everything you want. To keep random players out of your game, set invasions to friends-only or single-player.
To switch, scroll over to the banner in the top-left corner of the screen, the one displaying your Gamertag or PSN, then switch to your desired invasion rules. There’s no penalty for playing without invasions, and there’s nothing more annoying than a human-controlled Julianna coming to ruin your loop.
Use and upgrade the Nexus Slab

The best bang for your buck is Harriot’s Nexus Slab. The Nexus Slab links enemies together, and whatever you do to one enemy affects all in the chain. So, if you link a handful of Eternalists together with Nexus and then shoot one in the head, they’ll all die. When it comes to clearing rooms and keeping quiet, Nexus paired with a silenced Tribunal is the best combo in the game.
Upgrade the Nexus Slab by killing Harriot repeatedly or finding Nexus upgrades on Julianna’s body. The two best Nexus upgrades are Parasite and Influence. Parasite regenerates health when you kill someone affected by Nexus. Influence will spontaneously create connections to other enemies, effectively increasing the range of your Nexus blast. Since enemies don’t detect the Nexus blast, you can stay hidden and take down a room full of Eternalists with one bullet. You can even link Fia and Charlie together when you stumble upon their love nest, allowing you to loot their bodies instead of flooding the pumping station.
Must-use character Trinkets

You’ll find dozens of personal and weapon Trinkets as you explore Blackreef, each denoted by a rarity scale. Gray trinkets are common, green is uncommon, and purple ones are rare. Once you find a rare Trinket, there’s no reason to keep the common or uncommon version in your inventory. There are, however, three must-use personal Trinkets that’ll get you through the entire game.
Spring Heeled: Double-jump in mid-air
Spring Heeled is the first rare trinket you find, and it should stick with you through the game. Double-jumps grant Colt access to otherwise unreachable areas unless you’ve got the Shift Slab equipped. However, Shift paired with Spring Heeled increases Colt’s movement astronomically and is crucial for breaking into Dorsey Manor and navigating Blackreef in general.
Creeping Death: Silent movement
If Bethesda emergency nerfs any trinket in the game, it’ll be Creeping Death. You can sprint up to and jump around behind an unaware Eternalist without them ever noticing, making assassinations easier than breathing. There is no reason not to use Creeping Death.
Sprinter: Run much faster
Sprinter and Creeping Death is probably the best trinket pairing in the game. With the two of these, you’ll never have to crouch again.
Ideal loadouts and weapon Trinkets

Colt’s loadout won’t change much between areas. You’ll find weapons you’re comfortable with and quickly realize which weapons are must-use and which are useless. So how should you build Colt’s loadout once you unlock Infusion?
For starters, make sure you have a silent weapon on hand. A rare Tribunal with a suppressor mod can carry you through the entire game. Since you’ll be running Creeping Death and the Nexus Slab, there’s little reason to carry around a beefy MG-1 or Rapier.
If you’re detected and need to shoot your way through a situation, Shotguns and LIMP-10s will aid in your escape. Your third weapon is a toss-up, but make sure you aren’t equipping three guns with the same ammo type. With four ammo types in the game — small, large, shotgun, and nails — you have plenty of options. In a perfect world, you’ll want to head into Blackreef with one gun of each ammo type.
To determine what kind of ammo a weapon uses, highlight the weapon and assign trinkets. From the trinket screen, look in the bottom-right to learn more about the gun. You’ll see the weapon’s jamming tendency, ammo type, and whether or not it can be dual-wielded. Once you start unlocking rare weapons, you’ll never have to worry about them jamming again.
When it comes to dual-wielding, we don’t recommend it. You’re better off snap-aiming onto enemies and killing them quietly rather than running in guns-blazing with a LIMP-10 in each hand.
How to use weapon trinkets the right way

When assigning weapon trinkets, you’ll want to play to that gun’s strengths. For the Tribunal pictured in the previous section, we have Straight Shooter, Lightning Strike, and Shock Absorber equipped. Lightning Strike and Straight Shooter make the Tribunal as deadly and accurate as a sniper rifle. Meanwhile, Shock Absorber ensures you stay on target if you miss that headshot and need to follow up.
For the shotgun depicted above, we’re using Speedloader, Hipster, and Crack Shot. Speedloader refills the magazine almost instantaneously, while Hipshooter plays perfectly to a shotgun’s strengths. The Crack Shot trinket snaps between targets and one-shots them seamlessly.
Kill visionaries whenever you can
The more visionaries you kill, the better loot you’ll find. Once you’ve figured out how to kill a handful, do so, and then go Trinket-hunting afterward. On top of 10,000 Residuum, Visionaries also drop rare Trinkets, weapons, and Slab upgrades. You should be able to kill Charlie, Fia, Harriot, and Frank before exploring Updaam at night. Just make sure to rig Frank’s fireworks when you’re taking down Harriot in Karl’s Bay. Frank will die after you arrive in Updaam later that night. If you’ve set everything up correctly, you can also take down Aleksis, Egor, and Wenjie at the party.
Hack and take cover
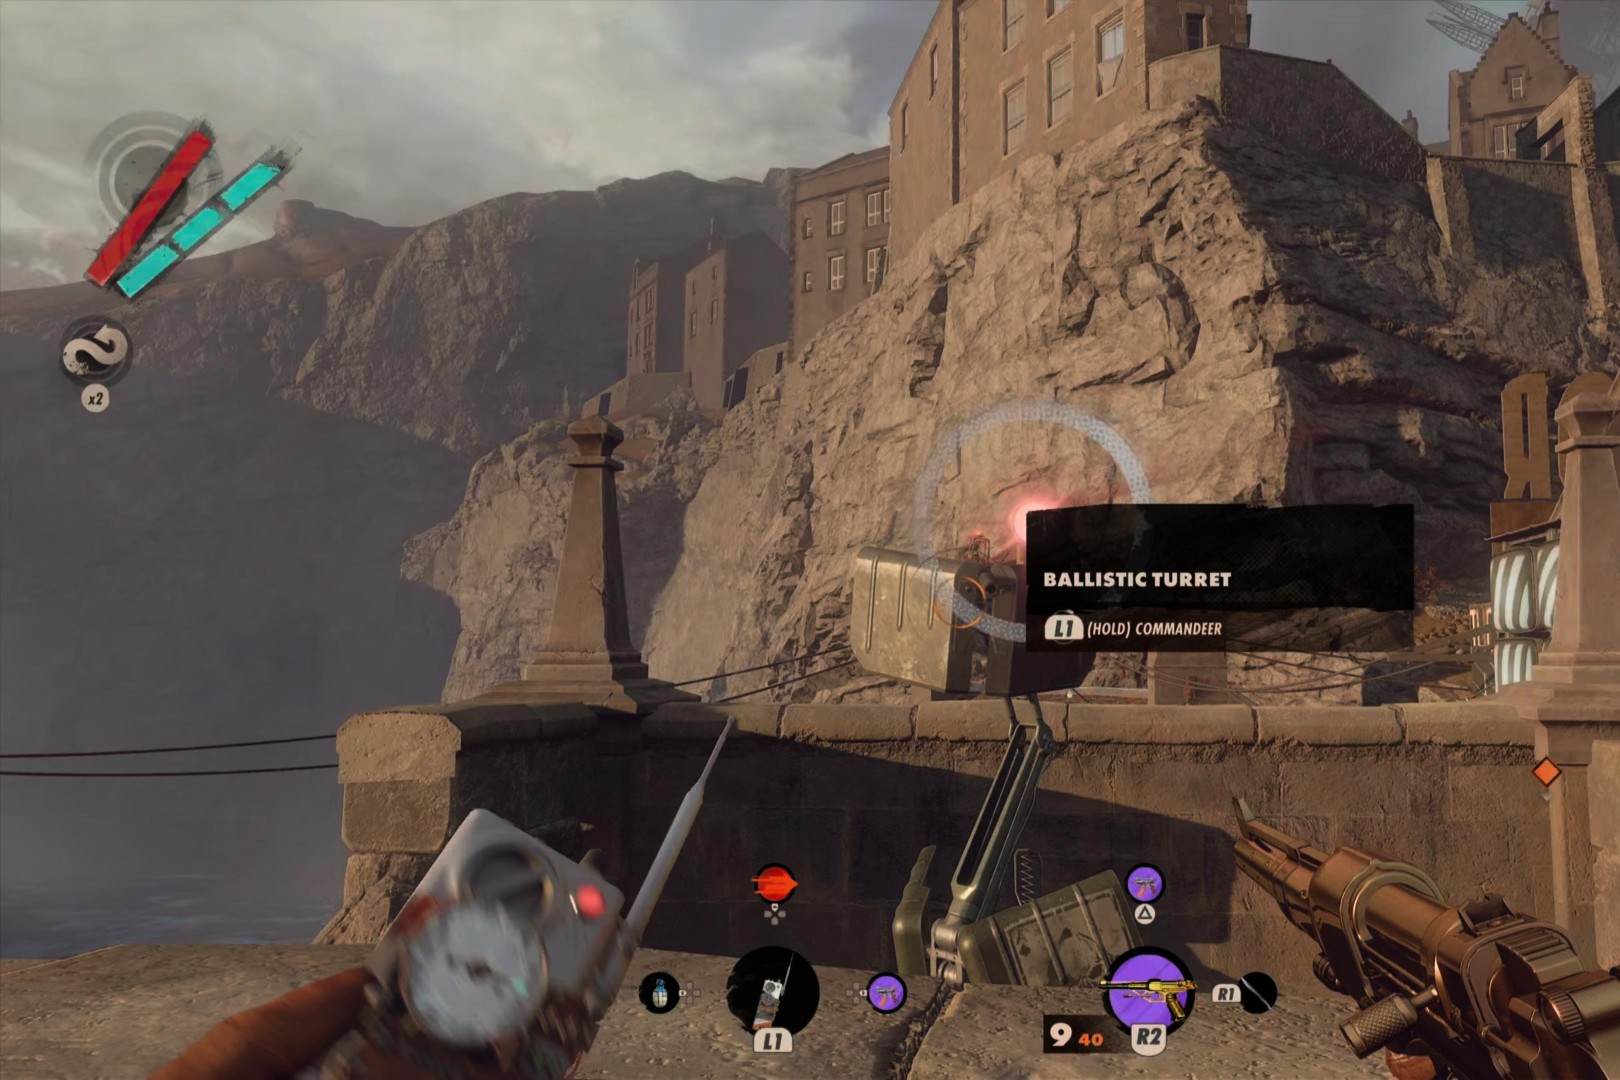
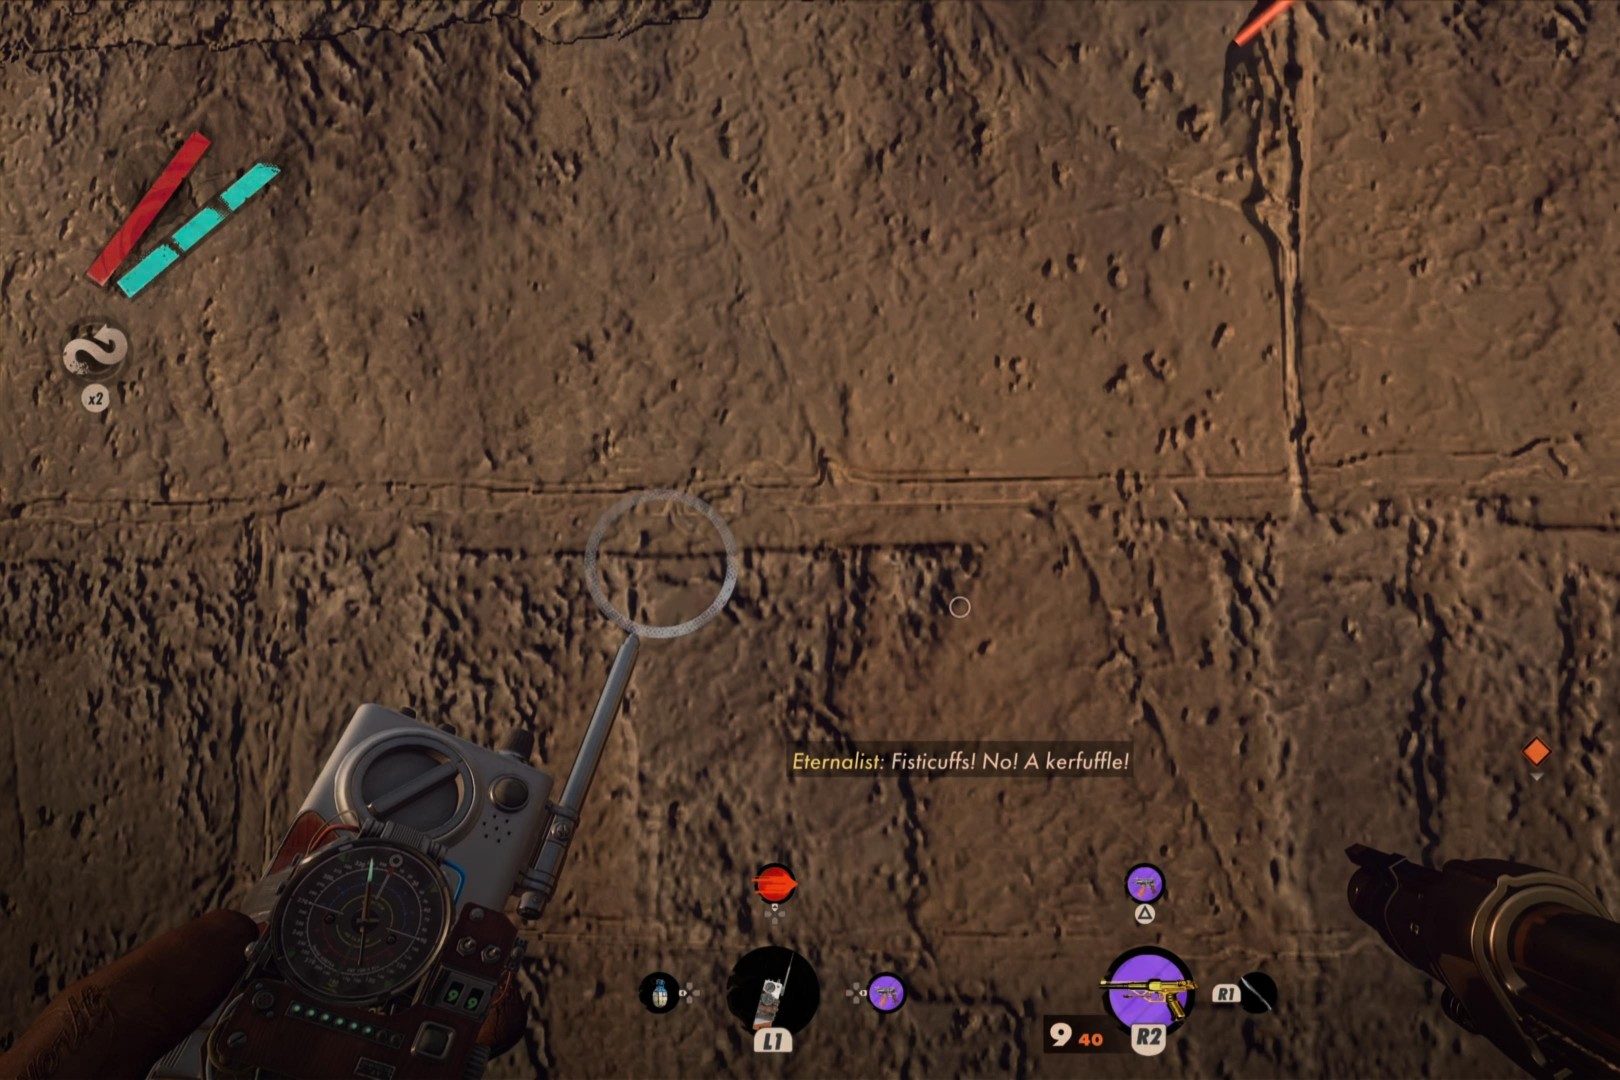
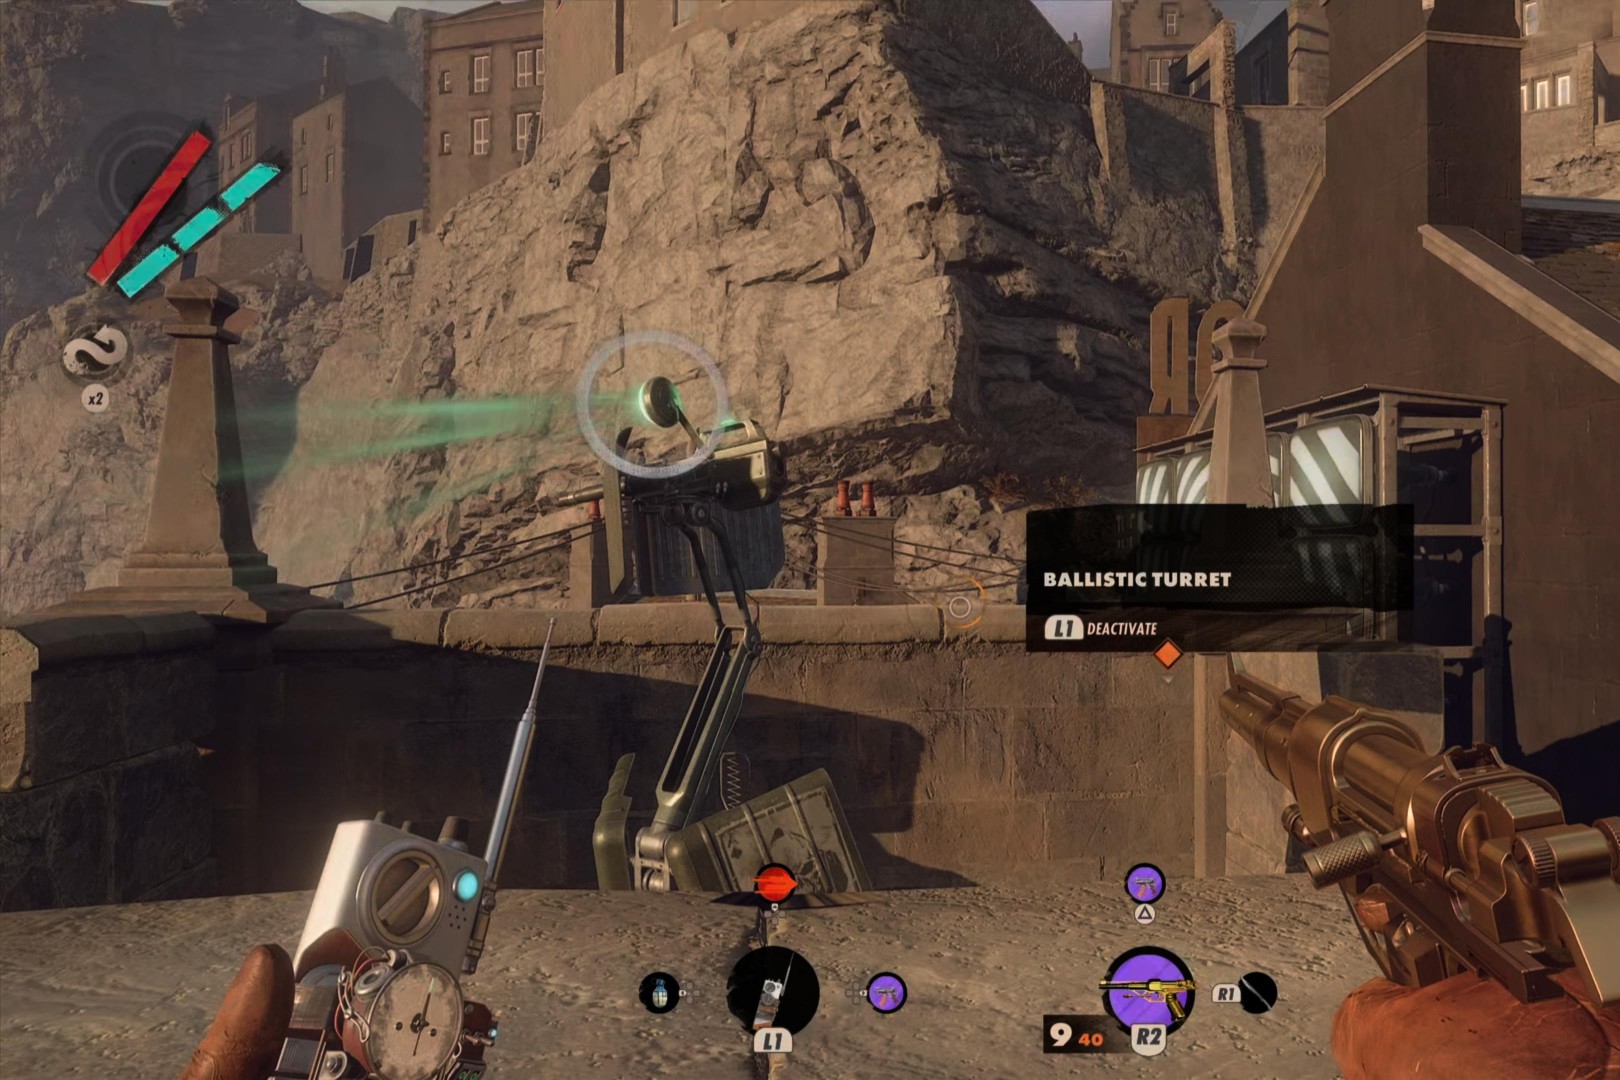
- 1. Begin hacking the turret.
- 2. Duck in or move to cover.
- 3. Now the turret is your friend.
The Hackamajig is Colt’s best friend. Use it to hack motion detectors and turrets as he sneaks his way through Blackreef. One thing you may not realize at first is the ability to hack from behind cover.
Turrets have batteries!
You’ll come across various objects that require a battery to work. Batteries aren’t easy to come by, especially when they’re hidden in dark corners. However, turrets and field jammers need batteries to operate, and you’ll always find a fully charged one on them. If you need an emergency battery, remember where the last turret you hacked was.
Editors' Recommendations
- Fallout 4 is finally getting free Xbox Series X and PS5 upgrades
- PS5 tips and tricks: how to get the most out of your new Playstation
- Sonic Frontiers beginner’s guide: 5 tips and tricks to get started
- Tunic beginner’s guide: 8 tips and tricks to get started
- Ghostbusters: Spirits Unleashed beginner’s guide: 8 tips and tricks to get started