Congratulations on reaching Mt. Gulg – literally! As you inch closer to the end of the FFXIV: Shadowbringers storyline, this particular dungeon is here to test you in a few interesting ways. But it’s nothing our Mt. Gulg guide can’t prepare you for.
- A guide to the Holminster Switch dungeon in Final Fantasy XIV: Shadowbringers
- A guide to the Dohn Mheg Dungeon in Final Fantasy XIV: Shadowbringers
You’ll come across a couple of mini-bosses along the way, but they’re little more than sponges with a couple of area attacks up their sleeves.
Nothing to worry about. For the true boss encounters, this FFXIV: Shadowbringers Mt. Gulg guide should see you through.
Forgiven Cruelty

More or less confirming Vauthry wasn’t eating his own Sin Eaters, his comfortable cushion is here to play. Untelegraphed attacks are a real problem going forward, and Forgiven Cruelty kicks things off with just that. Cyclone Wing and Rake are your raid-wide AOE and tank busters respectively.
Lumen Infinitum is a forward-firing laser beam emanating from this creature’s mouth. It lifts off from the ground to cast it. Make sure you’re not in the line of fire. Typhoon Wing is another similar attack. Again, Forgiven Cruelty will lift off while casting this.
What you need to do here is ensure you’re not in the frontal path of the green circles surrounding the boss. If wind orbs spawn along the edges, too, get an equal distance away from them to avoid the large area attacks. You’ll have plenty of time to gauge where’s safe.
Forgiven Whimsy
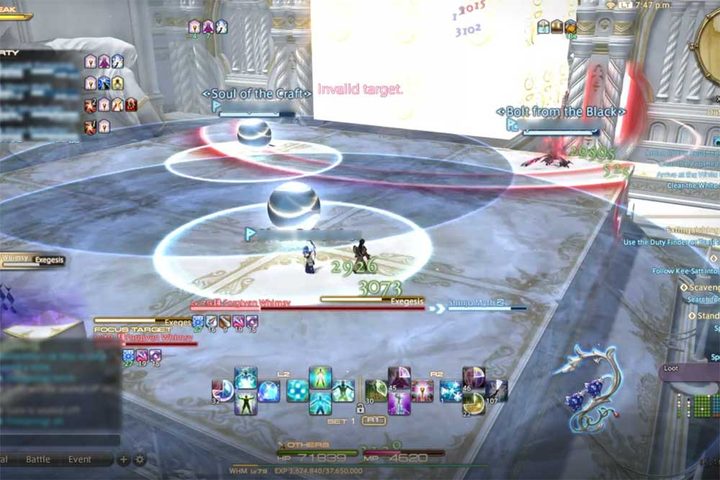
This big die just wants you to die. Notice how the arena is also split into six quadrants? Get ready to match the spooky faces on the boss with their relative positions on the area!. Forgiven Whimsy is all about that. It likes to keep you moving.
Attack animations are a mixture of casts, reshuffles, and pulsing waves from the boss itself. It will frequently twist its body like a Rubix’s cube revealing more or less faces on its front. Most of the time, these faces mean the relative position on the arena is about to get blown up.
When fewer faces appear, this means to expect explosive orbs at the same time. The blast radius of each orb is a ring, leaving underneath each orb as safe zone – almost. These can cross with other orbs, so you’ll usually need to back up toward the edges of the area to fully avoid everything. Just keep note of which squares are safe from the incoming face blast, hug a safe orb, and back up a tad and you should be fine.
Forgiven Obscenity
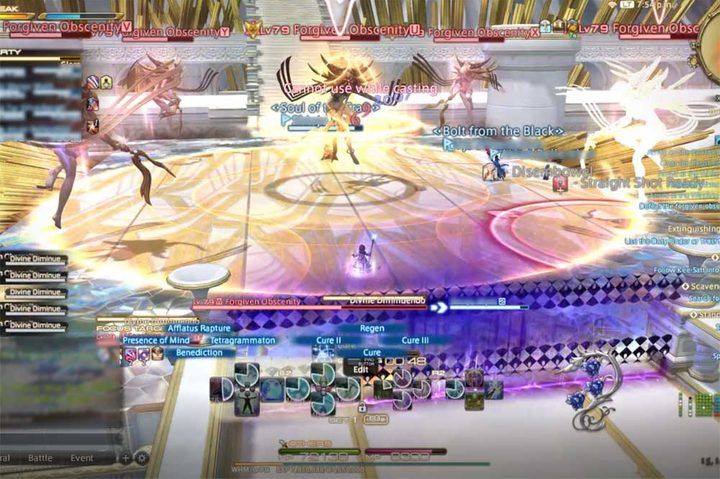
Probably a fair bit simpler in design than you might expect from what came before, right? Forgiven Obscenity kicks things off with her raid-wide attack Orison Fortissimo and follows up with Divine Diminuendo, a close-proximity area attack. Sacrament Sforzando is your tank buster, but it doesn’t get used much.
The gimmick here is Forgiven Obscenity’s attack modifiers. If she gains a radiant glow during a cast, watch out. This begins with another Divine Diminuendo, creating extra strike zones as rings further from the telegraphed zone. Just get as close to the visible area as possible without actually going in.
Conviction Marcato is then introduced. Like the first boss, avoid lining up with the circles around Forgiven Obscenity to dodge each blast. The upper diamond is just there to fake you out.
Obscenity then cuts off the arena’s corners and casts Feather Marionette. Similar to the Malikah’s Well boss, this creates clones capable of echoing the boss’s next attack – Divine Diminuendo. One of these puppets (or the boss) will be glowing here, so you’ll have to mentally add attack landing zones to what you already see. Just hug the area of whichever is glowing. Conviction Marcato will come back like this later on. Just stay close again.
Her last trick is Solitaire Ring. This places laser cannons on each lane of the arena which will then shift forward before firing. The closer they are to the starting position, the sooner they fire. Just get to a closer one and move to the further one when it fires. With all that, it’s a rotating battle of beams and AOEs until she’s dead.