
The original Pokémon Snap had just a few simple tools you could experiment with. You basically just had your camera, apples, pester balls, and the Poke Flute to interact with the various monsters you were driven past. The sequel, New Pokémon Snap, finally arrived years after the N64 classic and brought with it a few new toys you can use while trying to snap that perfect picture for the professor. Illumina Orbs are one of the new additions and possibly the most exciting of the bunch, but they’re also the hardest to get your hands on.
There are a total of six Illumina Orbs to unlock in New Pokémon Snap, with one to discover on each of the game’s islands. Each orb will only work on the specific island you find it on, so if you want to see the impact these neat throwables have on each and every Pokémon you can find, you’ll need to seek out each and every one. That’s easier said than done, so if you’re on the hunt for that perfect shot and want an edge up, check out our guide on how to unlock all the Illumina Orbs in New Pokémon Snap.
Further reading:
What are Illumina Orbs, and how do you get them?

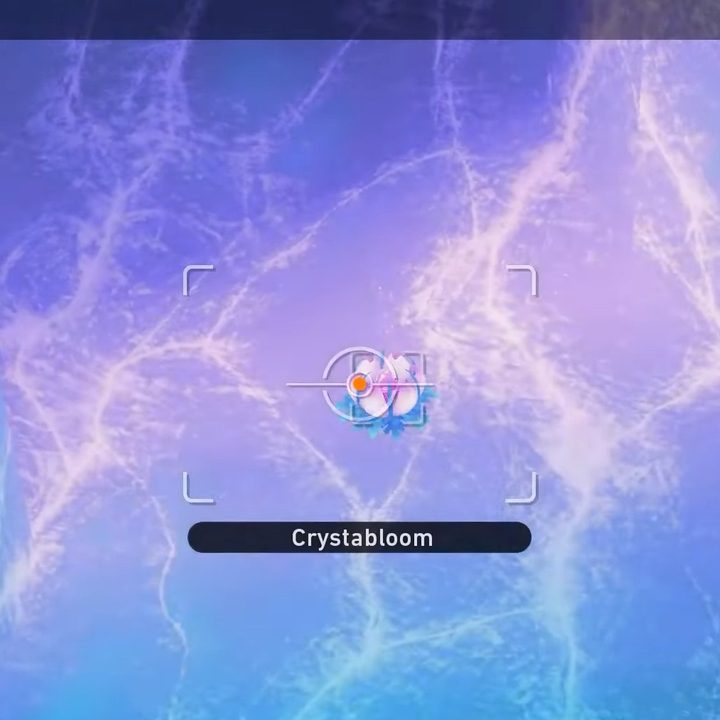
Illumina Orbs are a new item for New Pokémon Snap that are rewarded to you by Professor Mirror when you give him a photo of a crystabloom found on any of the game’s islands. When thrown at a Pokémon, Illumina Orbs will cause the creature it hits to start glowing and do a unique action. Sometimes they strike a special pose, while other times, they might interact with other nearby Pokémon or even open up a new route. Finally, you must have Illumina Orbs to take pictures of a few of the special Illumina Pokémon that show up in Illumina Spots.
Crystablooms, unlike your normal targets, are not technically Pokémon but instead little glowing flowers. That means they will always be in the same spot but usually tucked away or in a place you’re not likely to be looking. Here’s which course you need to go on to get the perfect shot of these flowers for each island in the game.
Florio Nature Park — night
Your first Illumina Orb is on the night version of the Florio Nature Park course. Ride along through the field and up the hill toward the lake area. Before you actually reach the lake, keep your eyes on the left-hand side of the track. You’ll spot the glowing flower near a patch of dirt where a Pinsir will come up from the ground.
Founja Jungle — night

This crystabloom is probably one you got or at least saw while playing normally through this stage. Once you get close to the end, near the area with the waterfall, make sure not to take an alternate route and look to the right side of the path. The crystabloom will be right beside a sleeping Quagsire.
Lental Seafloor
This one is very early on in the level, so it won’t take you long to grab. However, you will need to unlock this stage by getting the Blushing Beach and Maricopia Reef stages to at least Research Level 2. After the initial entrance to the route, you will come to a big field of seaweed. Keep your camera aimed to the right, and be ready to throw a fluffruit at a sleeping Lumineon. If you manage to tag him with the fruit, he will move aside so you can get a clear shot of the flower.
Sweltering Sands — night
Follow this route normally, not taking any alternate paths, so that you go right once you hit the oasis partway through. Some caves will come up on your right side as you approach the big drop. Stay calm, and get your picture of the crystabloom on a ledge here before you take the plunge, or you’ll need to retry the stage.
Shiver Snowfields — night
This one, like the previous, can slip by you if you aren’t quick on the draw — or camera, rather. Ride along until you hit the second area of this course, where you climb a very steep incline in a canyon. As you go up, watch the ground for a crack that shows a big open cave with a pair of Jinx looking over the crystabloom. Snap the pic before you miss the chance.
Ruins of Remembrance
Our last crystabloom is right near the beginning of the Ruins of Remembrance course. When you are coming up on the hole that takes you into the underground section of the level, aim your view up and to the right to the cliffs. Along the wall, clinging to a rock beside some bushes, will be the final crystabloom. Get this last photo to unlock the very last Illumina Orb so you can see all the new poses and interactions it can help you capture!


