
Return to Monkey Island: How to find all LeChuck’s secrets

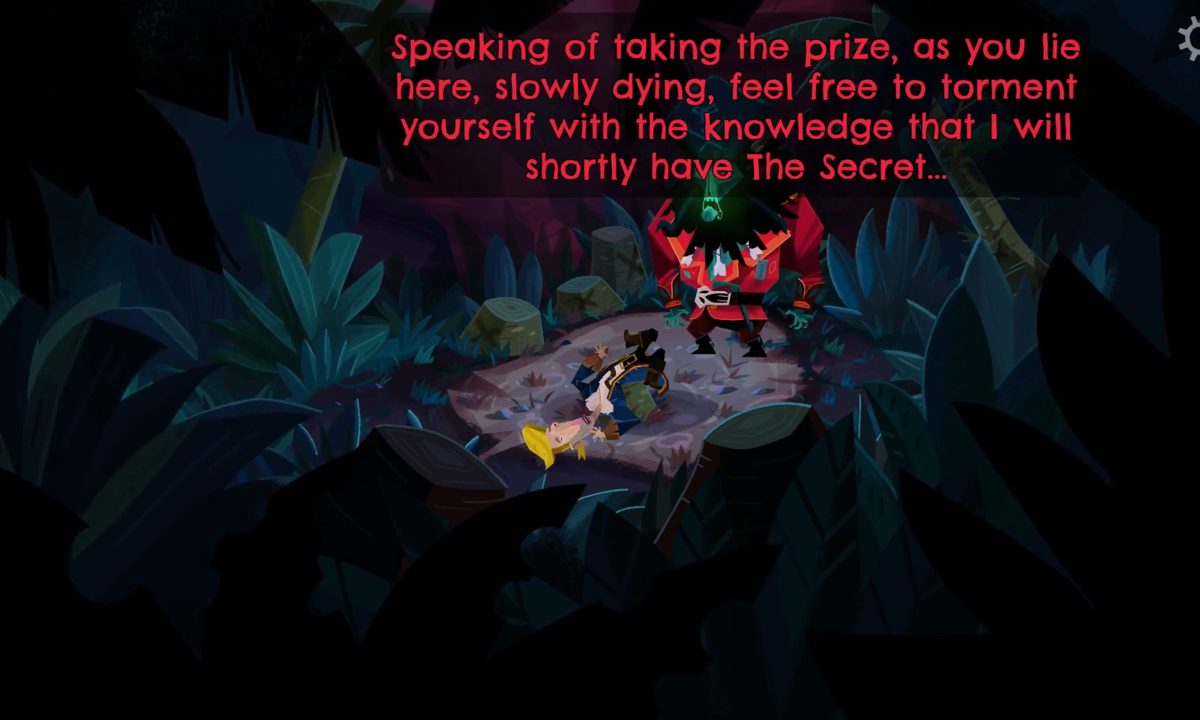
Welp, Guybrush has once again found himself in a rather tough spot. Thankfully, this time, anyway, he's able to align himself with a new group of pirates to help him get his adventure back on track after nearly getting his hands on what he thought was the secret of Monkey Island. This crew actually has the real map of the secret's location, but there's a problem: it's magically sealed. If you can help them out, they will take you to its location.

Difficulty

Moderate

Duration

30 minutes

What You Need

  • All seven skulls on Monkey Island

What they need you to do, though, is discover not one but three of LeChuck's secrets to perform a magic spell to unseal the map. This will require you to not only find a way back onto LeShip, but also discover LeChuck's favorite food, his catchphrase, and his theme song. This is quite a process, so don't feel bad if you need some help. Here's how to find all of LeChuck's secrets in Return to Monkey Island.

A blond pirate reaches his hand up the side of a ship in Return to Monkey Island
Image used with permission by copyright holder

How to get back on LeShip

It should be obvious by now, but you won't exactly be welcome back on LeShip, meaning you're going to have to sneak back aboard to uncover the three secrets. Here's how to get Guybrush back on board.

Step 1: Talk to your new pirate friends at the giant monkey head on the east side of Monkey Island.

Step 2: After exhausting all their dialogue, go to the volcano beach on the west side of the island.

Step 3: Walk into the ocean.

Step 4: Go past the anchor to grab a seventh skull before climbing the anchor.

Step 5: Move all the way to the left.

Step 6: Climb down the rudder to where Gullet is.

Guybrush talking to a zombie.
Image used with permission by copyright holder

Step 7: Speak to Gullet and ask him about his notebook.

Step 8: Keep speaking to him about it until you can offer to help him write a poem.

Step 9: Ask to see his poems first, but he'll refuse.

Step 10: Give Gullet the business card from the Museum Curator.

Step 11: Gullet will give you a book of poems.

Step 12: Go all the way back to the giant monkey head.

Step 13: Give the book of poems to the pirates, who will use it to disguise you as Gullet.

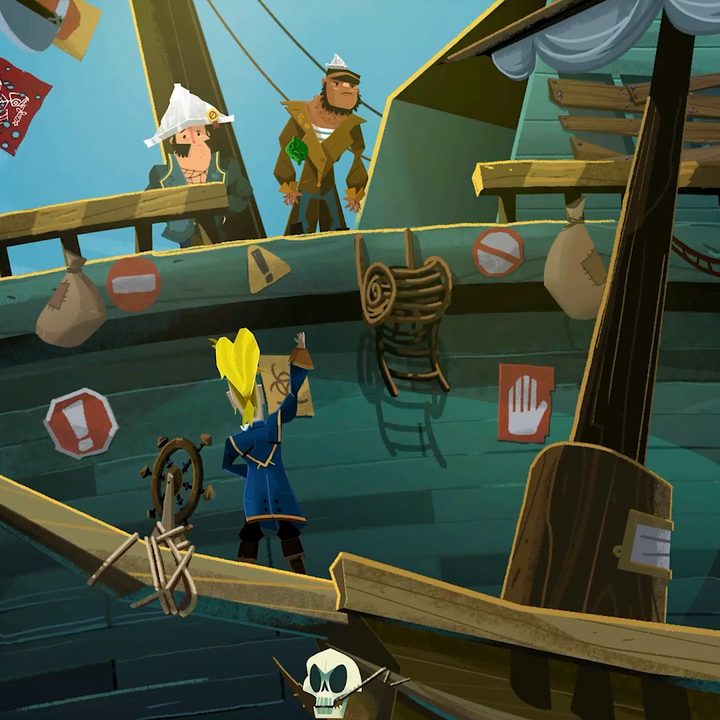
Step 14: Backtrack to LeShip, this time climb up over the railing instead of down to Gullet.

A pirate serving a tentacle meal.
Image used with permission by copyright holder

How to find LeChuck's favorite food

With your disguise, you're free to roam about LeShip once again. First up, let's find out what LeChuck likes to dine on most.

Step 1: Go to the galley and talk to Putra.

Step 2: She will tell you LeChuck's favorite food is tentacles with daisy sauce, but they're all out of tentacles.

Step 3: Head all the way back to the beach near the volcano.

Step 4: On the right end of the screen is a dead squid.

Step 5: Use your knife on the squid to get a tentacle.

Step 6: Bring the tentacle to Putra so she can cook it for you.

Guybrush in the captains cabin.
Image used with permission by copyright holder

How to find LeChuck's catchprase

We've got the meal all packed up, so now it's time to learn this pirate's catchphrase.

Step 1: Go inside LeChuck's cabin (he's not inside).

Step 2: Pick up the book on the shelves to the right of his chair.

Step 3: Read the entry from April 10.

Step 4: This will tell you to read the entry from February 17 in his diary.

Step 5: Read this page to get the catchphrase.

Guybrush getting sheet music.
Image used with permission by copyright holder

How to find LeChuck's theme song

Finally, what pirate doesn't have a catchy theme song?

Step 1: Ring the ship's bell once to call the crew for a vote.

Step 2: When Flair and the others gather, sneak past to where she was and grab the sheet music.

A map to the secret.
Image used with permission by copyright holder

With all the secrets collected, head back to the giant monkey head and talk to the pirates. You'll need to use all those skulls we collected to play the theme song, say the catchphrase at the ritual table, and then eat the tentacles. With all that done, the map will tell you the true location of the secret of Monkey Island.

Editors' Recommendations

Jesse Lennox
Jesse Lennox loves writing, games, and complaining about not having time to write and play games. He knows the names of more…
All stash locations in Alan Wake 2 and how to open them
Alan drenched in green light in Alan Wake 2.

FBI agent Saga Anderson and her partner, Alex Casey, are called into Bright Falls to investigate a murder committed by a strange group calling themselves the Cult of the Trees. These dangerous cultists are your main enemy in Alan Wake 2, and they put up quite a fight despite mostly using basic tools as weapons. They seem mindless and primitive, but the fact that they have a series of Cultist Stashes hidden all around the world suggests otherwise. These treasure troves are very well hidden, and they're protected with a small puzzle to try and prevent those who may stumble upon one from grabbing all the goodies inside. You'll find yourself short on supplies essentially all the time in Alan Wake 2, so scooping up some extra ammo and batteries is always welcome. Here is where you can find all the Cultist Stashes in Alan Wake 2 and how to open them.
All Cultist Stash locations
There are a total of 21 Cultist Stashes to find and unlock in Alan Wake 2. Each zone has its own set to find, and they all have different puzzles you need to solve to open them. None are missable, but some can't be obtained until you make story progress or get specific tools.
Bright Falls Cult Stashes

The first Cult Stash you can find comes as soon as you reach the town of Bright Falls for the first time. Instead of going straight to your destination down the block, turn around and head toward the dead end. Behind the truck will be a big locked box. To open this one, all you need to do is play a little game of Simon Says. The keypad will flash three buttons in a sequence that you simply need to repeat to open the box and grab the loot.

Read more
All suits in Spider-Man 2 and how to get them
Peter and Miles standing on a bridge

In the decades that the character of Spider-Man has existed, through comics, TV shows, games, and movies, he's gone through quite a few suits. Spider-Man 2 keeps the tradition alive by not only giving him a new suit to try out, but dozens and dozens of older ones to let you play as your favorite version of the webslinger. Oh, and did we mention Miles has his own extensive set of suits as well? Just like the first game, you won't be handed the keys to the wardrobe for free. Each suit not only needs to be unlocked but also crafted using City and Hero Tokens, as well as Tech parts to get access to the additional styles most suits have. If you're itching to dress up as the Spider-Man of your dreams as soon as you can, here is every suit in Spider-Man 2 and how you unlock them.

Note: Some suits are unlocked via story progress and could be considered spoilers. You have been warned.
All suits in Spider-Man 2

Read more
How to unlock the Dark Crusader class in Lords of the Fallen
A warrior stands in an Umbral hallway in Lords of the Fallen.

While not a universal rule, most games that fall into the soulslike genre feature different starting classes that dictate how your character will play -- at least early on. In Lords of the Fallen, you will choose between a list of nine default classes, but there are a couple more that aren't immediately available to you. The Dark Crusader is an interesting one, as there are technically two ways to get it, but only one that lets you do your first playthrough as this brooding soldier. This isn't an overpowered class to pick, but it is a great choice if you want a strength and radiance build. Here are the two ways in which you can unlock the Dark Crusader in Lords of the Fallen.
How to unlock the Dark Crusader
The easiest way to unlock this class, and the only method where you can have access to it before playing the game at all, is to have purchased the Deluxe Edition of Lords of the Fallen. While it is disappointing for the game to withhold a class from players who didn't pay extra, the silver lining is that there is a natural way to get the class without spending any extra cash.

If you're playing on a normal copy of the game, unlocking this class will take a bit of work. You must access and fully complete Issac's side quest chain. This involves finding and examining four Umbral stigmas, followed by defeating Issac and claiming his gear from the Umbral realm. The last step is to summon Issac to help you during the boss battle against the Lightreaper. After you've finished this questline, you will be able to select the Dark Crusader when starting a new character.

Read more