
Metal Gear Rising: Revengeance is a tricky game. Most of those who pick it up for the first time play for a bit before they hit a wall. This is the make-or-break moment: you either get on board with the unusual flow of the combat mechanics, or you don’t. The good news is that the difficulty spike isn’t nearly as sharp as it seems to be. You’ll only see that in retrospect, but hopefully this little getting started primer will prepare you for what’s to come.
Strike, Strike, PARRY
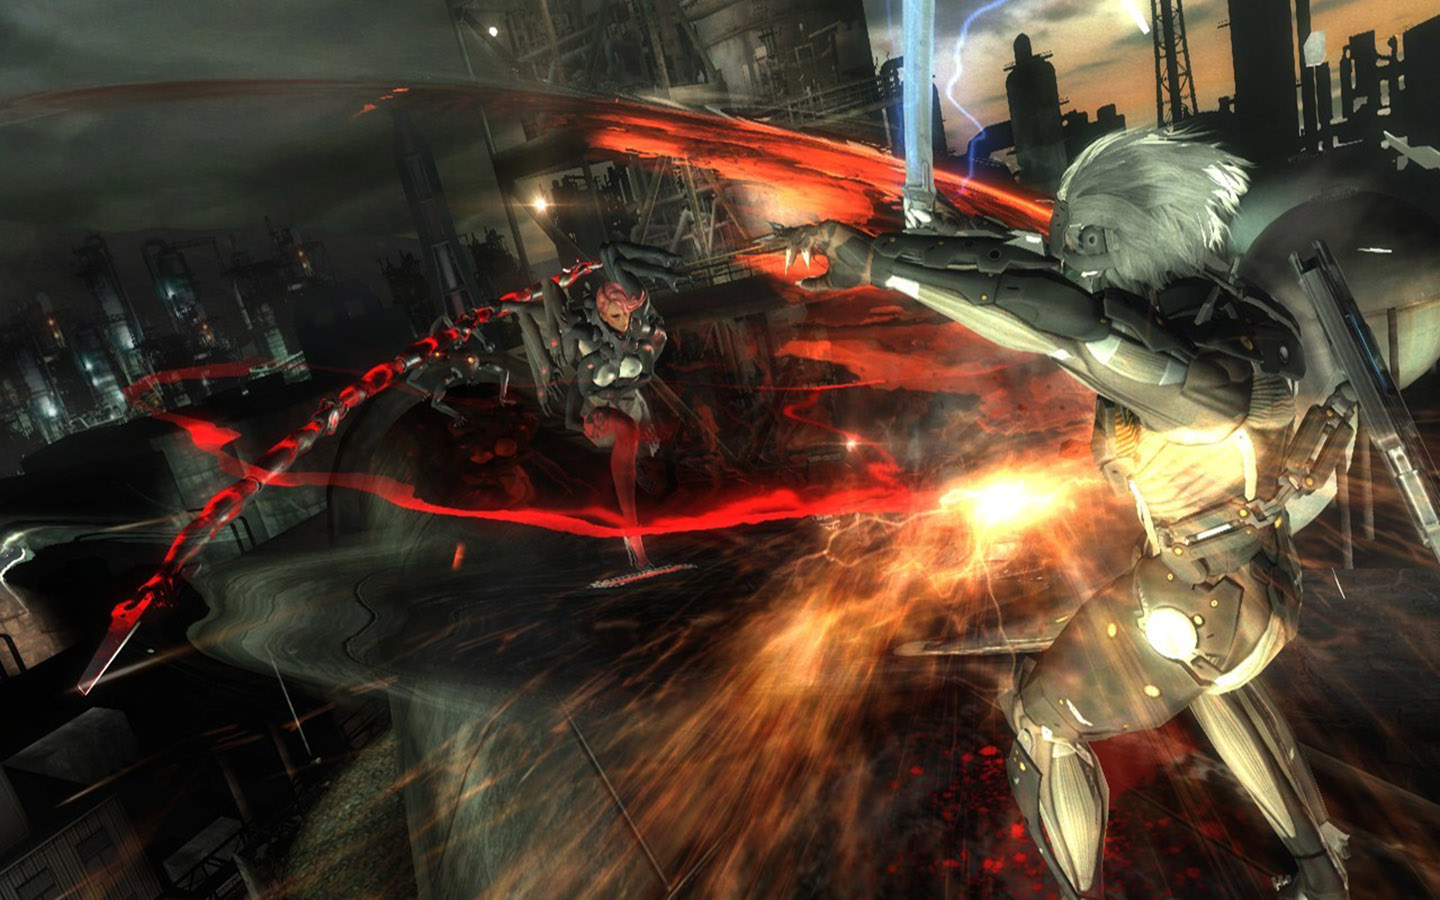
There isn’t a dedicated block button in Metal Gear Rising. Instead you have a parry move that depends on good, but not necessarily perfect, timing. This is by far one of your most useful skills in the game, and it becomes downright essential once you start facing the late-game bosses. To parry, you quickly flick the left stick in the direction of the attacking enemy while simultaneously performing a light attack. Do it early, and you’ll actually see Raiden raise up his sword as he prepares to block. The hope, however, is that you time your parry perfectly enough to initiate a counter, which often leaves your foe defenseless and susceptible to a finishing move (indicated when a button prompt appears on the screen).

Timing-based parry systems can be scary for those who don’t spend much time playing combo-heavy fighting games, but the barrier to entry here is actually lower than you might expect. Parrying isn’t foolproof, as you’re also dealing with occasionally unblockable attacks from your enemies, but mastering this skill is key to improving your survivability.
Blade Mode And Strategic Dismemberment
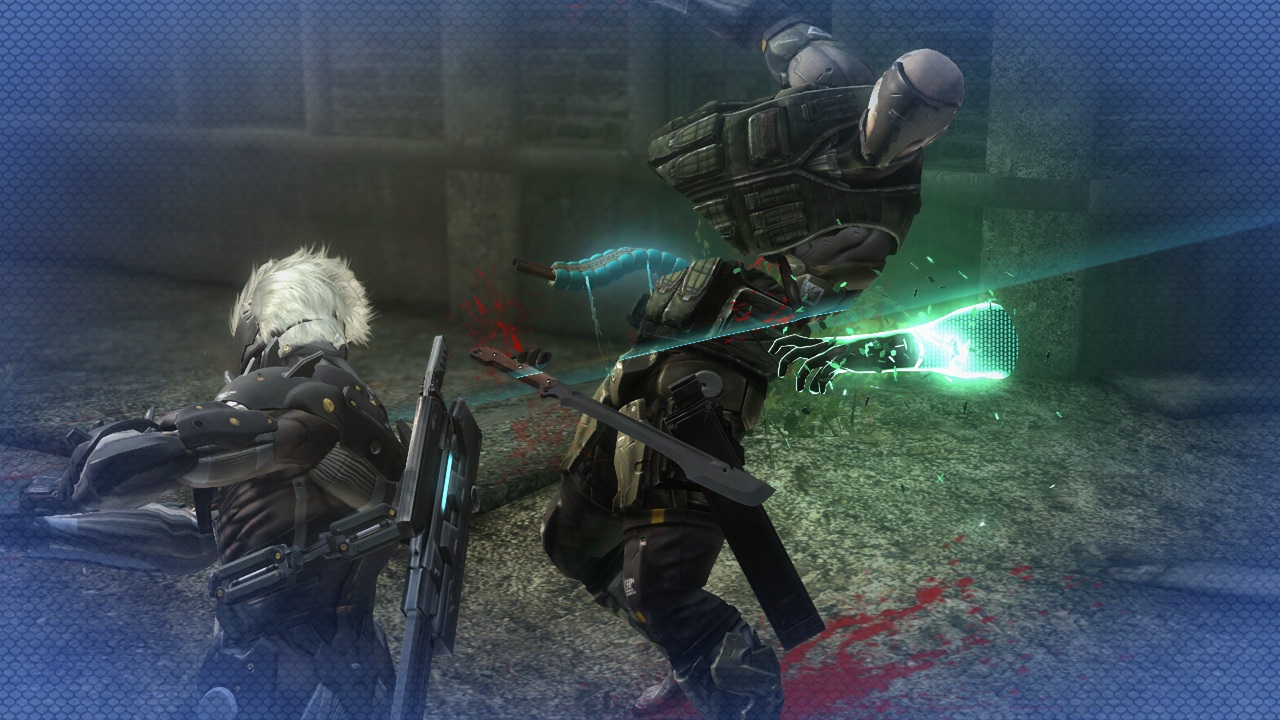
Blade Mode and using it to sever limbs or perform finishers is another initially tricky feature in Metal Gear Rising. Just beneath Raiden’s health bar is a fuel cell gauge that glows blue when full. You can press and hold the left trigger at any time to activate Blade Mode, effectively turning the left analog stick into an analog control for directional swipes of your sword. Light/heavy attack commands also work in Blade Mode when all you need to do is stand in one place and slice very quickly.
Activate Blade Mode when your fuel cell gauge is full and you’ll see the action slow down significantly (think bullet-time) as the meter starts to drain. While you’re in this state, called Zan-Datsu, a red-bordered hit box appears in the vital locations of any nearby enemies that are weak enough to be susceptible to a finishing attack. Using your left analog stick to adjust the plane of your sword slash (right analog controls the camera), the idea is to swipe directly across the hit box. The easiest way to do this is to line up your strike and then simply release the stick, allowing it to pop back to its center position.
All The Pretty Colors
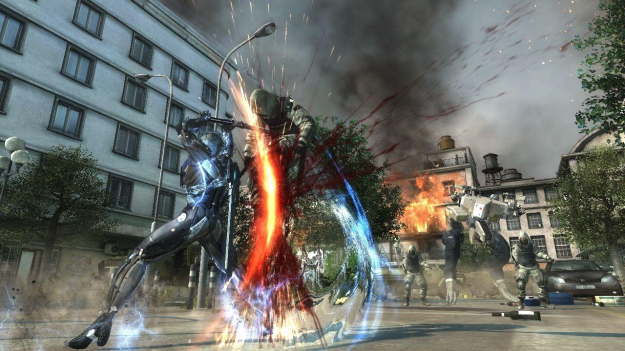
Metal Gear Rising is filled with visual cues that are very helpful in combat. When an enemy is about to attack you, a glint of red flashes across the screen indicating that you’d best prepare with a parry or quickly get out of the way. Each foe brings a different set of attack patterns, so it’s helpful to get the rhythm down for each one so that you can more effectively parry-counter. Watch as well for an attacker to be lit up by a yellow glow; if you see that, run clear quickly as an unblockable attack is imminent. This is less of an issue with the standard-fare grunts, but larger foes (Mastiffs in particular) dish out unblockable attacks frequently, and can quickly chip away at your health if you’re not paying attention.
As you wear down stronger enemies, you’ll note that certain parts of their bodies glow blue once enough damage has been sustained. When the blue glow extends to the torso, that means the foe is weak enough for a Zan-Datsu finisher. If it’s just a limb that’s glowing blue, that means you can sever the extremity and weaken the enemy even further. Your fuel cell recharges quickly enough that it’s often worth expending some of it to take off an enemy’s limb, especially when you’re dealing with one of the bigger threats.
Augmenting Reality
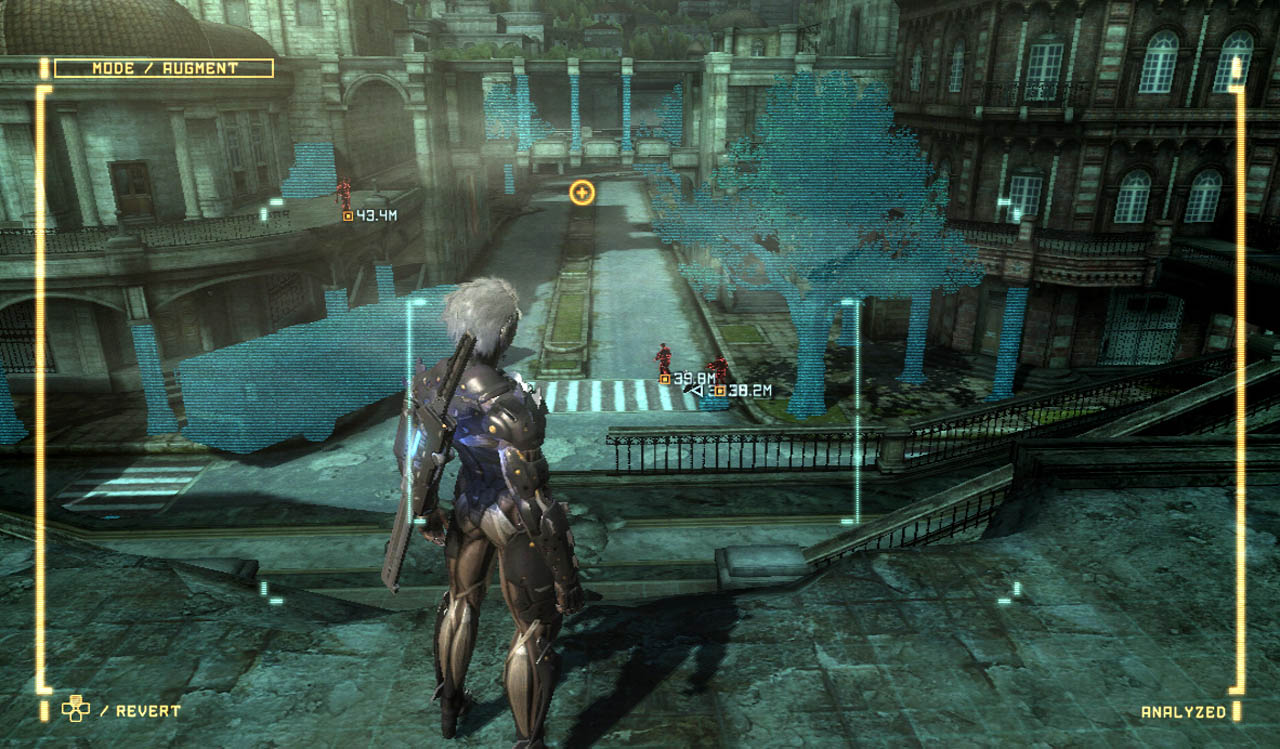
Tools Of The Trade
As you proceed through Revengeance, you’ll earn BP that you can spend to customize your Raiden in various functional and cosmetic ways. Your best bet on a first playthrough is to dedicate your spending to beefing up attack potential. Focus on improving Raiden’s sword and one other weapon, most likely the Pole Arm, both because it’s the first secondary weapon that you earn and because it happens to be quite powerful. You might also want to look at some of the combo skills, particularly the air parry that allows you to block in mid-air.
Lastly, while it’s not a main focus of the game, try to stay tuned into opportunities to take a stealthy approach. Metal Gear Rising isn’t exactly meant for stealth play, and you actually stand to earn bigger rewards when you mix it up in open combat, but certain sections of the game are made much less difficult when you sneak around and proceed cautiously. Stealth strikes (indicated by a button prompt) always conclude with a Zan-Datsu opportunity, so be sure to turn on Blade Mode when the screen turns blue, provided of course that your fuel cell gauge is full.
Editors' Recommendations
- The best accessories in Rise of the Ronin
- How to turn on item auto-pickup in Rise of the Ronin
- Metal Gear Solid Delta: Snake Eater: release date window, developer, trailers, and more
- We played 4 upcoming Konami games, including Metal Gear Solid: Master Collection
- Metal Gear Solid: Master Collection contains first 2 Metal Gear games, Konami confirms

