The Necrotic Wake is the first dungeon you’ll likely wander into during the Shadowlands story campaign. If you haven’t played World of Warcraft in a good couple of years, you might be surprised to hear you can’t just “tank and spank” your way through it. It’s not exactly on Heroic or Mythic level difficulty, but ignore the not-so-obvious boss mechanics, and you could end up spending 10 minutes fighting just one of them. Here’s the complete Necrotic Wake boss guide with every strategy you need to know.
How to unlock
Before we dive right into detailing the various bosses in the dungeon, it’s important to know how to unlock it. The Necrotic Wake unceremoniously unlocks as soon as you hit level 51. In a blink-and-you’ll-miss-it kind of way, it should cycle through the center of the screen as you hit 51, letting you quietly know that it’s there to explore.
That being said, you won’t receive a quest to dig into it until around level 53 and plodding through Bastion. What this means, though, is that you’re free to run it out of order to grab your Daily Dungeon reward for a wedge of EXP and a good chunk of change. Just don’t be surprised if the story makes absolutely no sense just yet.
Blightbone
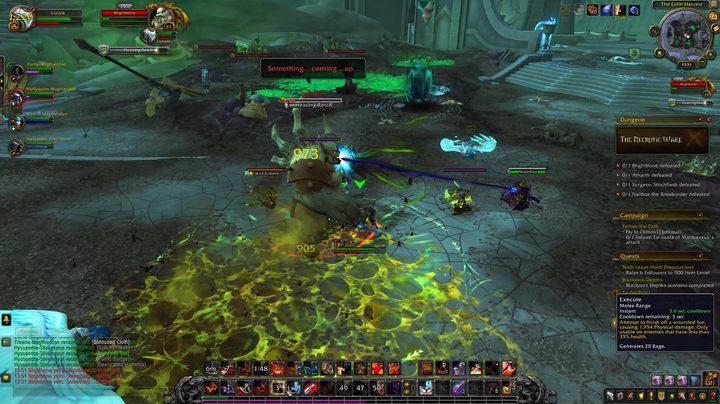
As unanimously as the dungeon unlocks, you could trigger the Blightbone fight without really noticing. He isn’t the biggest boss out there and, given the large mob packs you fight your way through as soon as the dungeon starts, it’s only natural to miss the moment he joins the fray.
For the most part, Blightbone is your typical tank-and-spank boss fight. With a competent and well-geared team, you can burn him down without worrying about area attacks melting your HP away like a bath bomb in the tub.
The main mechanic to watch out for here is Heaving Wretch, which locks onto a random target. Once it’s done casting, Blightbone will puke over the target, covering a large conal area with acidic goop. The target should position this away from the team. For each player hit, a maggot will spawn, dealing damage over time and eventually exploding, creating yet another no-go zone on the floor. Deal with them before they pop.
Of course, all the tank really needs to do is focus on pulling Blightbone away from leftover puddles of gas and goo so that other melee players can do their jobs.
Amarth
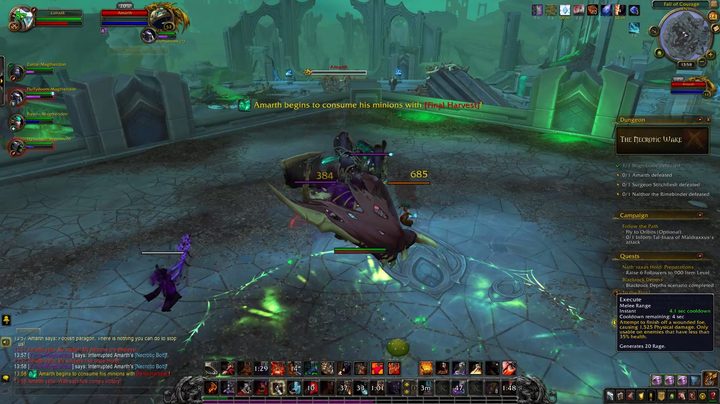
Amarth doesn’t require quite as much movement as Blightbone, but there are little extras to be dealing with as you chop down his health pool. He spams Necrotic Bolt casts and auto-attacks at the tank, so interrupt the casts as often as you can to mitigate the outgoing damage.
Not long after the start of the fight, Amarth summons a couple of adds of both the melee and caster flavor, which will gladly attempt to make the life of your healer a bit of a nightmare. The tank should either attempt to peel them away, or DPS players can focus on burning them down.
Amarth will eventually use Final Harvest, gaining a buff stack for each monster left alive. He should be practically dead by the time this happens if you mostly ignore the adds, but for low DPS groups getting overwhelmed in those final moments, burning down the adds should fix the issue.
Surgeon Stitchflesh
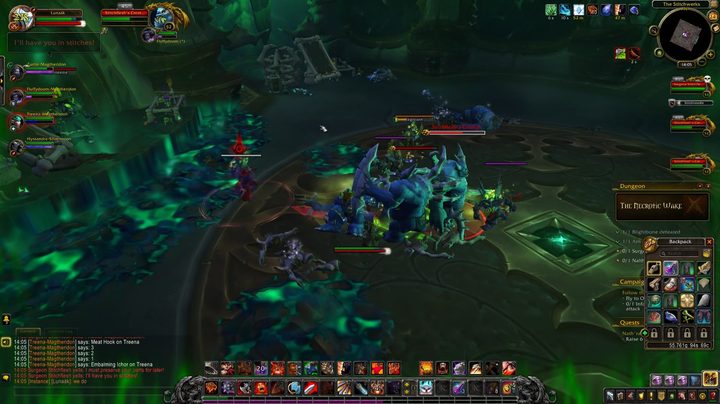
Here’s where things get a little bit more complicated. Without thinking about it, the fight against Surgeon Stitchflesh can become an endless brawl against his undead constructs. This guy sits atop a platform completely out of reach for the majority of the fight — unless you use the constant swarm of adds he summons against him.
For the first few moments of the fight, you’ll go up against his three assistants, who’ll attempt to tear off your flesh to use as materials in his work. Some of their attacks can’t be taunted, so healers will need to watch for the red markers above players’ heads to prep their triage. This is a bit of a clue as to how to finish the fight.
Burn them down and Surgeon Stitchflesh will call in Goregrind, the first of his many Stitches-style monstrosities, and extra “bits.” Goregrind will turn to cleave targets at random, so healers will need to watch out for any extra team damage going out. Burn it and the adds down and you’ll go up against Rotspew (and his “leftovers”).
Rather than cleave, this abomination will barf over a random target. Just like with the first boss, casters should get out of the acid puddle left behind to avoid any unnecessary incoming damage, whereas tanks will need to kite the boss out of any puddles to give melee DPS a chance to do their job without melting.
After Rotspew is knocked out, the trick to killing Surgeon Stitchflesh arrives: Stitchflesh’s Creation. This unnamed beast uses Meat Hook to pull a chosen target toward it. The marker for this attack appears and disappears before he begins the cast.
Rather than dodge or take the hit, once the marker appears, the target needs to position itself between the monster and Surgeon Stitchflesh himself. Once it vanishes, step to the side, and the hook will grab the boss instead, bringing the real boss down into the arena for you to punish. Burn him down before he gets back up on the platform, or you’ll need to do it again.
Nalthor the Rimebinder
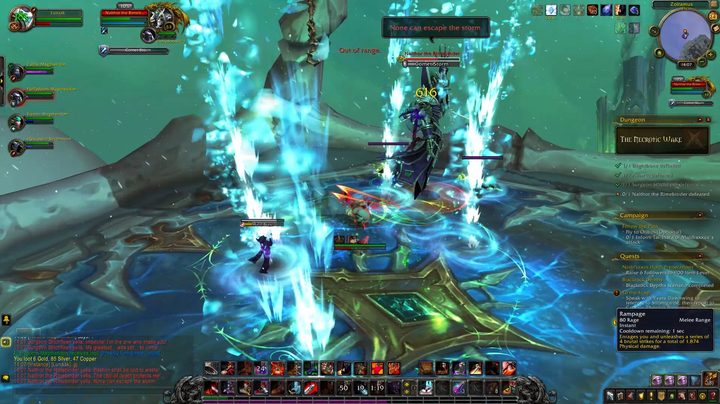
Right after the fight with Surgeon Stitchflesh, you’re whisked away to the top of the dungeon to face Nalthor the Rimebinder. It’s a tiny little area that’s designed to land you in trouble. Throughout the fight, Nalthor will send dozens of comets hurtling toward the team from above, so staying on your toes becomes absolutely essential. Three or four hits will utterly destroy you in a second or two.
At some point or another, “Exile” will be cast on a random DPS, who’ll then be whisked away to one of the corridors on the side of the area. Use whatever means necessary to get to the other side while dodging the usual rain of hell from above, and you’ll have to face off against a single (squishy) mob. Send it packing and you’ll be thrust back up to where the real action is taking place.
Continue your dance to dodge the comets and you should get through this fight without too much trouble. This one really is on the healer to deal with. There isn’t much time to cast, and without the heals, the team doesn’t stand a chance. Keep heal-over-time effects ticking over to stand the best chance of automatically negating a mistake or two.