
Playing World of Warcraft Classic can get frustrating if you don’t know how to level up to 60. Many twists, turns, and blocks prevent you from getting to the next level because you either lose money or you lose a life. To make your game go a bit easier and get farther along, this guide will help you level up to 60 in no time.
There are two main ways to level quick in WoW Classic: Questing and dungeons. Questing is generally the more fruitful of the two, so that’s where we’ll start. However, you can also level quickly by farming dungeons with the right loadout.
Further reading
- World of Warcraft Classic review
- The best WoW Classic add-ons
- How to choose the right WoW Classic class
WoW Classic questing

For the vast majority of players, questing will make up almost all of your World of Warcraft Classic leveling time. You won’t get massive amounts of EXP per quest, but when tackled in batches, they’re far more rewarding than just killing mobs alone. However, you can’t just go and complete any old quest you want to. Each zone in World of Warcraft is tailored toward players of a certain level, making it necessary to wander over one better suited to your level when you reach that stage or run out of quests in another. The way loot is shared between groups means quests are better suited to solo players or, at a push, duos. Anything more than that, and you might want to look at our alternative leveling process below.
Down below, we’ve listed zones based on their average level. It’s wise to head to these whenever your level allows rather than hanging around to mop up any unfinished quests in a zone you’ve out-leveled, as monster kills lower than your character level will award vastly reduced experience points. It’s rare for any zone to contain enough quests to carry you from one end of the level threshold to the other, so don’t expect to move around a lot.
Kalimdor
- Durotar (1 to 10)
- Mulgore (1 to 10)
- Teldrassil (1 to 10)
- Darkshore (10 to 20)
- Barrens (10 to 25)
- Stonetalon Mountains (15 to 27)
- Ashenvale (18 to 30)
- Thousand Needles (25 to 35)
- Descolace (30 to 40)
- Dustwallow Marsh (25 to 45)
- Tanaris (40 to 50)
- Ferelas (42 to 50)
- Azshara (45 to 55)
- Un’goro Crater (48 to 55)
- Felwood (48 to 55)
- Winterspring (53 to 60
- Moonglade (55 to 60)
- Silithus (55 to 60)
Eastern Kingdoms
- Dun Morogh (1 to 10)
- Elwyn Forest (1 to 10)
- Tirisfal Glades (1 to 10)
- Loch Modan (10 to 20)
- Silverpine Forest (10 to 20)
- Westfall (10 to 20)
- Redridge Mountains (15 to 25)
- Duskwood (18 to 30)
- Hillsbrad Foothills (20 to 30)
- Wetlands (20 to 30)
- Alterac Mountains (30 to 40)
- Arathi Highlands (30 to 40)
- Stranglethorn Vale (30 to 45)
- Badlands (35 to 45)
- Swamp of Sorrows (35 to 45)
- Hinterlands (40 to 50)
- Searing Gorge (45 to 50)
- Blasted Lands (45 to 55)
- Burning Steppes (50 to 58)
- Western Plaguelands (51 to 58)
- Eastern Plaguelands (53 to 60)
- Deadwind Pass (55 to 60)
WoW Classic dungeon farming — Melee and Spell Cleave
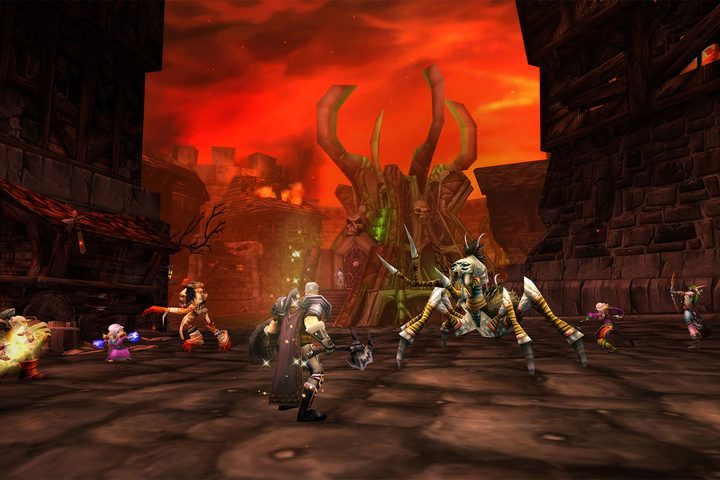
While not really considered worthwhile in the vanilla World of Warcraft days of yore, increased player skill and understanding of the game has resulted in the idea of dungeon grinding being a worthwhile alternative to questing. The idea here is to grind EXP from elite mobs found in dungeons as a group. When done correctly, they can offer comparable or greater EXP per hour than questing, even when split between party members.
Once a group has been found, compared to quests, dungeon grinding requires far less travel time between objectives and less time relying on specific monsters drops. Party composition becomes very important here, as monsters need to be bunched up and effectively AoE’d down to reap the rewards. This has led to the terms Melee Cleave and Spell Cleave based on the compositions used. Clear communication is key here, so it’s best reserved for good friends and guildmates over voice chat.
Melee Cleave
As you might expect, Melee Cleave groups focus on melee AoE damage. Warriors are typically best for this, so a common composition (as outlined here) is three warriors (with Cleave), one paladin, and a priest for healing. Shamans can fill in for the priest here, but rouges are basically a no-go due to their lack of area damage. It’s a simple case of having the paladin pull entire rooms with a protection bubble and letting the warrior spin to win while the Priest buffs and heals as needed. There’s a bit less risk involved with a Melee Cleave group over Spell Cleave, but the latter can beat out the other for raw EXP once mastered.
Spell Cleave
Spell Cleave dungeon groups are far more involved. Spell Cleave groups can burn down entire dungeons in one go if done right, but it’s incredibly hard to pull off. Instead, be prepared for small pulls with plenty of downtime for mana regen. The idea here is to pull packs with a warlock/hunter pet or bear druid and have mages slow/freeze them with their spells and burn them down with things like Blizzard. The packs will be large enough to one-shot almost anyone if they get close, meaning paladins with a bubble are also good for large numbers. Priests are fantastic healers here, but shamans and paladins can potentially fill in.
Instead, it’s mostly mages all around. The more frost mages with improved blizzard traits, the better.
Open-world grinding
If you’re in a smaller group of two or three, open-world grinding can become an option. It’s probably not something you’ll want to do all the way to 60, but it can help bridge the gap between one zone and the next if you’re stuck somewhere with too few quests to complete.
Open-world grinding is the simple idea of rounding up mobs in quest zones and burning them down in packs with a couple of friends. It’s less lonely than questing alone, but it’s bound to get old fast. It won’t get you nearly as much EXP as a traditional Spell or Melee Cleave group in a dungeon, but it’s far easier to organize and pull off. AoE damage is obviously key here, so Rogues will have a hard time.
WoW Classic leveling tips and tricks
Always log out at inns or cities
Inns and cities are points of relaxation, safe spaces away from ravenous wolves and mouthy Murlocs. These won’t be too much use to anyone doing a marathon run to the end, but for anyone taking it easy and looking to get the most experience points for their time, logging out at an inn or city will allow you to accumulate rested EXP while you’re away. Rested EXP doubles monster kill EXP, totaling the amount accumulated over time, meaning you’ll get a nice little bonus upon your return.
Kill everything you see
Grinding: It’s an idea lost to time. Unless it’s a Korean free-to-play MMO or something like Oldschool Runescape, grinding EXP against mobs has long been replaced with near-endless questing or dungeon farms. In World of Warcraft Classic, it’s almost a necessity to bridge the level gap between two zones. You can get a head start on this by supplementing quests with monster kills. Just aim to kill every monster you come across as you travel from one quest to another. It might not look like much when it comes in, but that little extra EXP will really build up over time.
Budget your gold
One of the biggest hurdles of early World of Warcraft was making money. The game was designed to wipe out your in-game wallet at certain levels. New skill ranks would chip away, flight costs would build up, and obtaining your first mount would basically bankrupt you. All of that is back with World of Warcraft Classic, and knowing how to earn and budget your gold can go a long way.
Despite how it seems early on, you really don’t need to spend your cash on every single new rank of spell or ability you come across. These can get very expensive, and offsetting the purchase of a mount for the sake of a potential 1% damage boost somewhere in your rotation is bound to end up costing you more time than a mount would have saved. Just look up optimal rotations and work out whether that beefed-up Thunder Clap will really make much difference.
Grab first aid ASAP
Nearly every mob in World of Warcraft can drop some kind of fabric, like linen. These can easily be crafted into useful triage items like bandages. Bandages are cheap and effective healing items that can greatly reduce downtime between fights. They’re not as effective as sitting down for a quick meal, but they’re comparatively cheaper. They’re fast, too, so you can limit the time between pulls or even wrap up an injury after stunning an opponent. It’s a must-have tool for classes like Warrior with limited self-sustain. First aid trainers are found in every major city, and it doesn’t count toward your two-profession limit.
Train crafting and/or gathering professions while leveling
Two skills worth developing are crafting and gathering. These professions aren’t just useful for making wads of cash— they also help users build weapons and armor necessary for leveling. Players can learn any two of these professions at a time. Gathering is a skill that you will learn by default as a necessary follow-up to your kills during a hunt. Crafting takes a bit more time, and it’ll take time out of your leveling process to learn it, but it’s still a valuable skill.
Most animals you kill can be skinned for leathers and hides, and mining and herb nodes will often populate your mini-map as you quest. These are all valuable items in the long-run of the game. To collect an item on your journey, right-click it. The more objects you accumulate, the larger your supply for valuable trade or sale activity which will augment wealth and advance your gameplay.
You’re done
Not that you’ve covered the basics, you’re ready to play. Advancing to each new level in World of Warcraft Classic takes time and commitment from players. There are a lot of tasks and extra classes you’ll need to accomplish to move forward. We doubt you’ll need convincing to keep persevering through this game because it’ll mesmerize and entice you with its advanced graphics and performance. The unanimous praise for WoW Classic speaks for itself. Join in the experience and take part in a truly classic gaming journey.


